Ingredients
Tools
⭐️ Before you begin! If you make this, will you do me a huge favor afterwards and leave a review and rating letting me know how you liked this recipe? This helps my small business thrive so I can continue providing free recipes and high-quality content for you.
Instructions
- Place heavy cream in a bowl of a stand mixer or handheld electric mixer fitted with the whisk attachment. Beat for 4-8 minutes or until medium-stiff peaks form. Be careful not to overheat otherwise it can turn into butter.
- Transfer whipped cream to another bowl and set aside.
- In the empty bowl of an electric mixer (from before) add the cream cheese and sift the confectioner sugar on top of it. Beat with the paddle attachment for 3-5 minutes until thick and smooth.
- Carefully add in ¼ cup of the whipped cream at a time into the cream cheese mixture and mix on low speed or fold with a spatula, just until combined.
- Mix in the vanilla for 10-20 seconds.
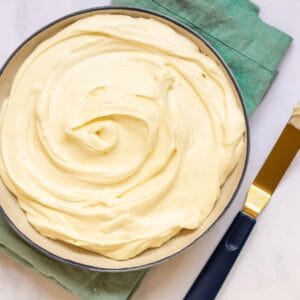
- Refrigerate the filling for at least 30 minutes for best spreadable consistency for a cake.
Test Kitchen Notes
- Ways to use this no bake cheesecake filling: Layer the filling between cakes for a cheesecake filled cake, pour cheesecake filling into a pie crust and refrigerate for 3-5 hours to set, pipe into parfaits with fruit/cake, use as a sandwich cookie filling or enjoy as is!
- You can store this filling in the fridge for up to up to 5 days.
- This recipe can be made dairy free using a dairy-free whipping cream alternative and Tofutti brand cream cheese.
- You may want to double the recipe if you're making the filling into parfaits or filling a 3 layer cake.