
Lemon Cheesecake Filling for Cake (No Bake)

This post may contain affiliate links.
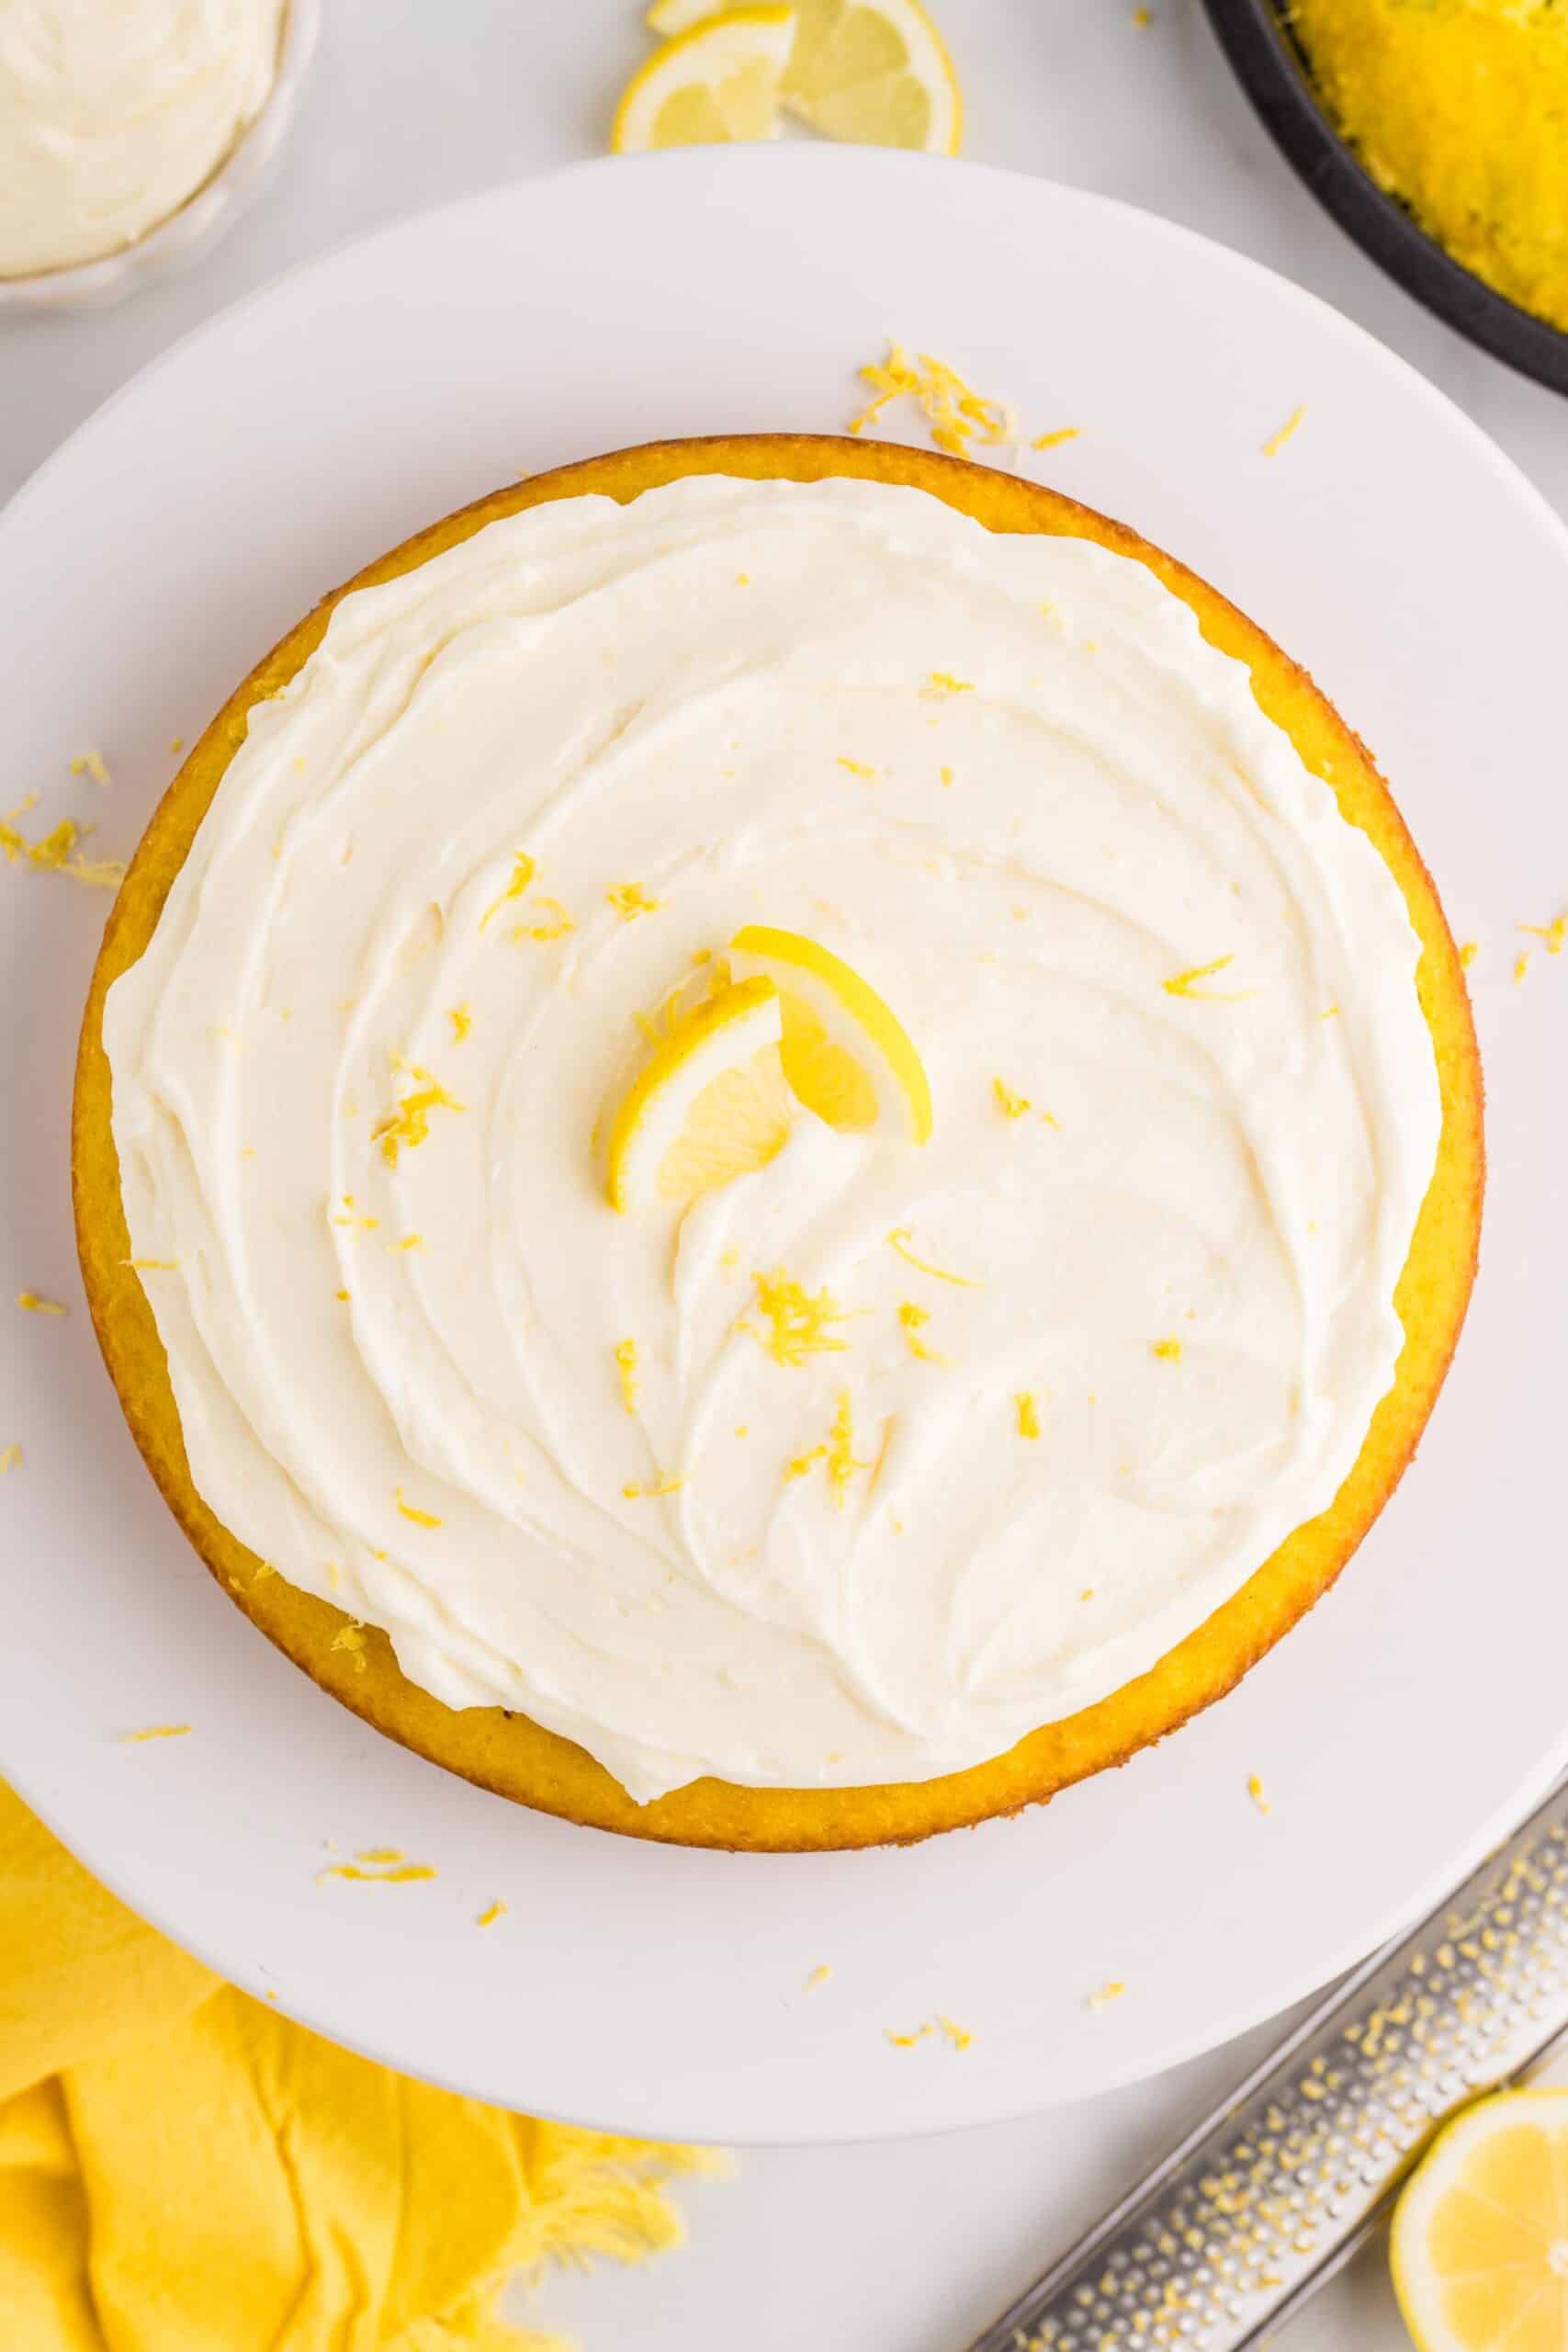
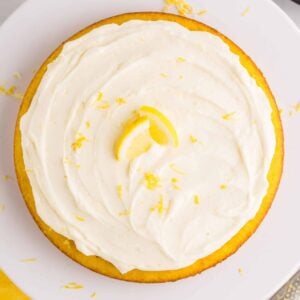
This No Bake Lemon Cheesecake Filling is light, creamy, and packed with bright, tangy lemon flavor! It takes just 15 minutes with a handful of simple ingredients, and it's perfect for layer cakes, cupcakes, pies, trifles, or eating straight off the spoon.
Jump to:
- Sunshine in a bowl
- Watch me make this on Instagram!
- Ingredient Notes & Substitutions
- How to Make Lemon Cheesecake Filling
- Ways to Use Lemon Cheesecake Filling
- How Long Does Lemon Cheesecake Filling Last?
- Tips & Variation
- Frequently Asked Questions
- More cheesecake fillings you'll love
- Lemon Cheesecake Filling for Cake (No Bake)
- Questions & Reviews
Sunshine in a bowl
Just like my original no bake cheesecake filling that this recipe is based on, it whips up in about 15 minutes and is so versatile. It's naturally gluten-free, too, so it's an easy way to dress up any gluten-free cake!
Here's why you'll love it:
- No baking required at all!
- Ready in 15 minutes with simple ingredients you can find at any grocery store.
- Real lemon flavor from fresh lemon juice and lots of lemon zest give it a gorgeous tangy brightness, so every bite tastes light and fresh.
- Stable enough to pipe, thanks to a little cornstarch, so it holds its shape on cupcakes.
- So versatile: fill cakes, frost cupcakes, spoon into pie crusts, or layer into trifles and parfait cups.
video
Watch me make this on Instagram!
See how fluffy the filling gets and how easy it is to pipe.
[ PASTE THE INSTAGRAM REEL EMBED CODE HERE ]
what you need
Ingredient Notes & Substitutions
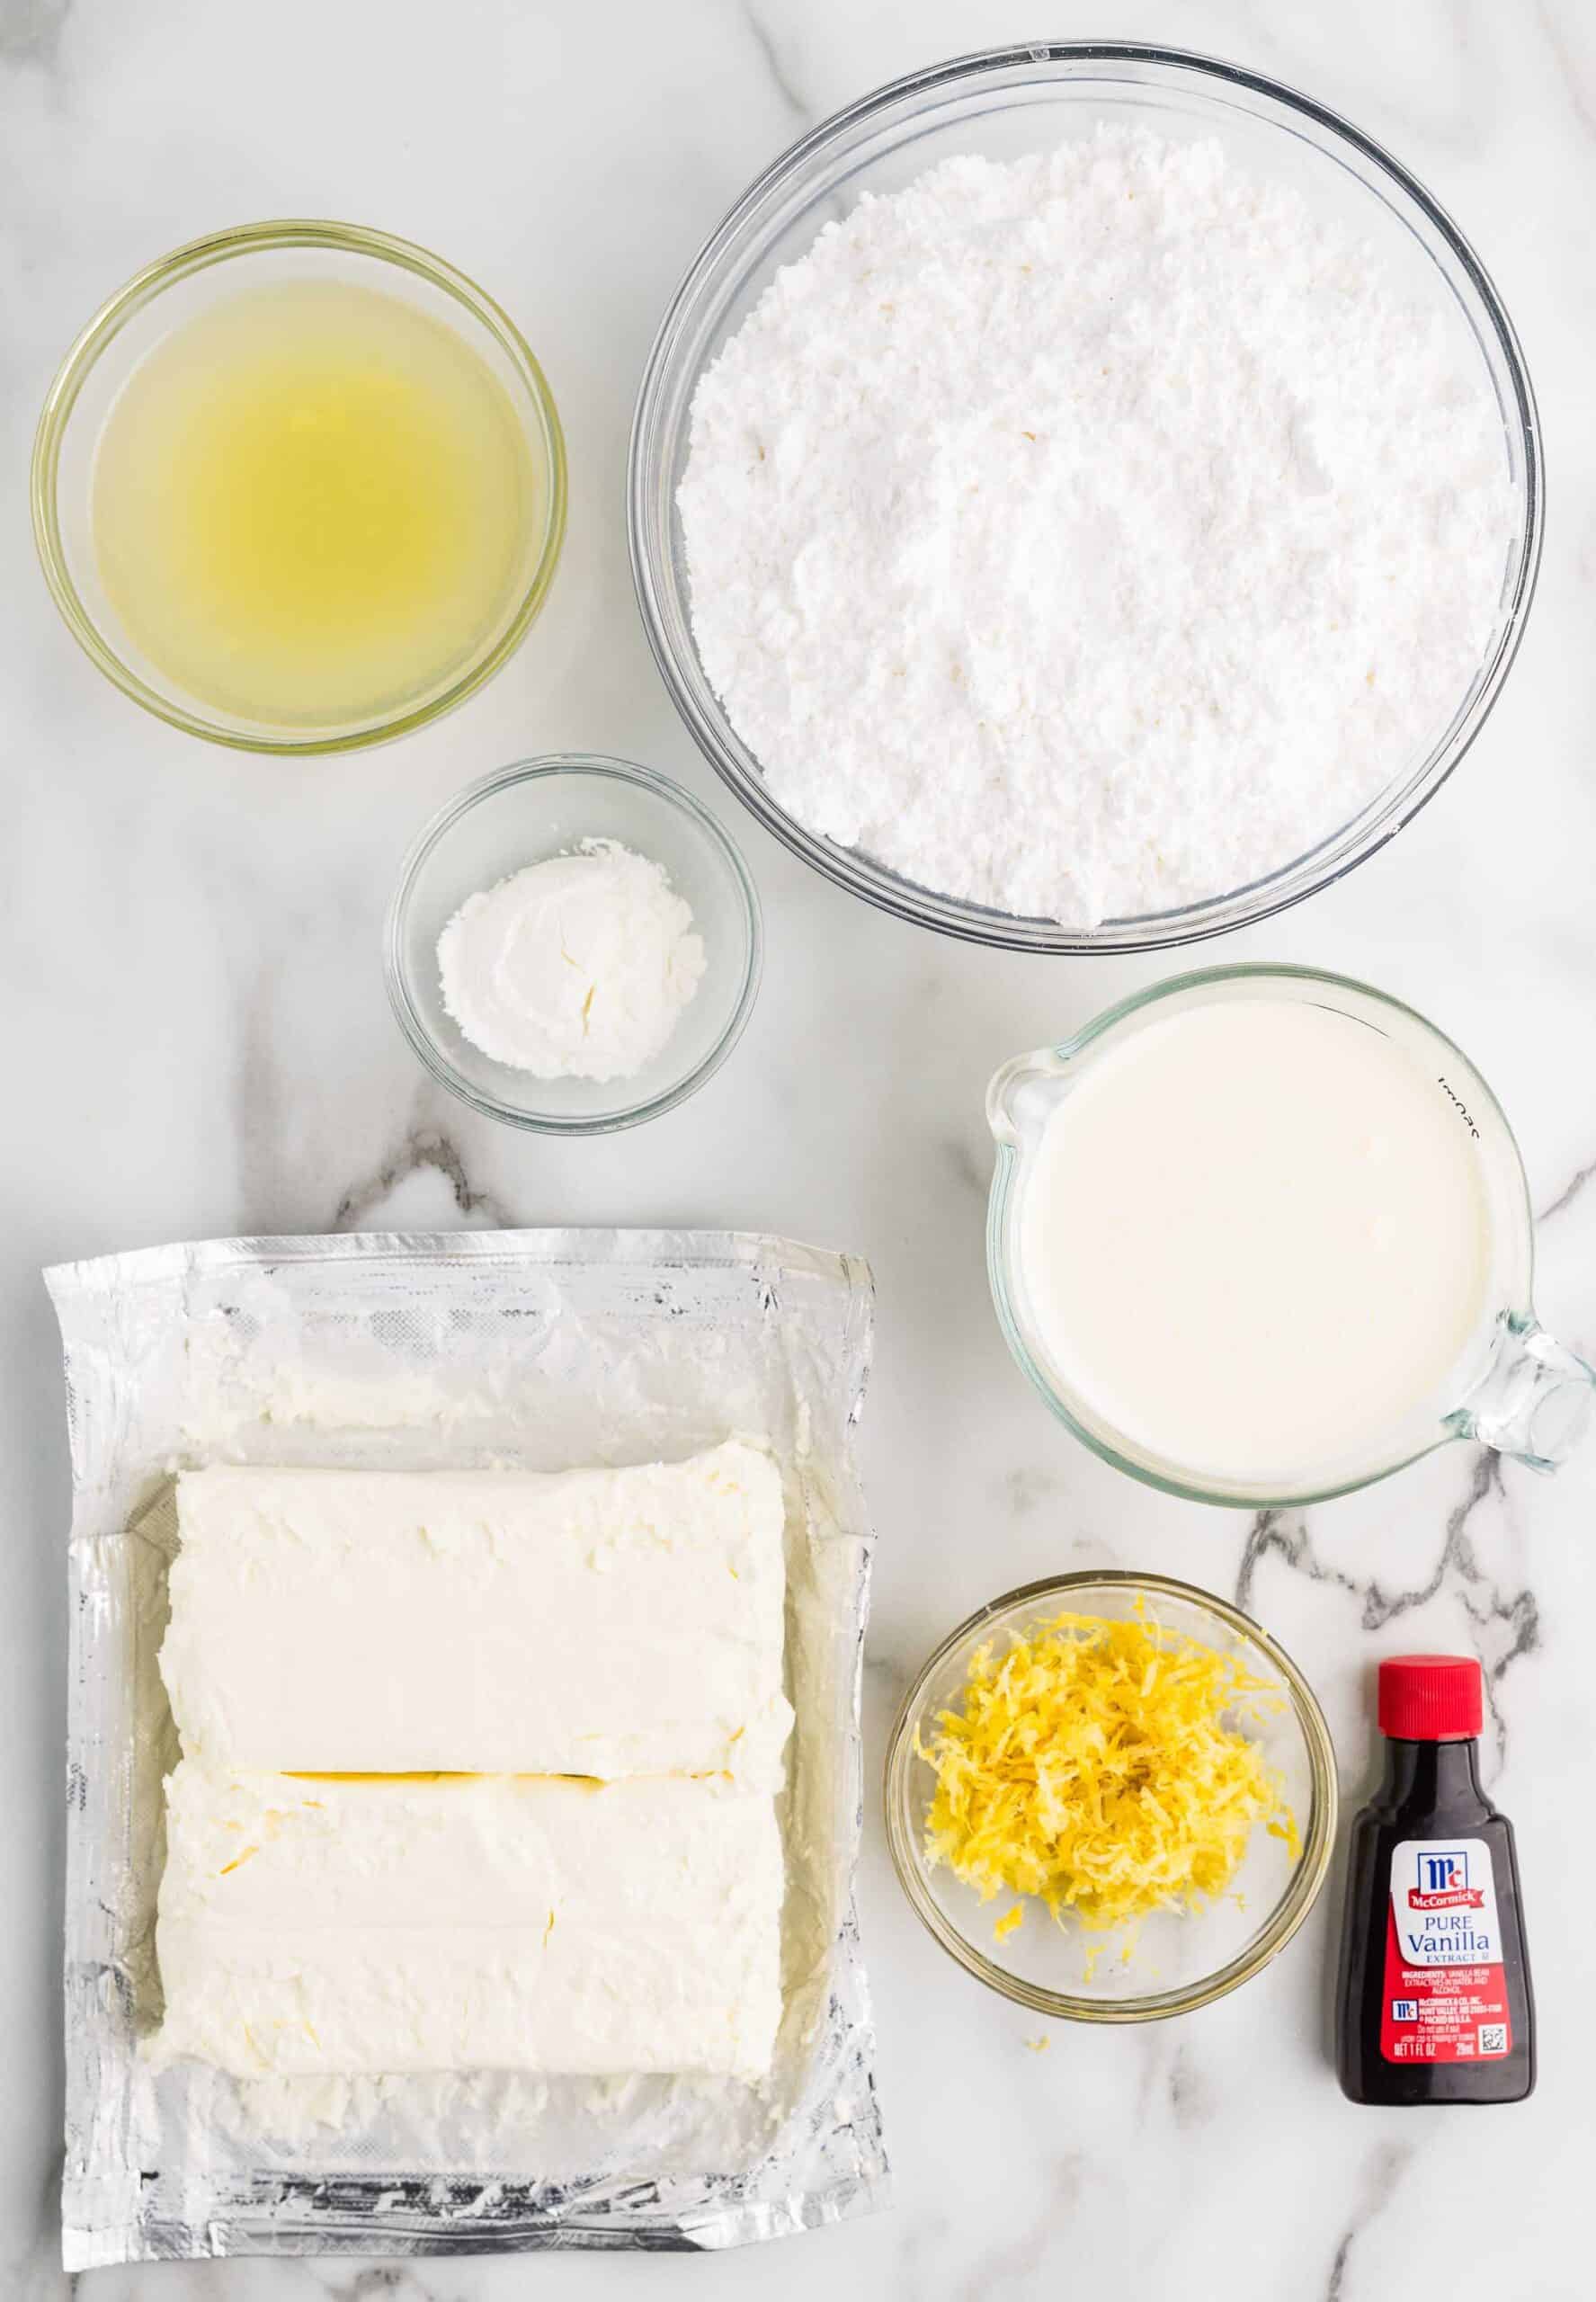
- Heavy whipping cream: it needs to be cold, straight from the fridge, or it won't whip up into stiff peaks. This is what makes the filling light and airy.
- Cream cheese: use the full-fat block (not the spreadable tub kind) and let it soften so it beats up smooth with no lumps.
- Fresh lemons: you'll need 3 to 4 large lemons for the zest and juice. Zest them first, then juice them! Bottled lemon juice works in a pinch, but fresh tastes so much brighter.
- Confectioners sugar: sweetens the filling without any graininess. Sift it so the filling stays silky smooth.
- Cornstarch: just a tablespoon keeps the filling stable so it doesn't deflate and holds up when you pipe it. Most cornstarch is gluten-free, but check the label if you're baking for someone who needs to be gluten-free.
- Pure vanilla extract: rounds out the lemon flavor. You can swap in lemon extract for an extra lemony filling.
How to Make Lemon Cheesecake Filling
Whip the cream, beat the cream cheese, fold them together, and add the lemon. That's it! Here's how it comes together:
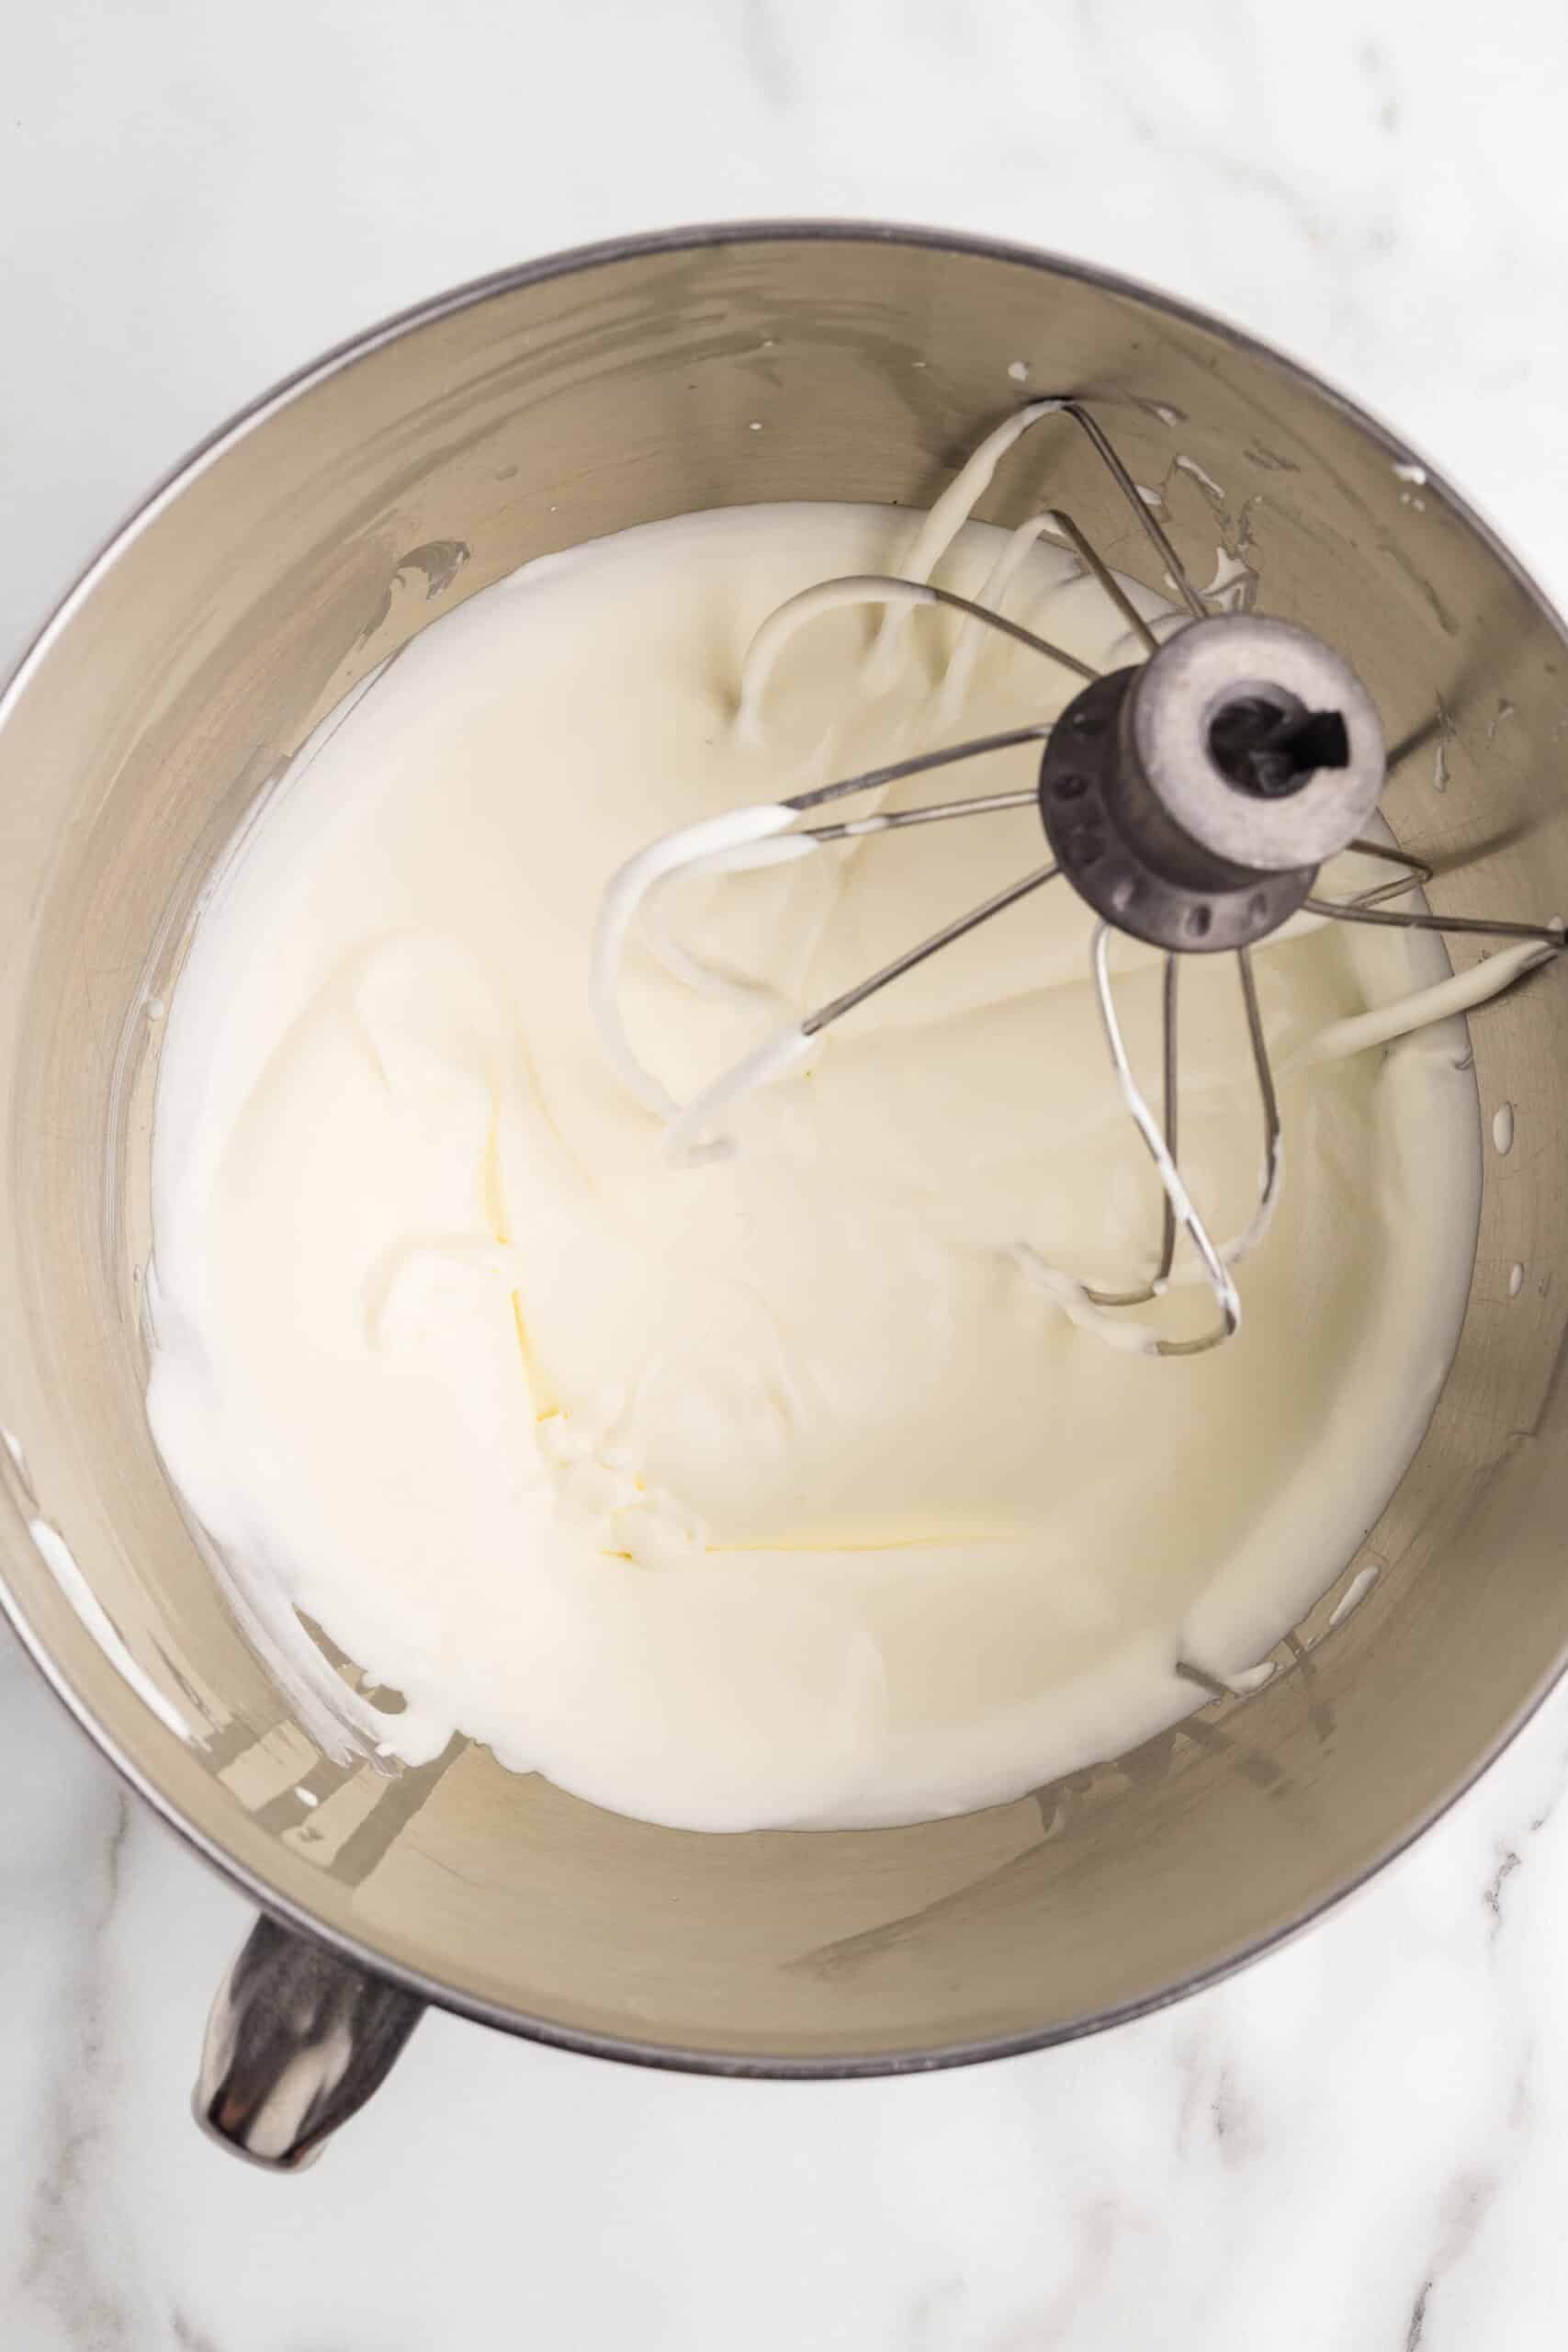
Whip the cream
Beat the cold heavy cream with the whisk attachment for 4 to 8 minutes, until medium-stiff peaks form. Don't overbeat it! Transfer the whipped cream to another bowl.
💡 If your kitchen is warm, it can be helpful to chill your mixer bowl and whisk for 10 minutes before you start. The cream whips faster and fluffier.
Beat the cream cheese
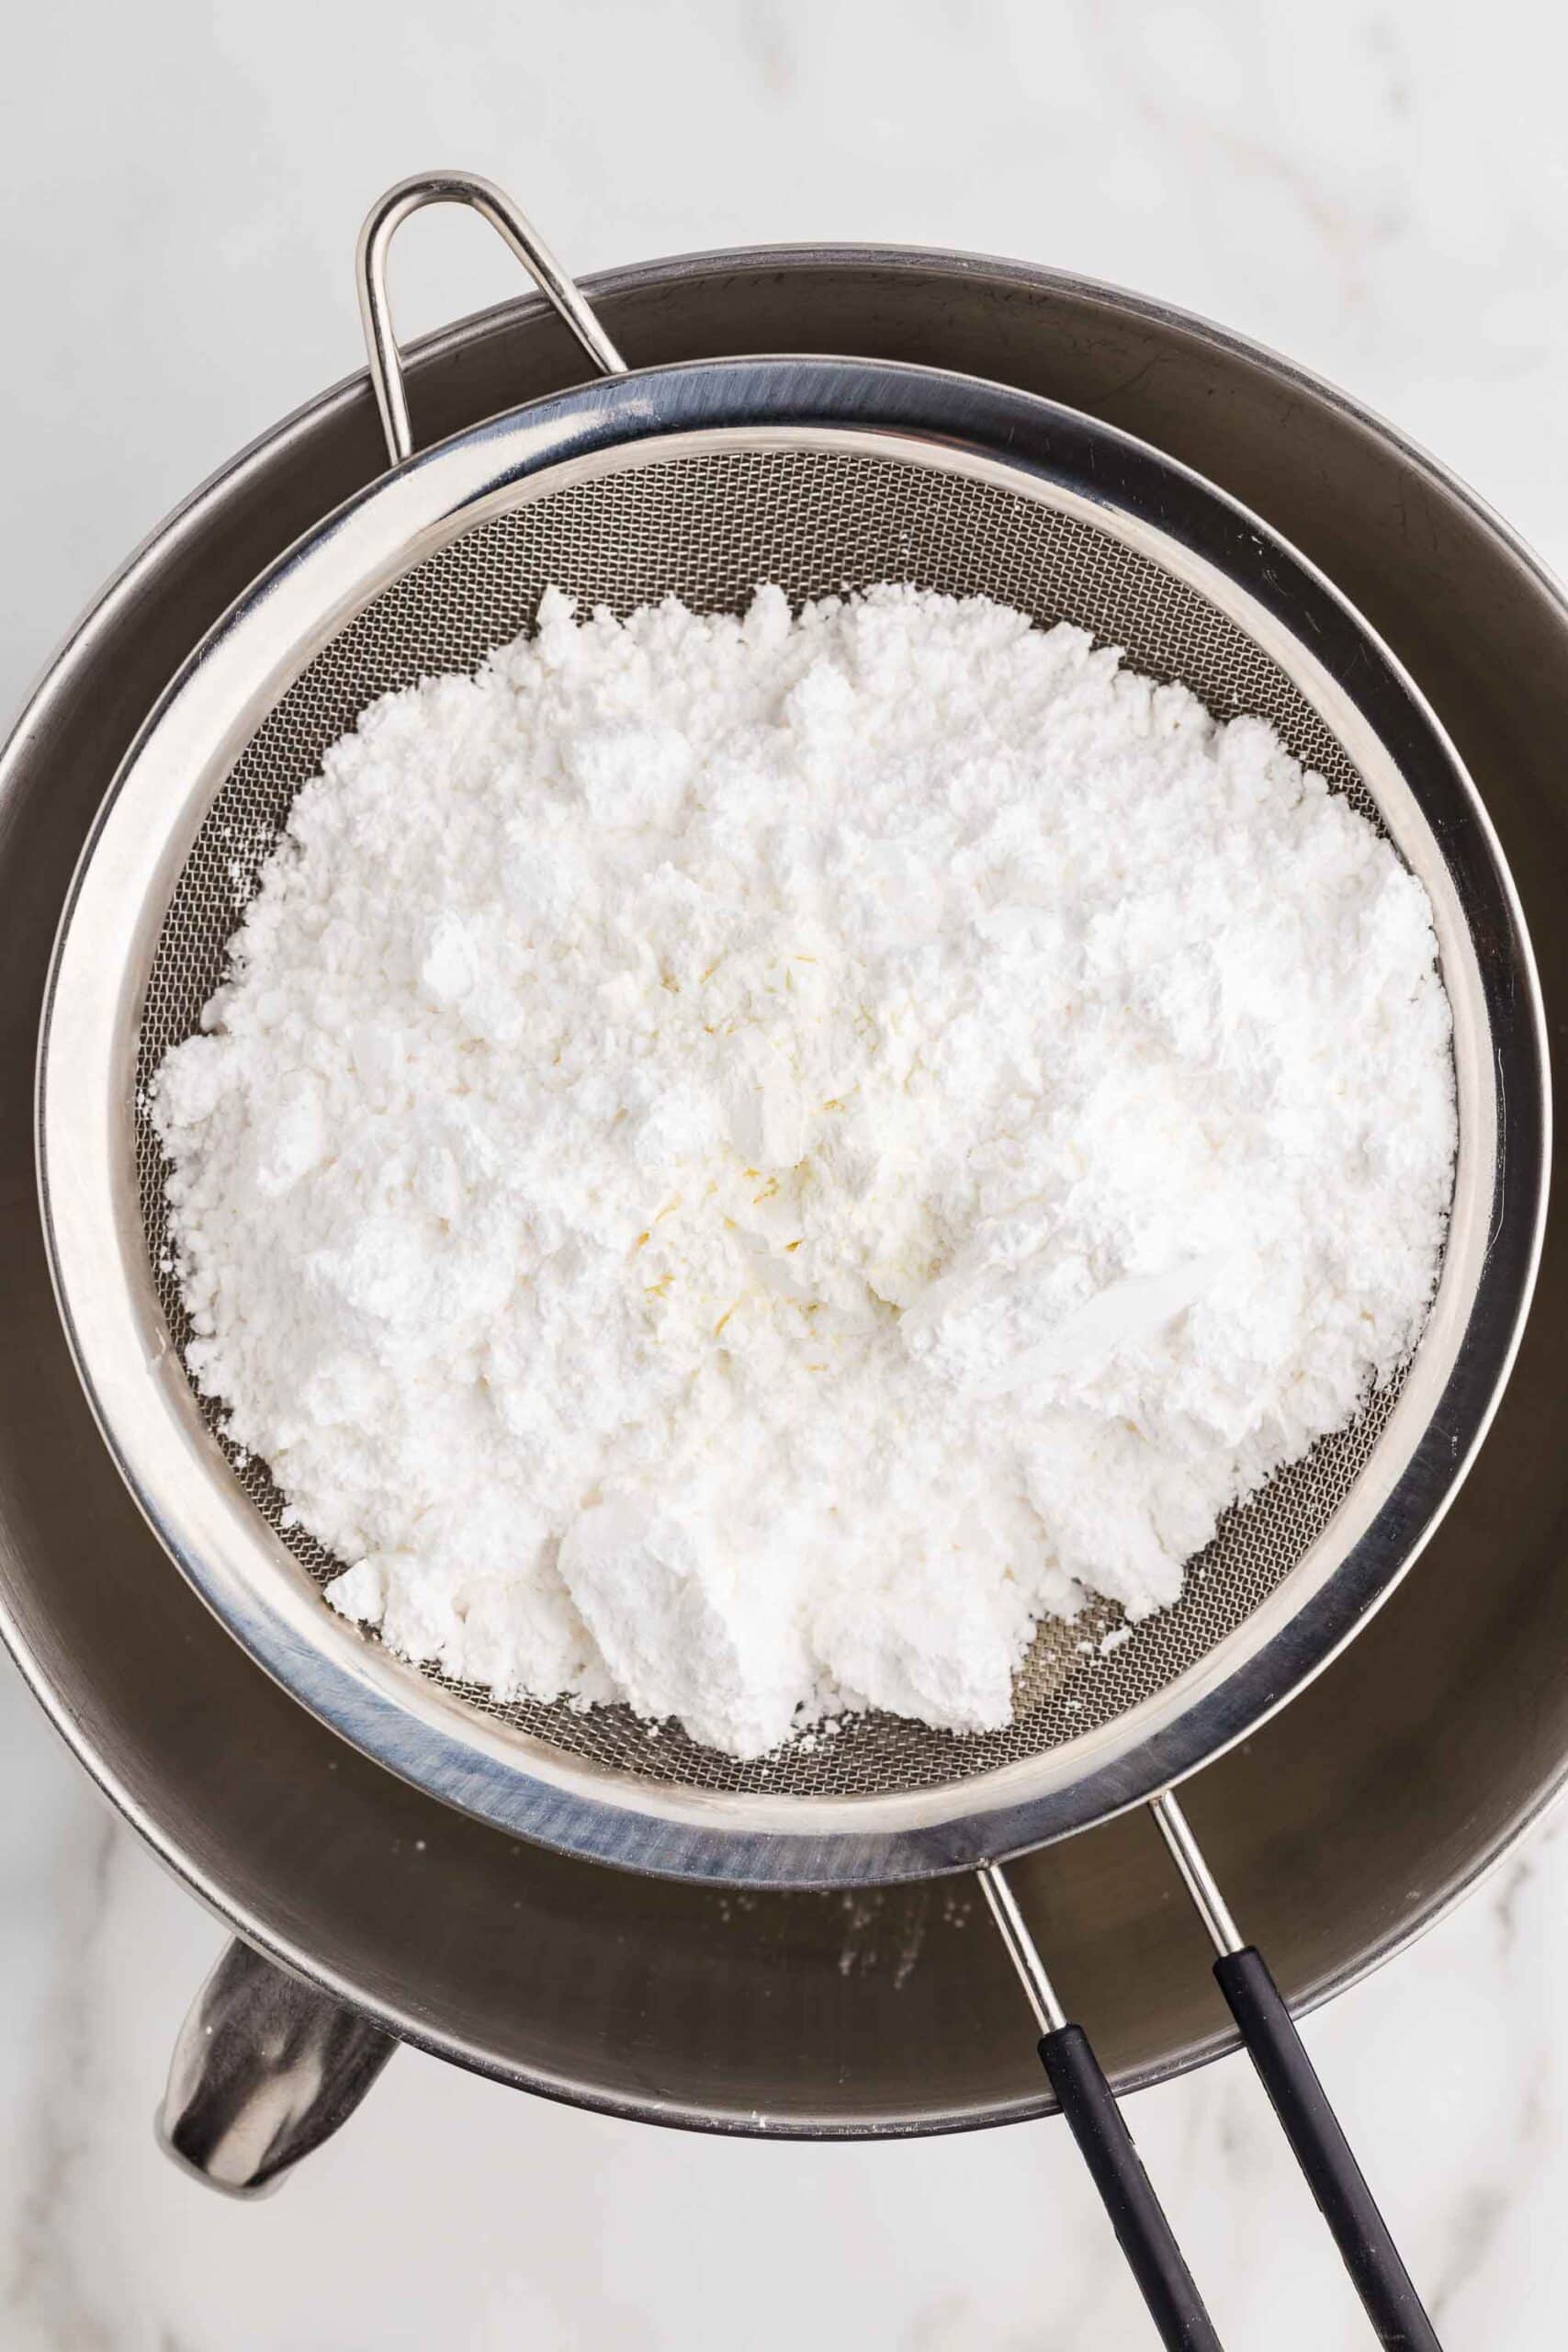
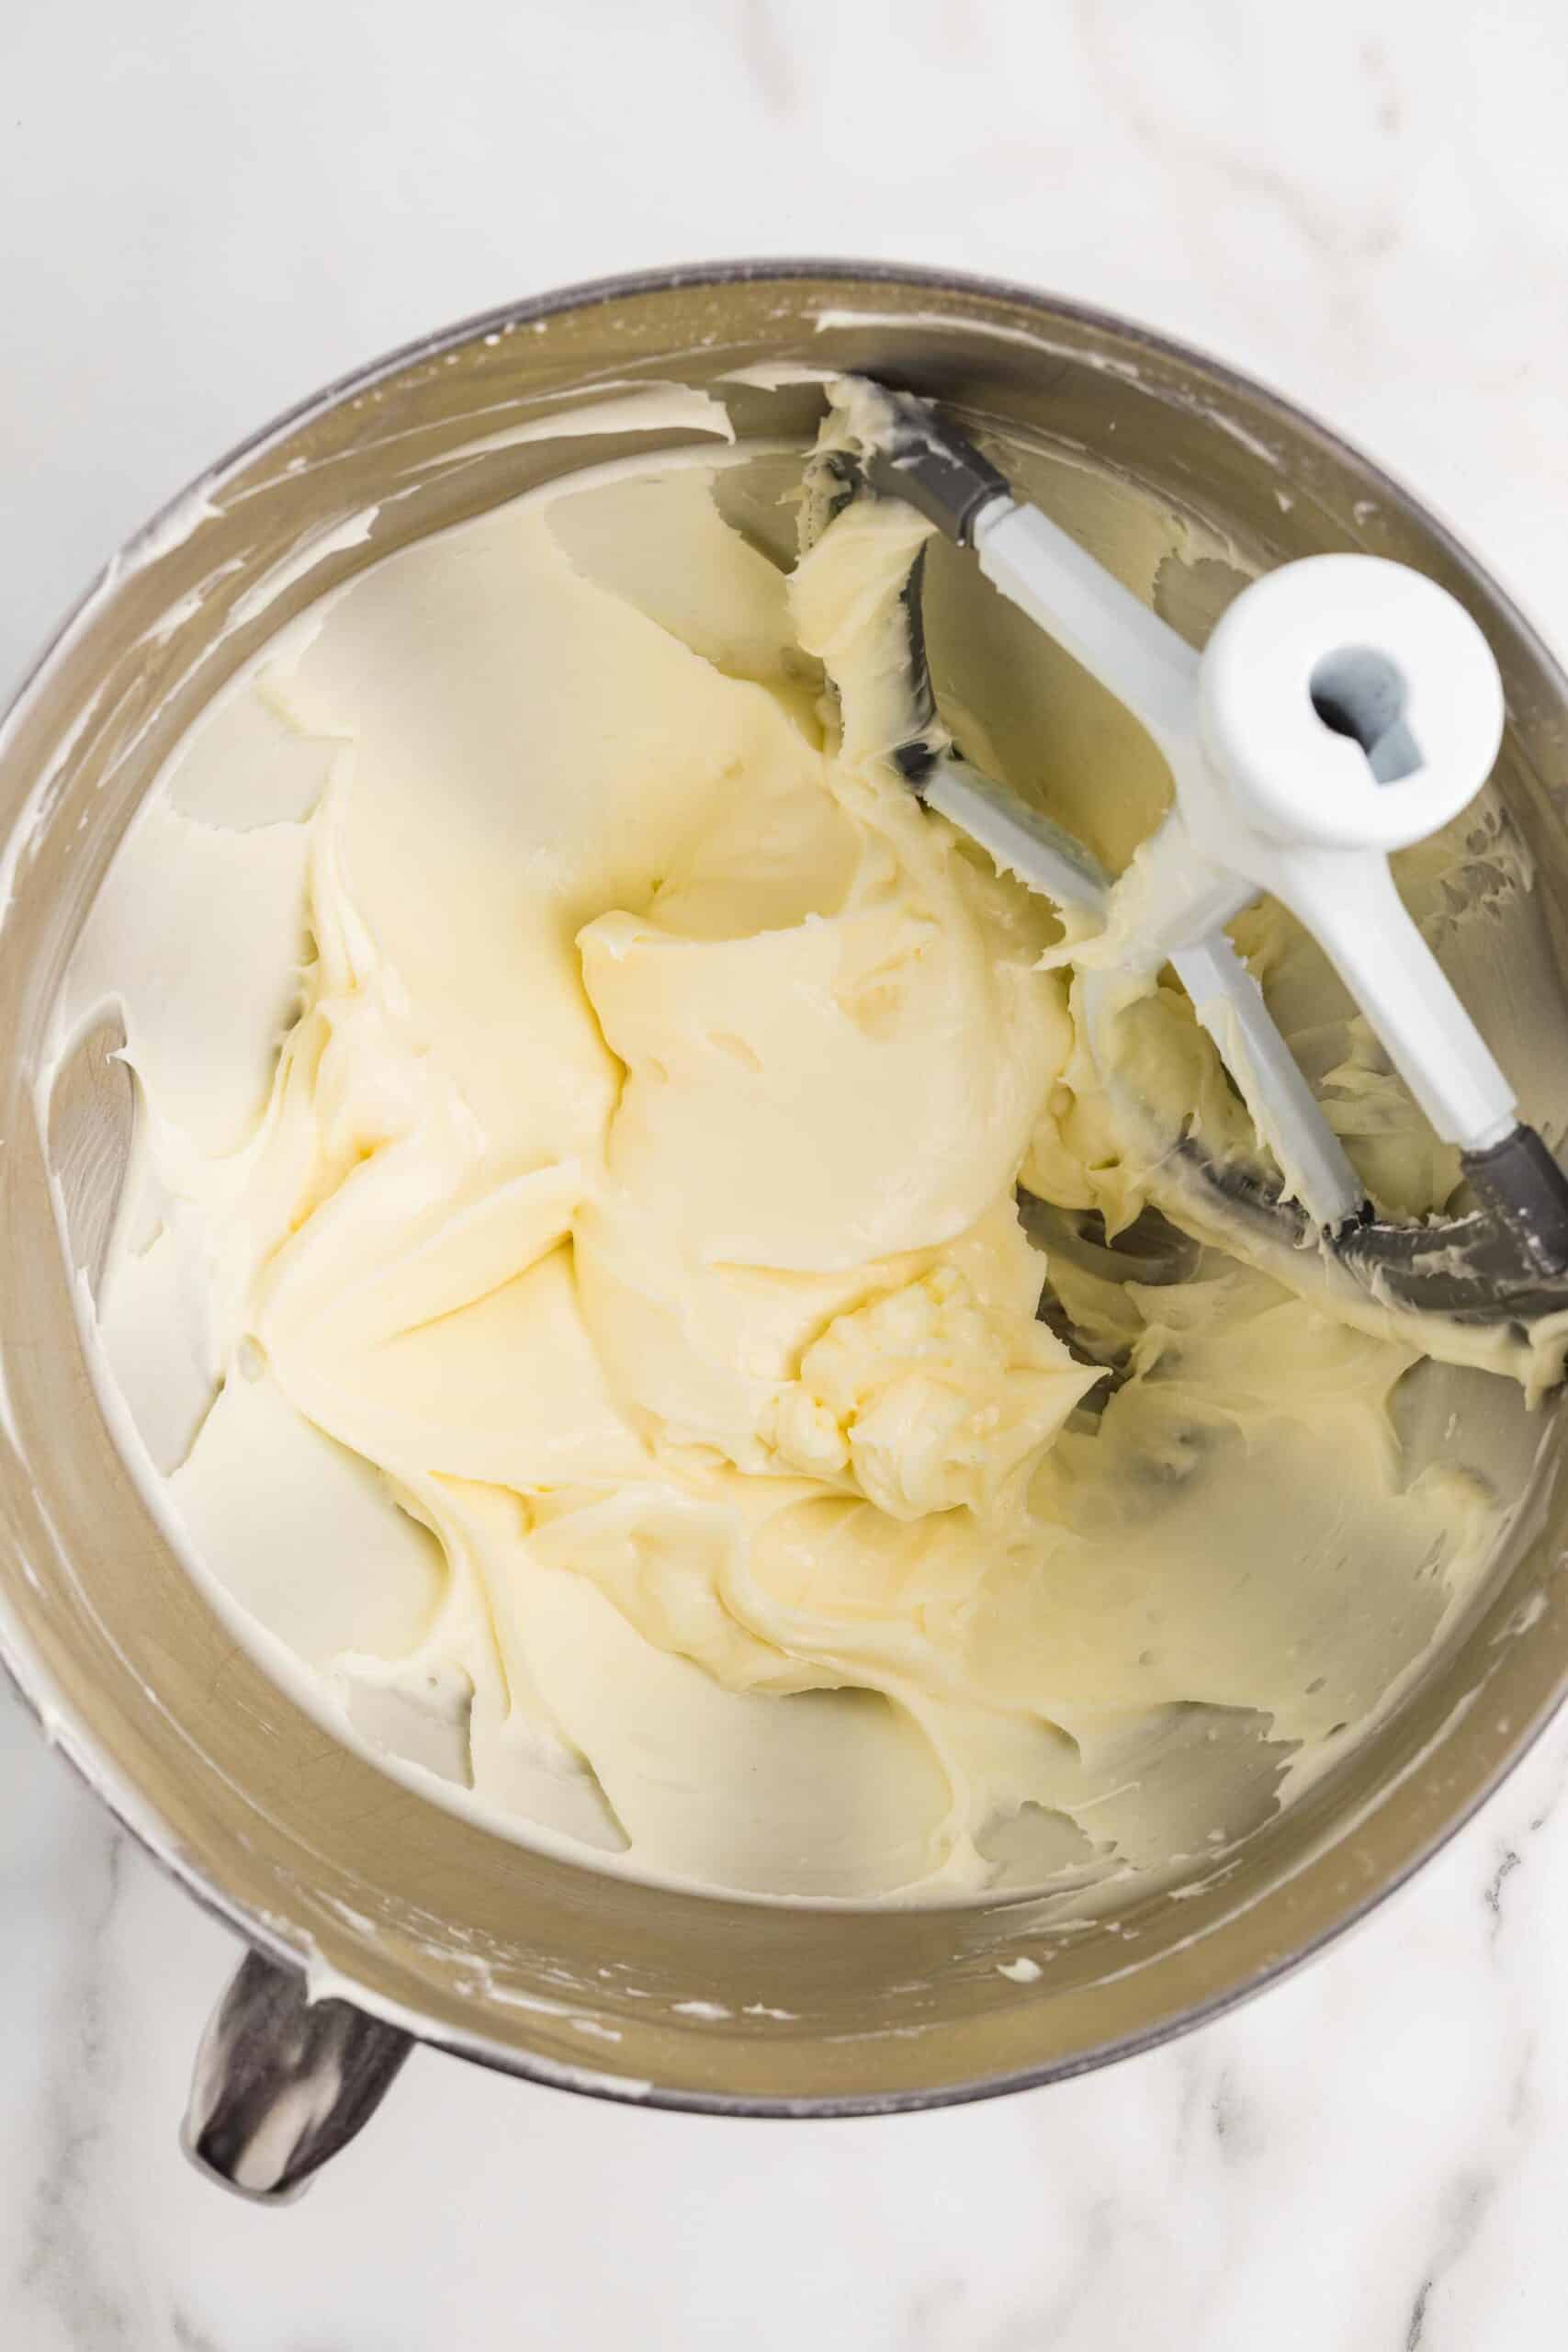
In the now-empty mixer bowl, add the softened cream cheese and sift the cornstarch and confectioners sugar right on top. Beat with the paddle attachment for 3 to 5 minutes, until thick and smooth.
Fold in the whipped cream
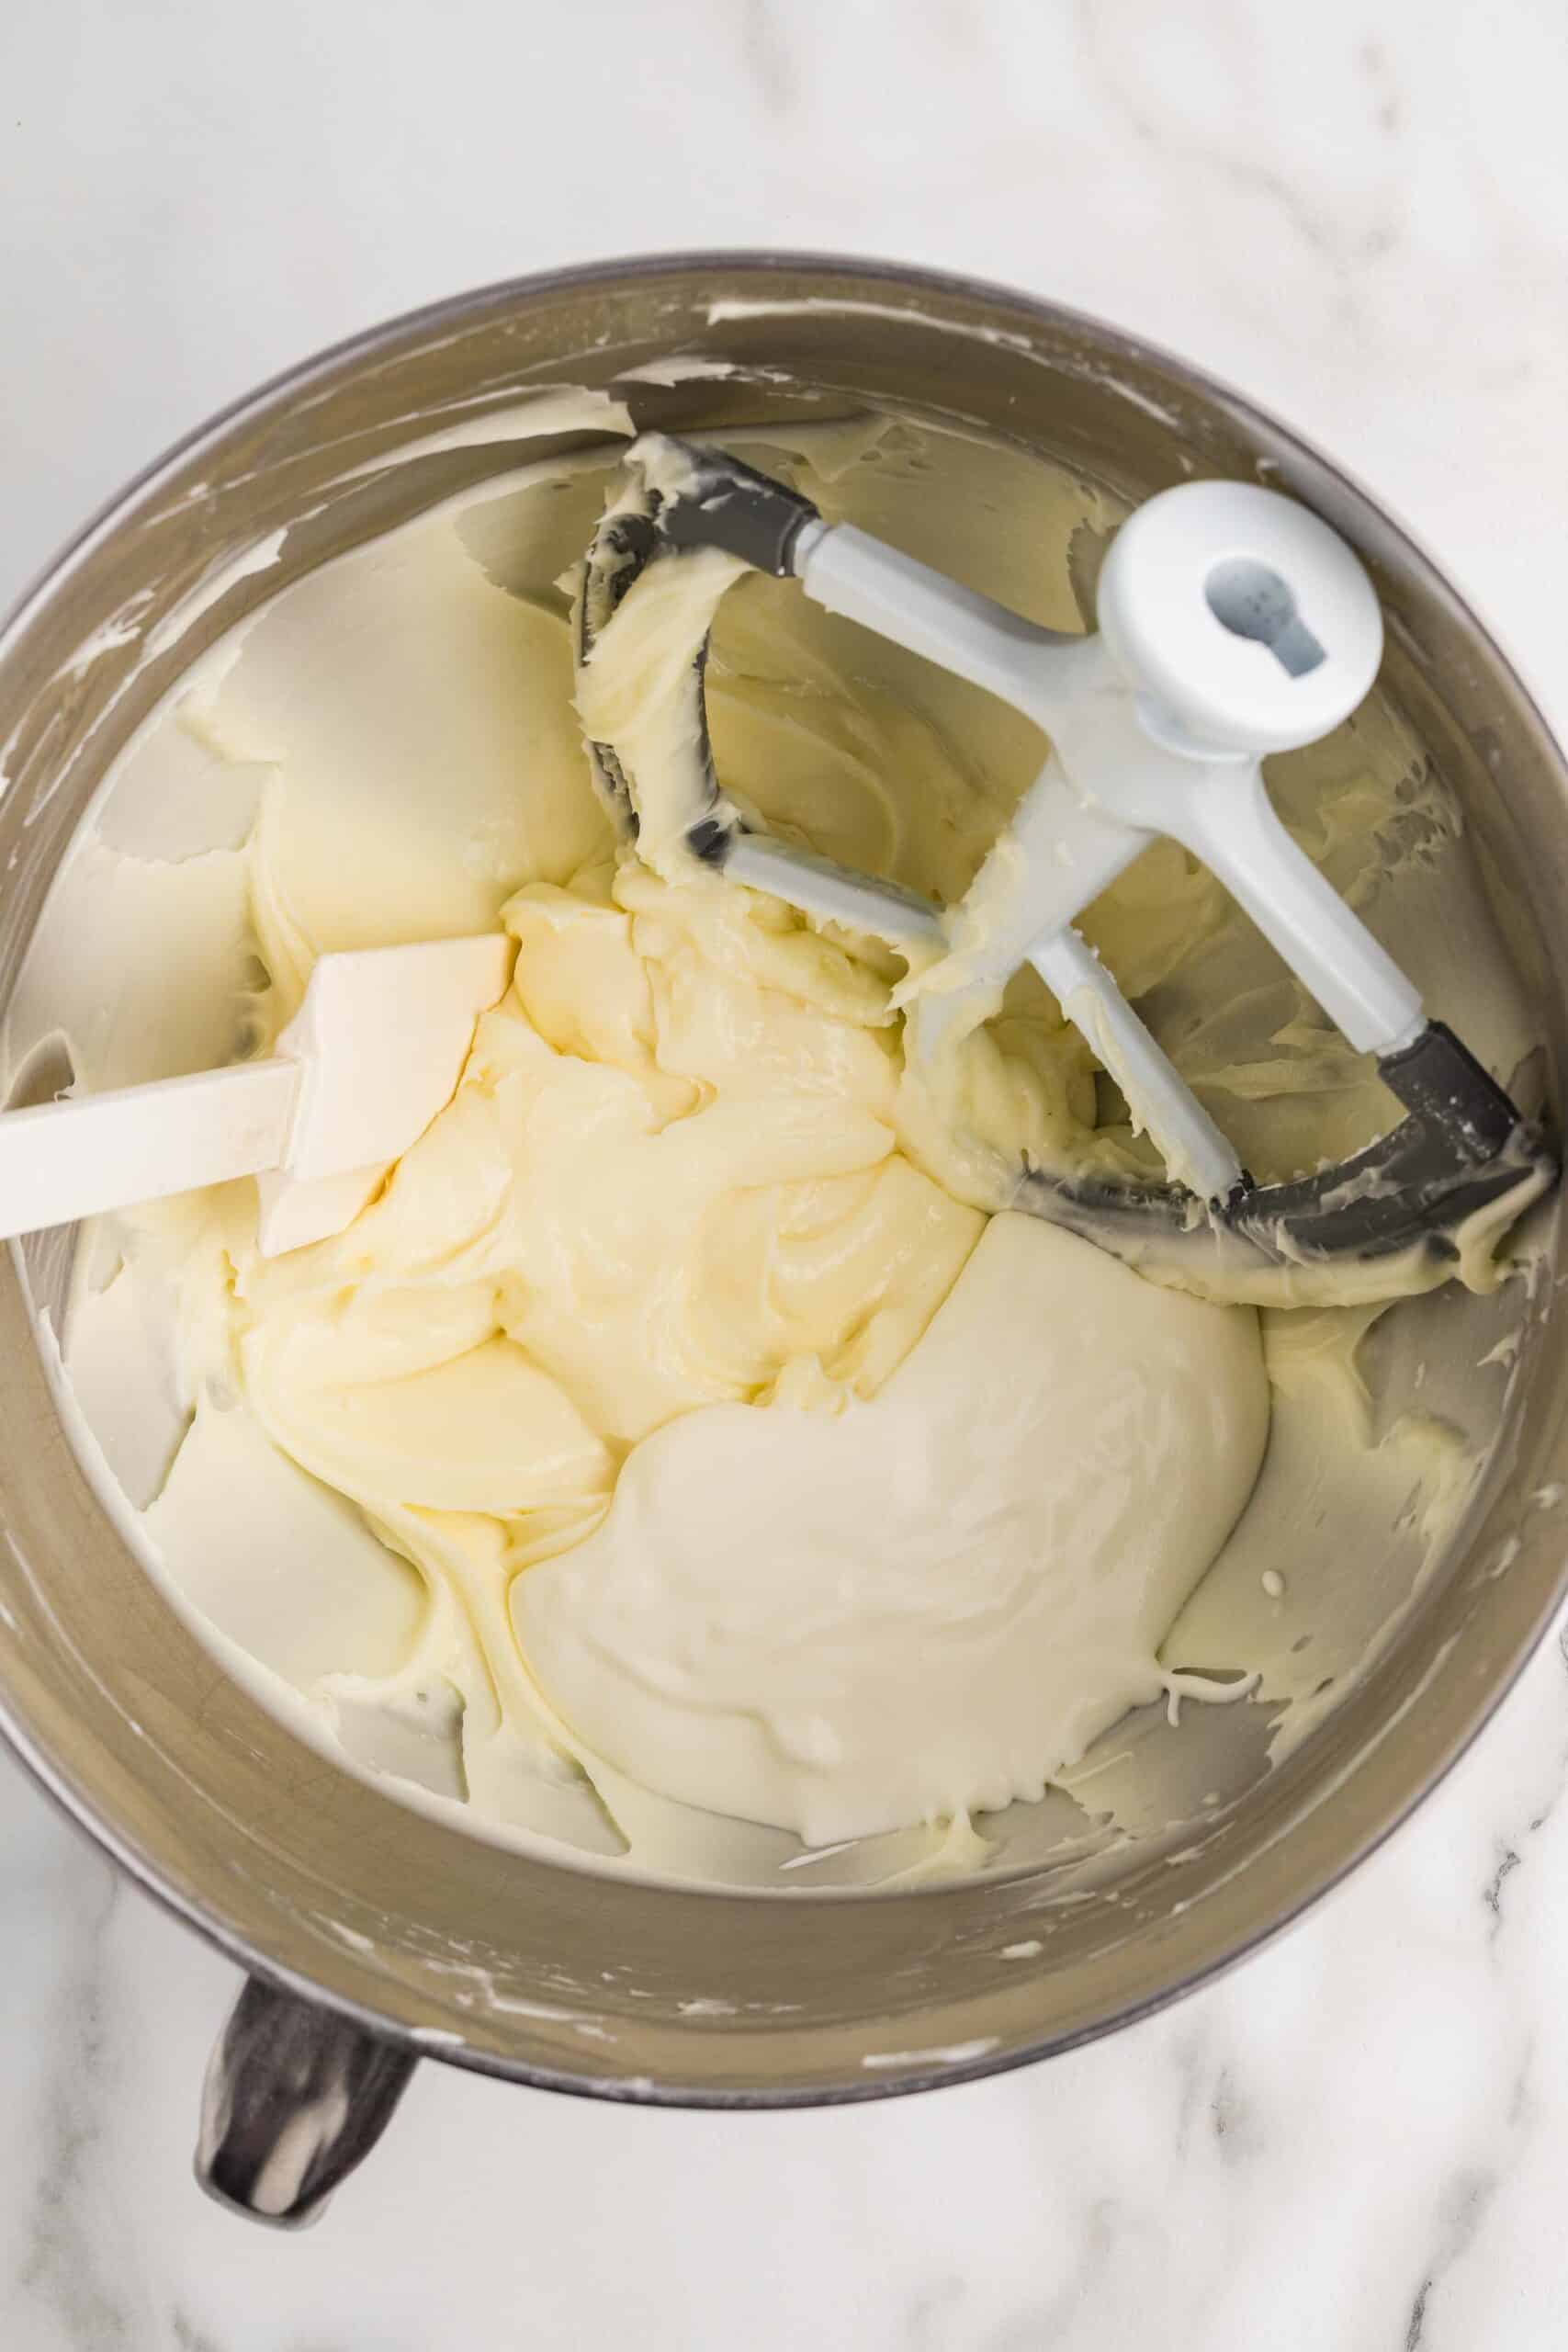
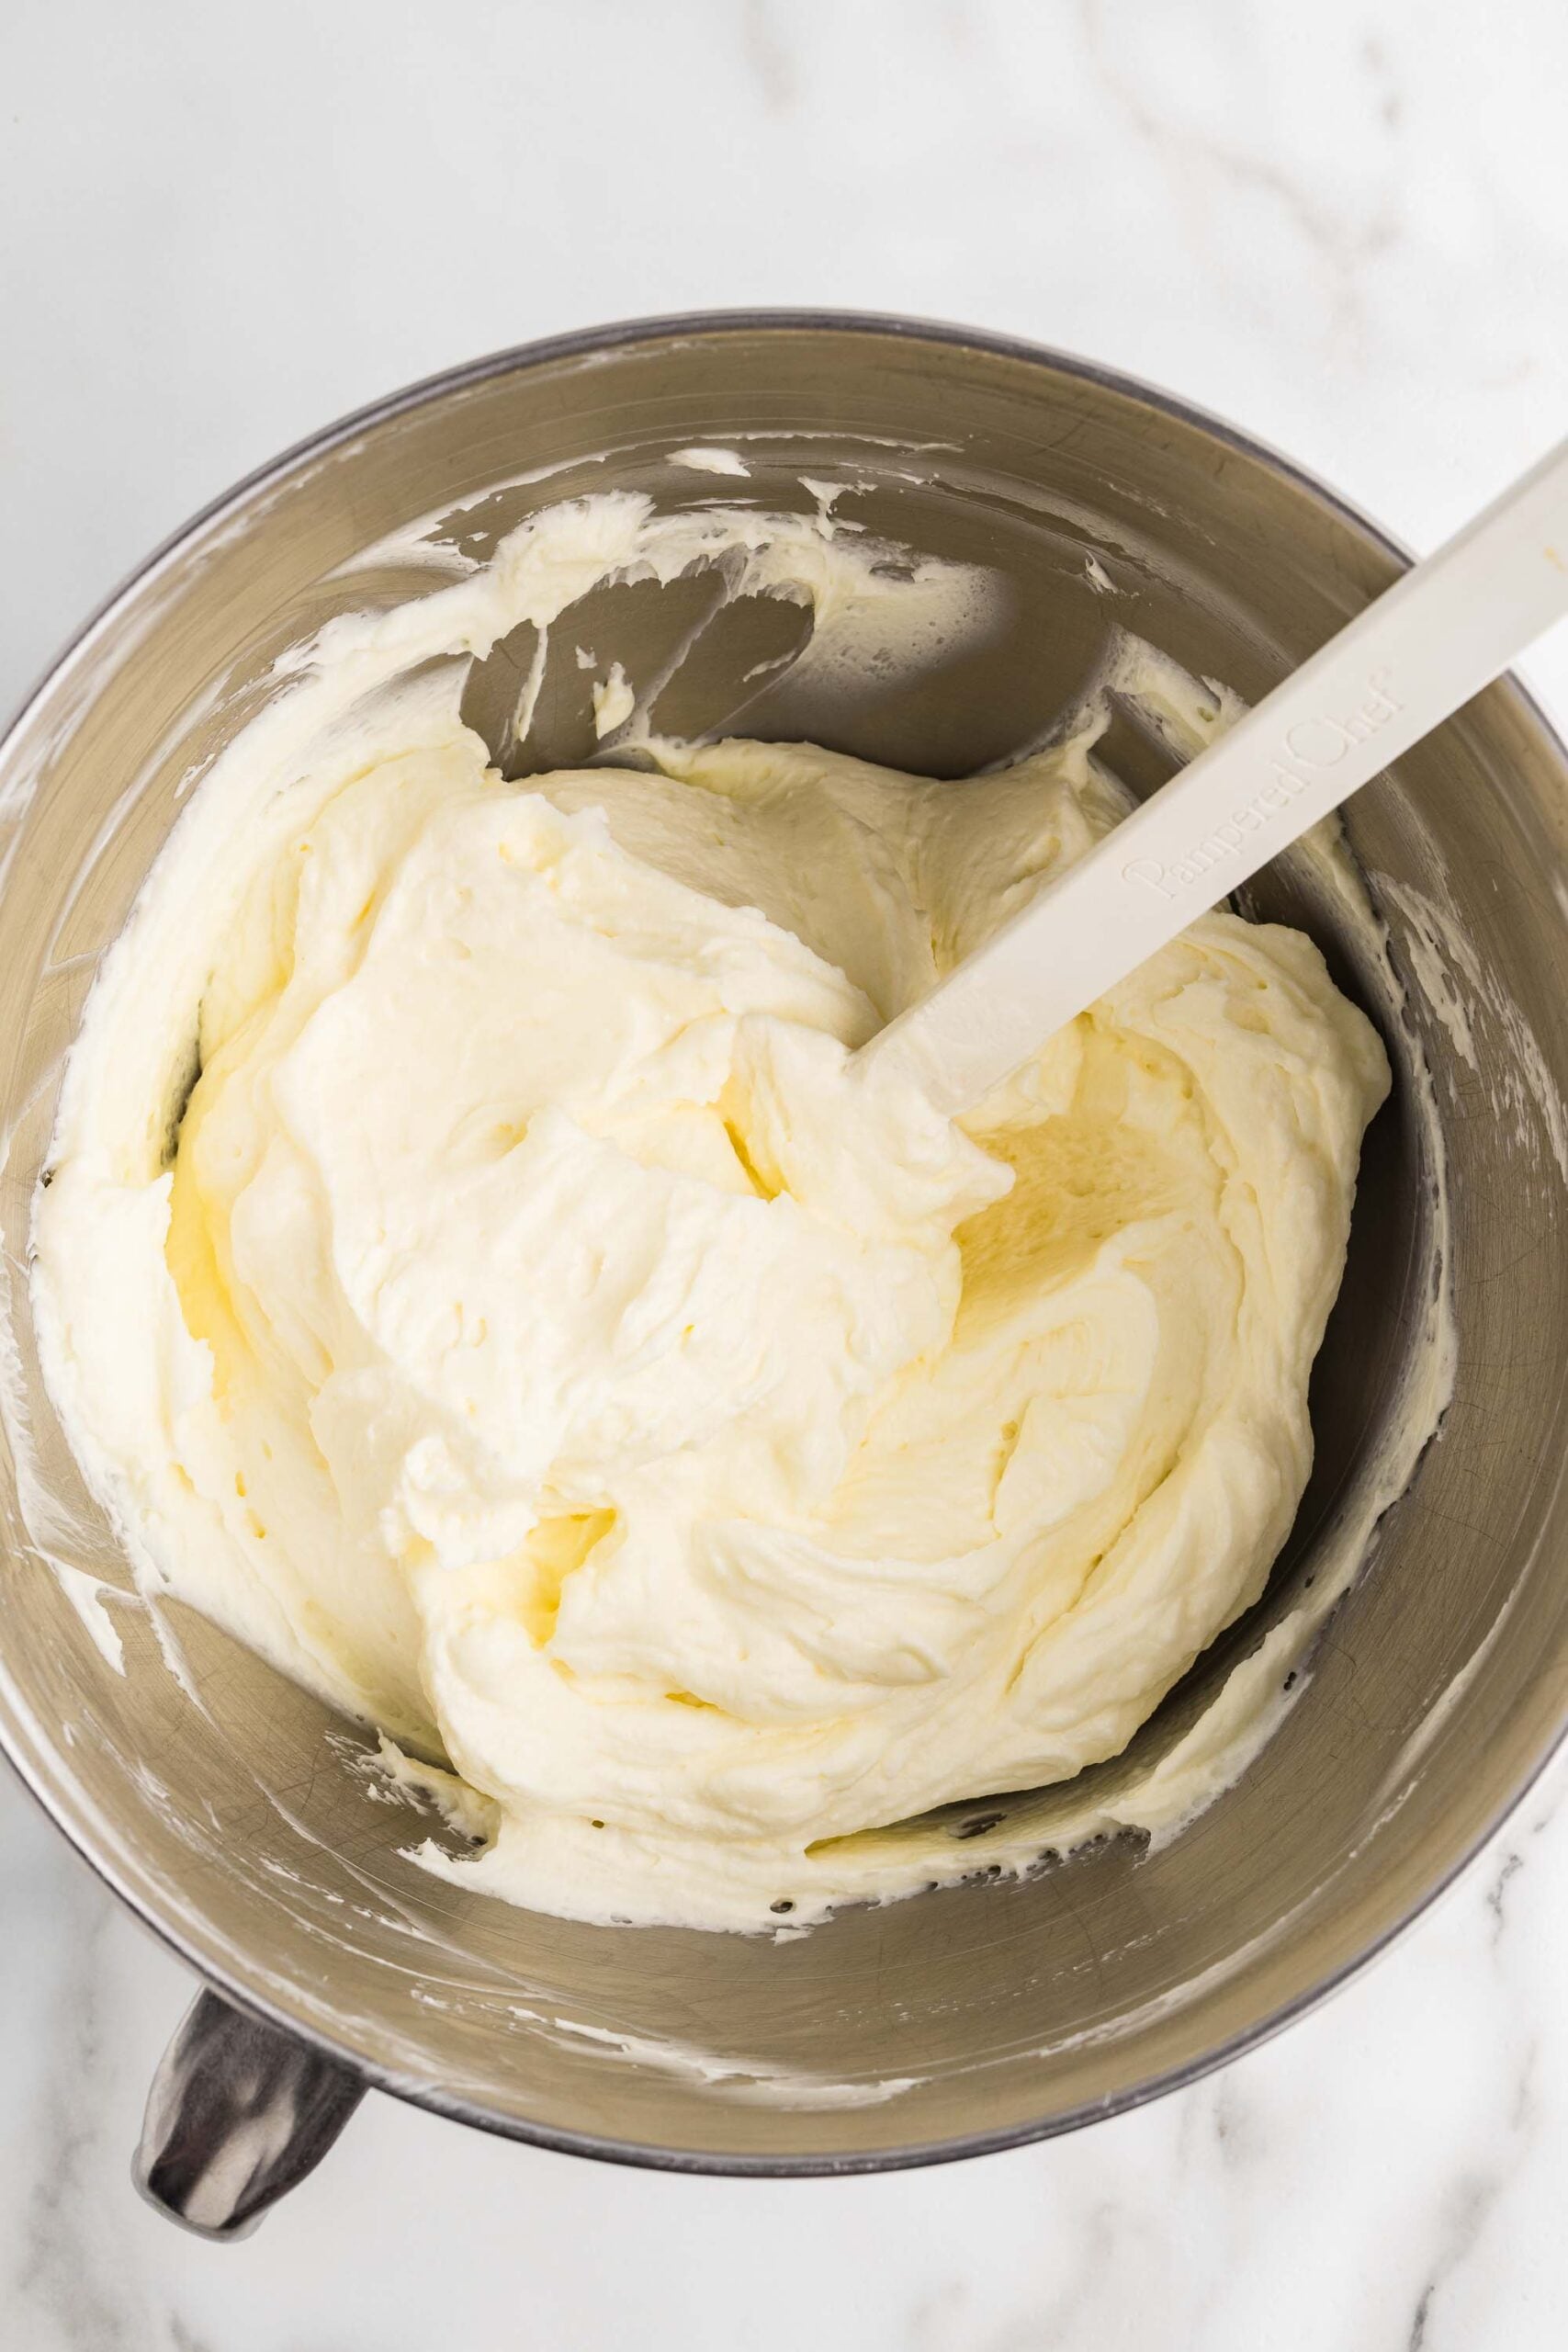
Add the whipped cream about ¼ cup at a time, folding it in on low speed just until combined. Going slowly keeps all that air in the filling so it stays light and fluffy.
Add the lemon
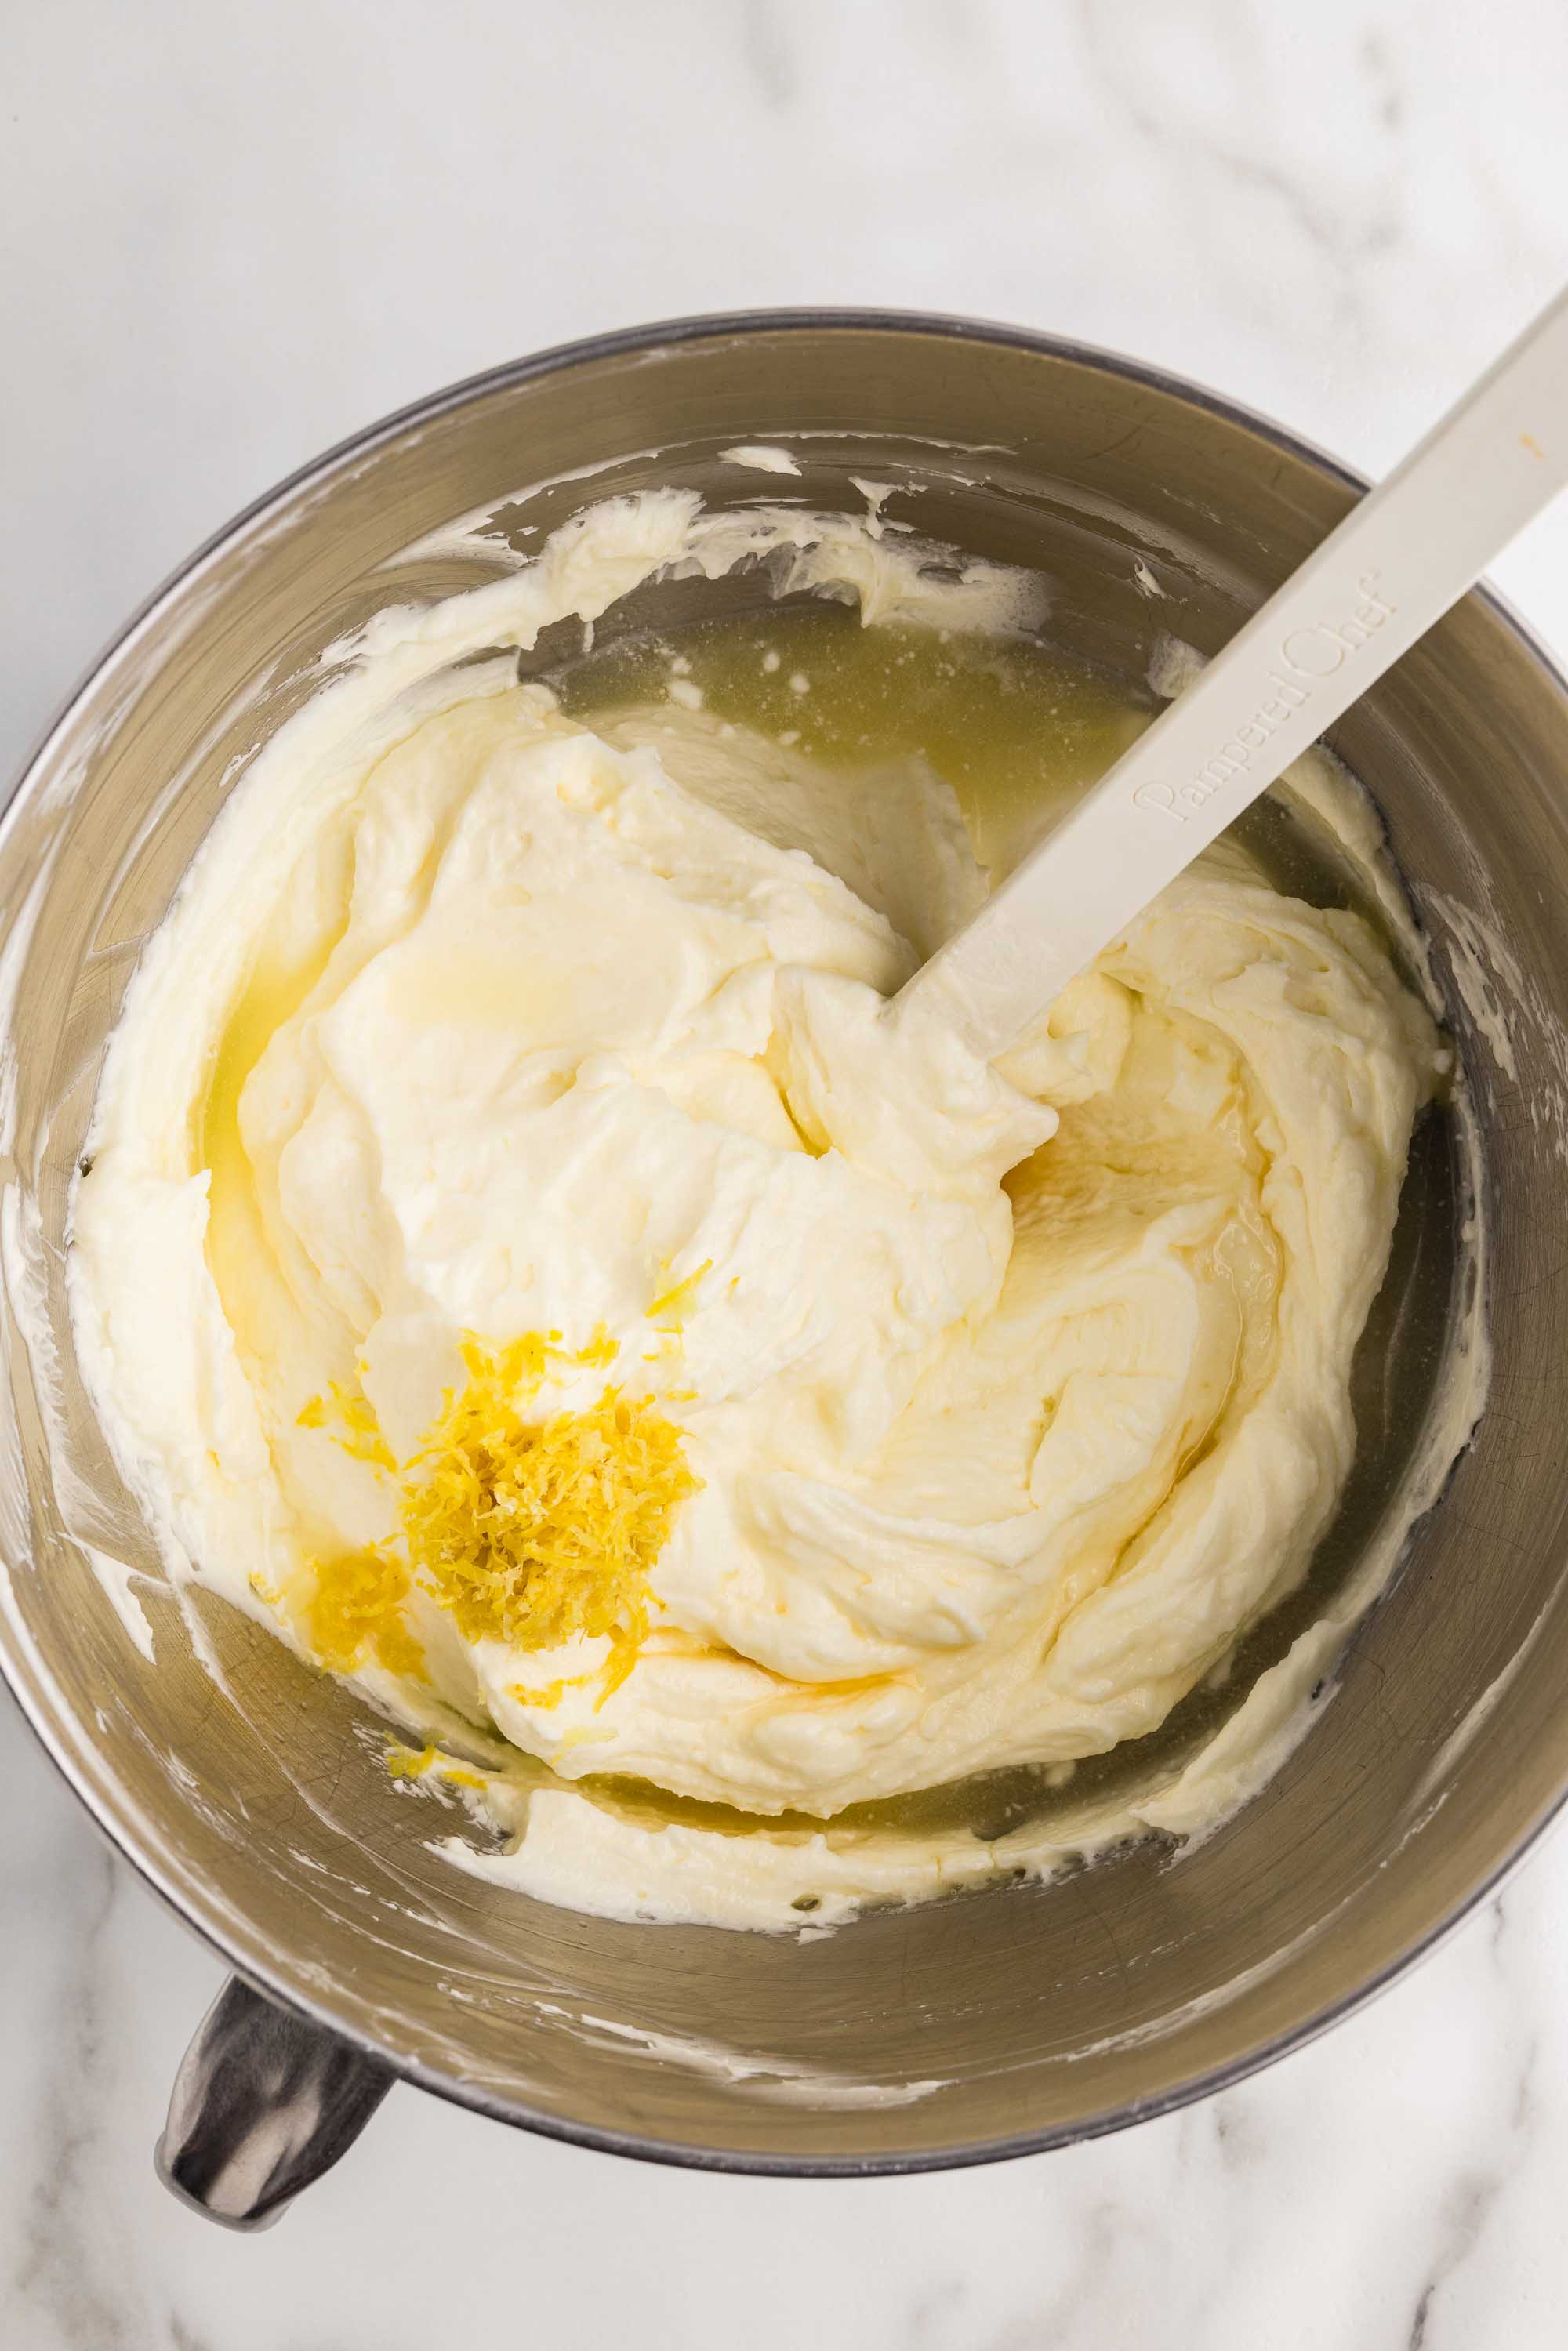
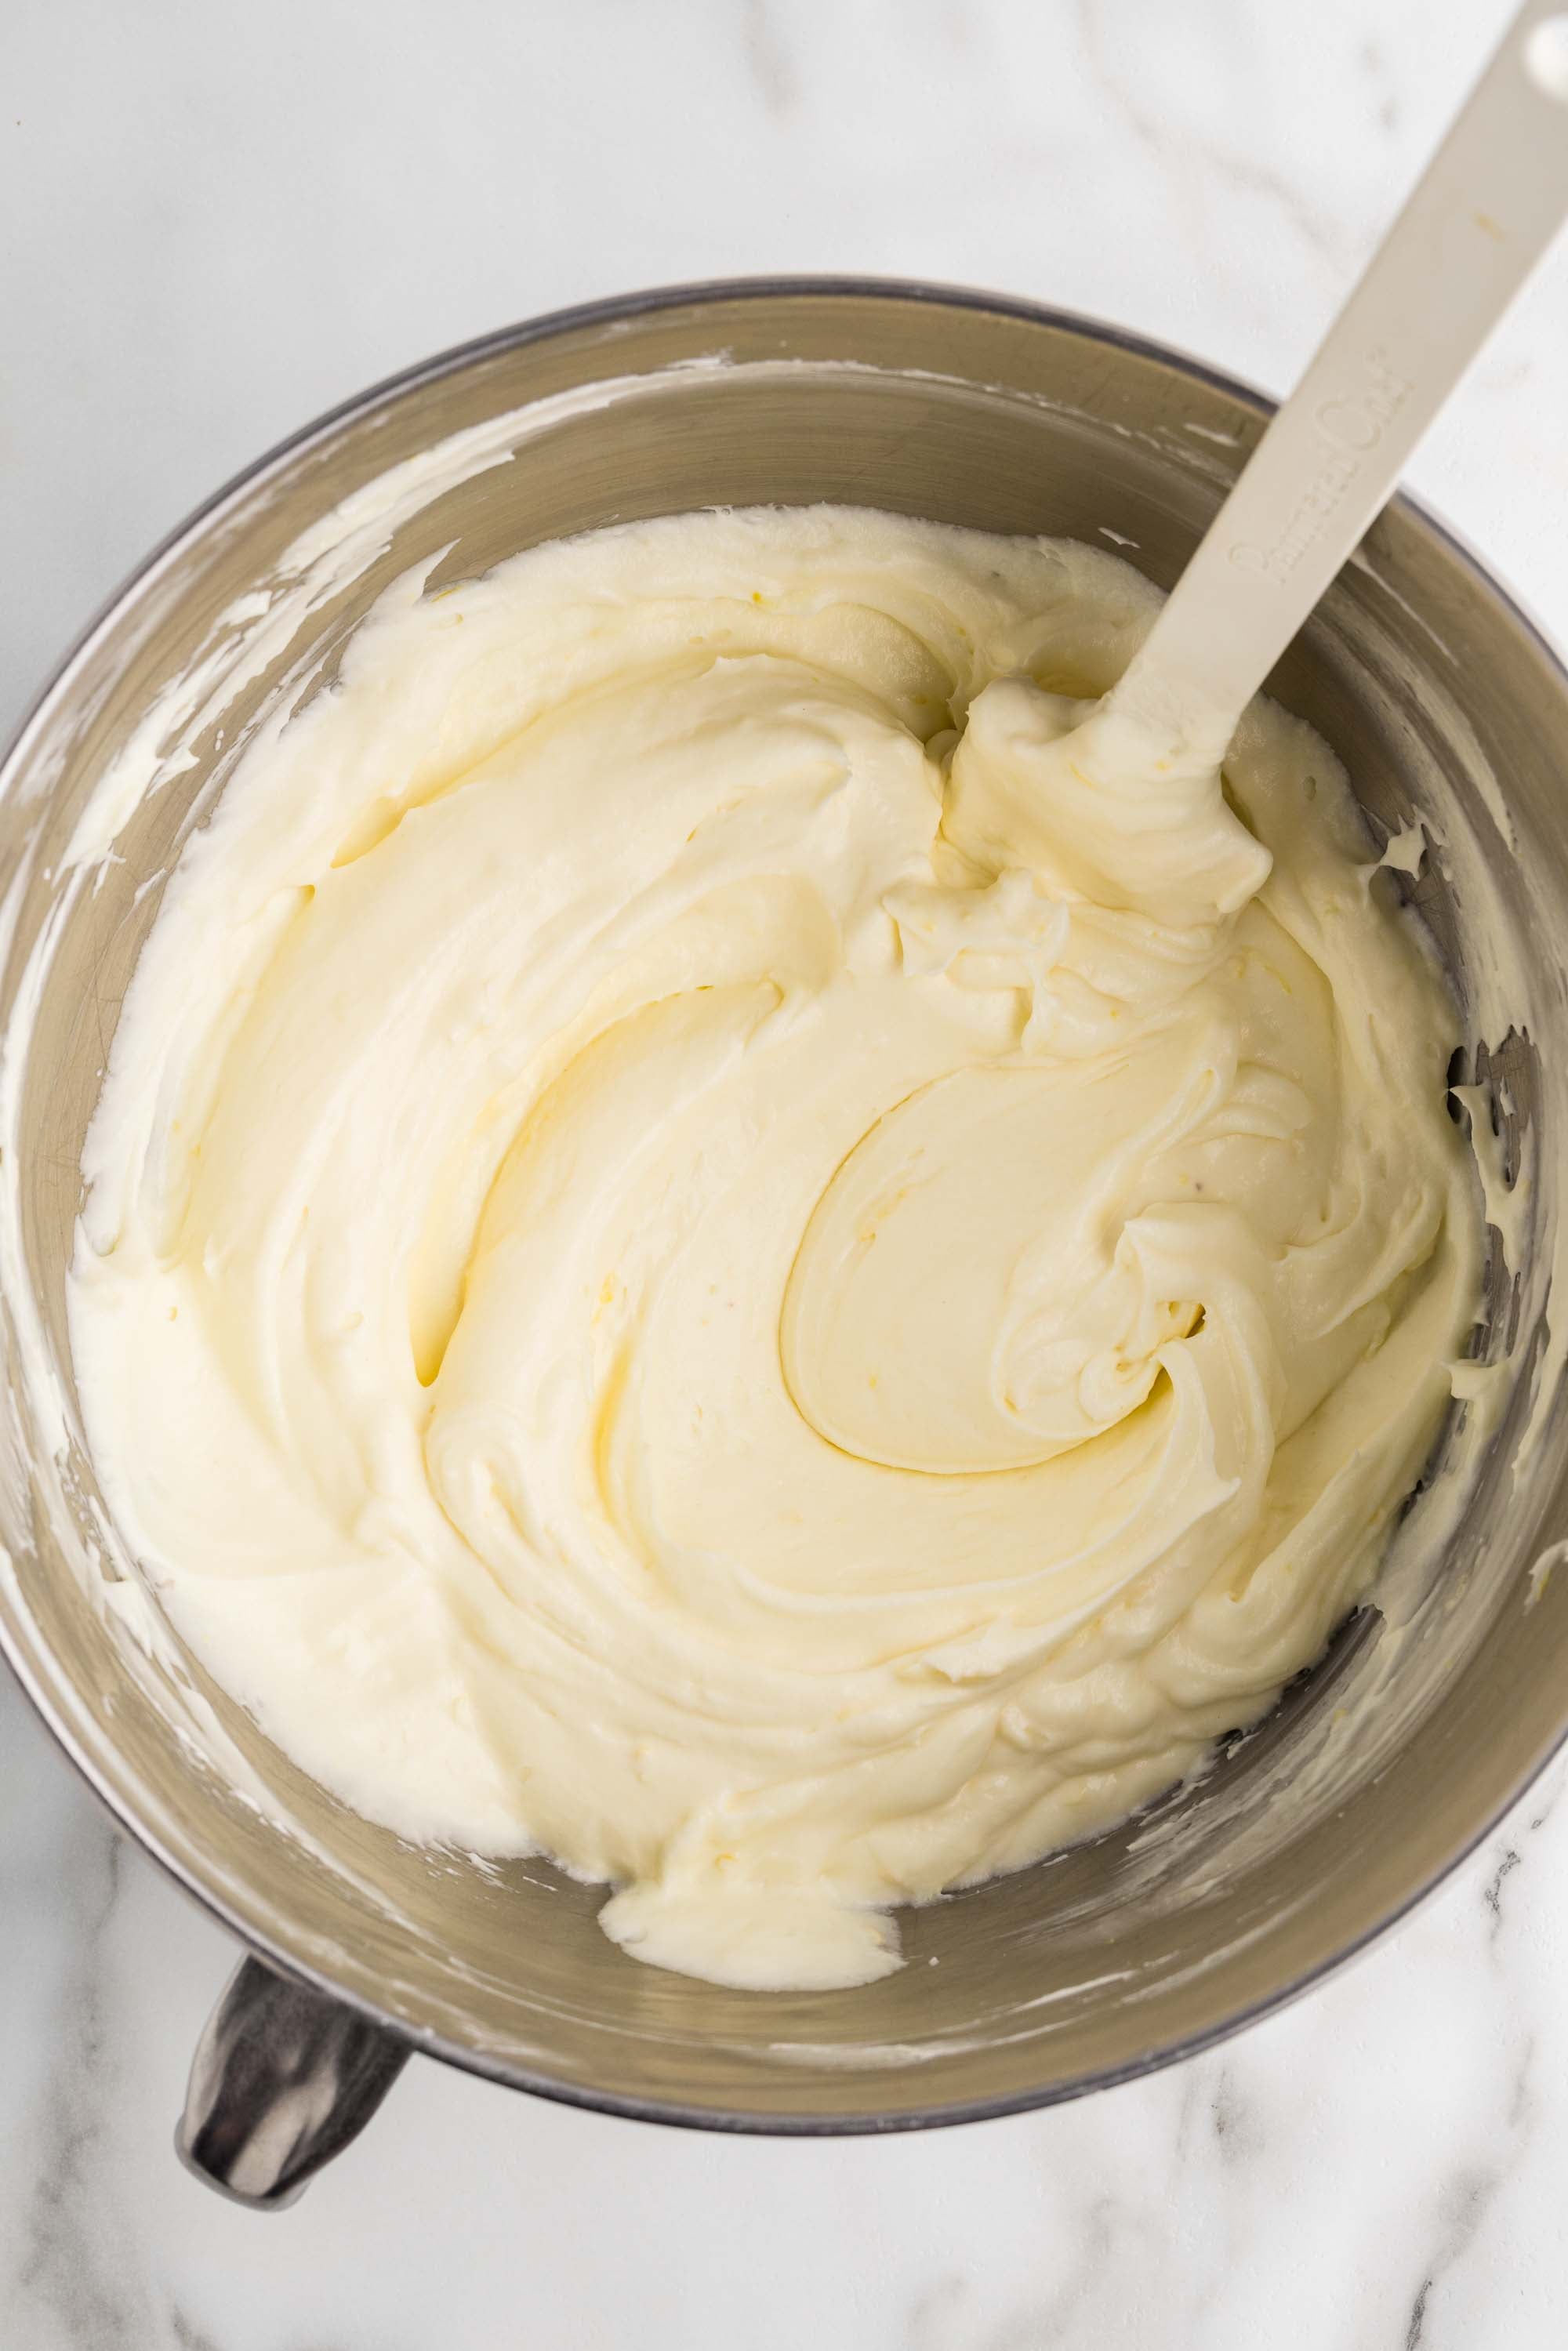
Add the vanilla, lemon zest, and lemon juice and mix for just 10 to 20 seconds, until everything is combined.
💡 Only mix until the lemon is combined. Overmixing at this point can make the filling looser.
Chill, then fill or frost
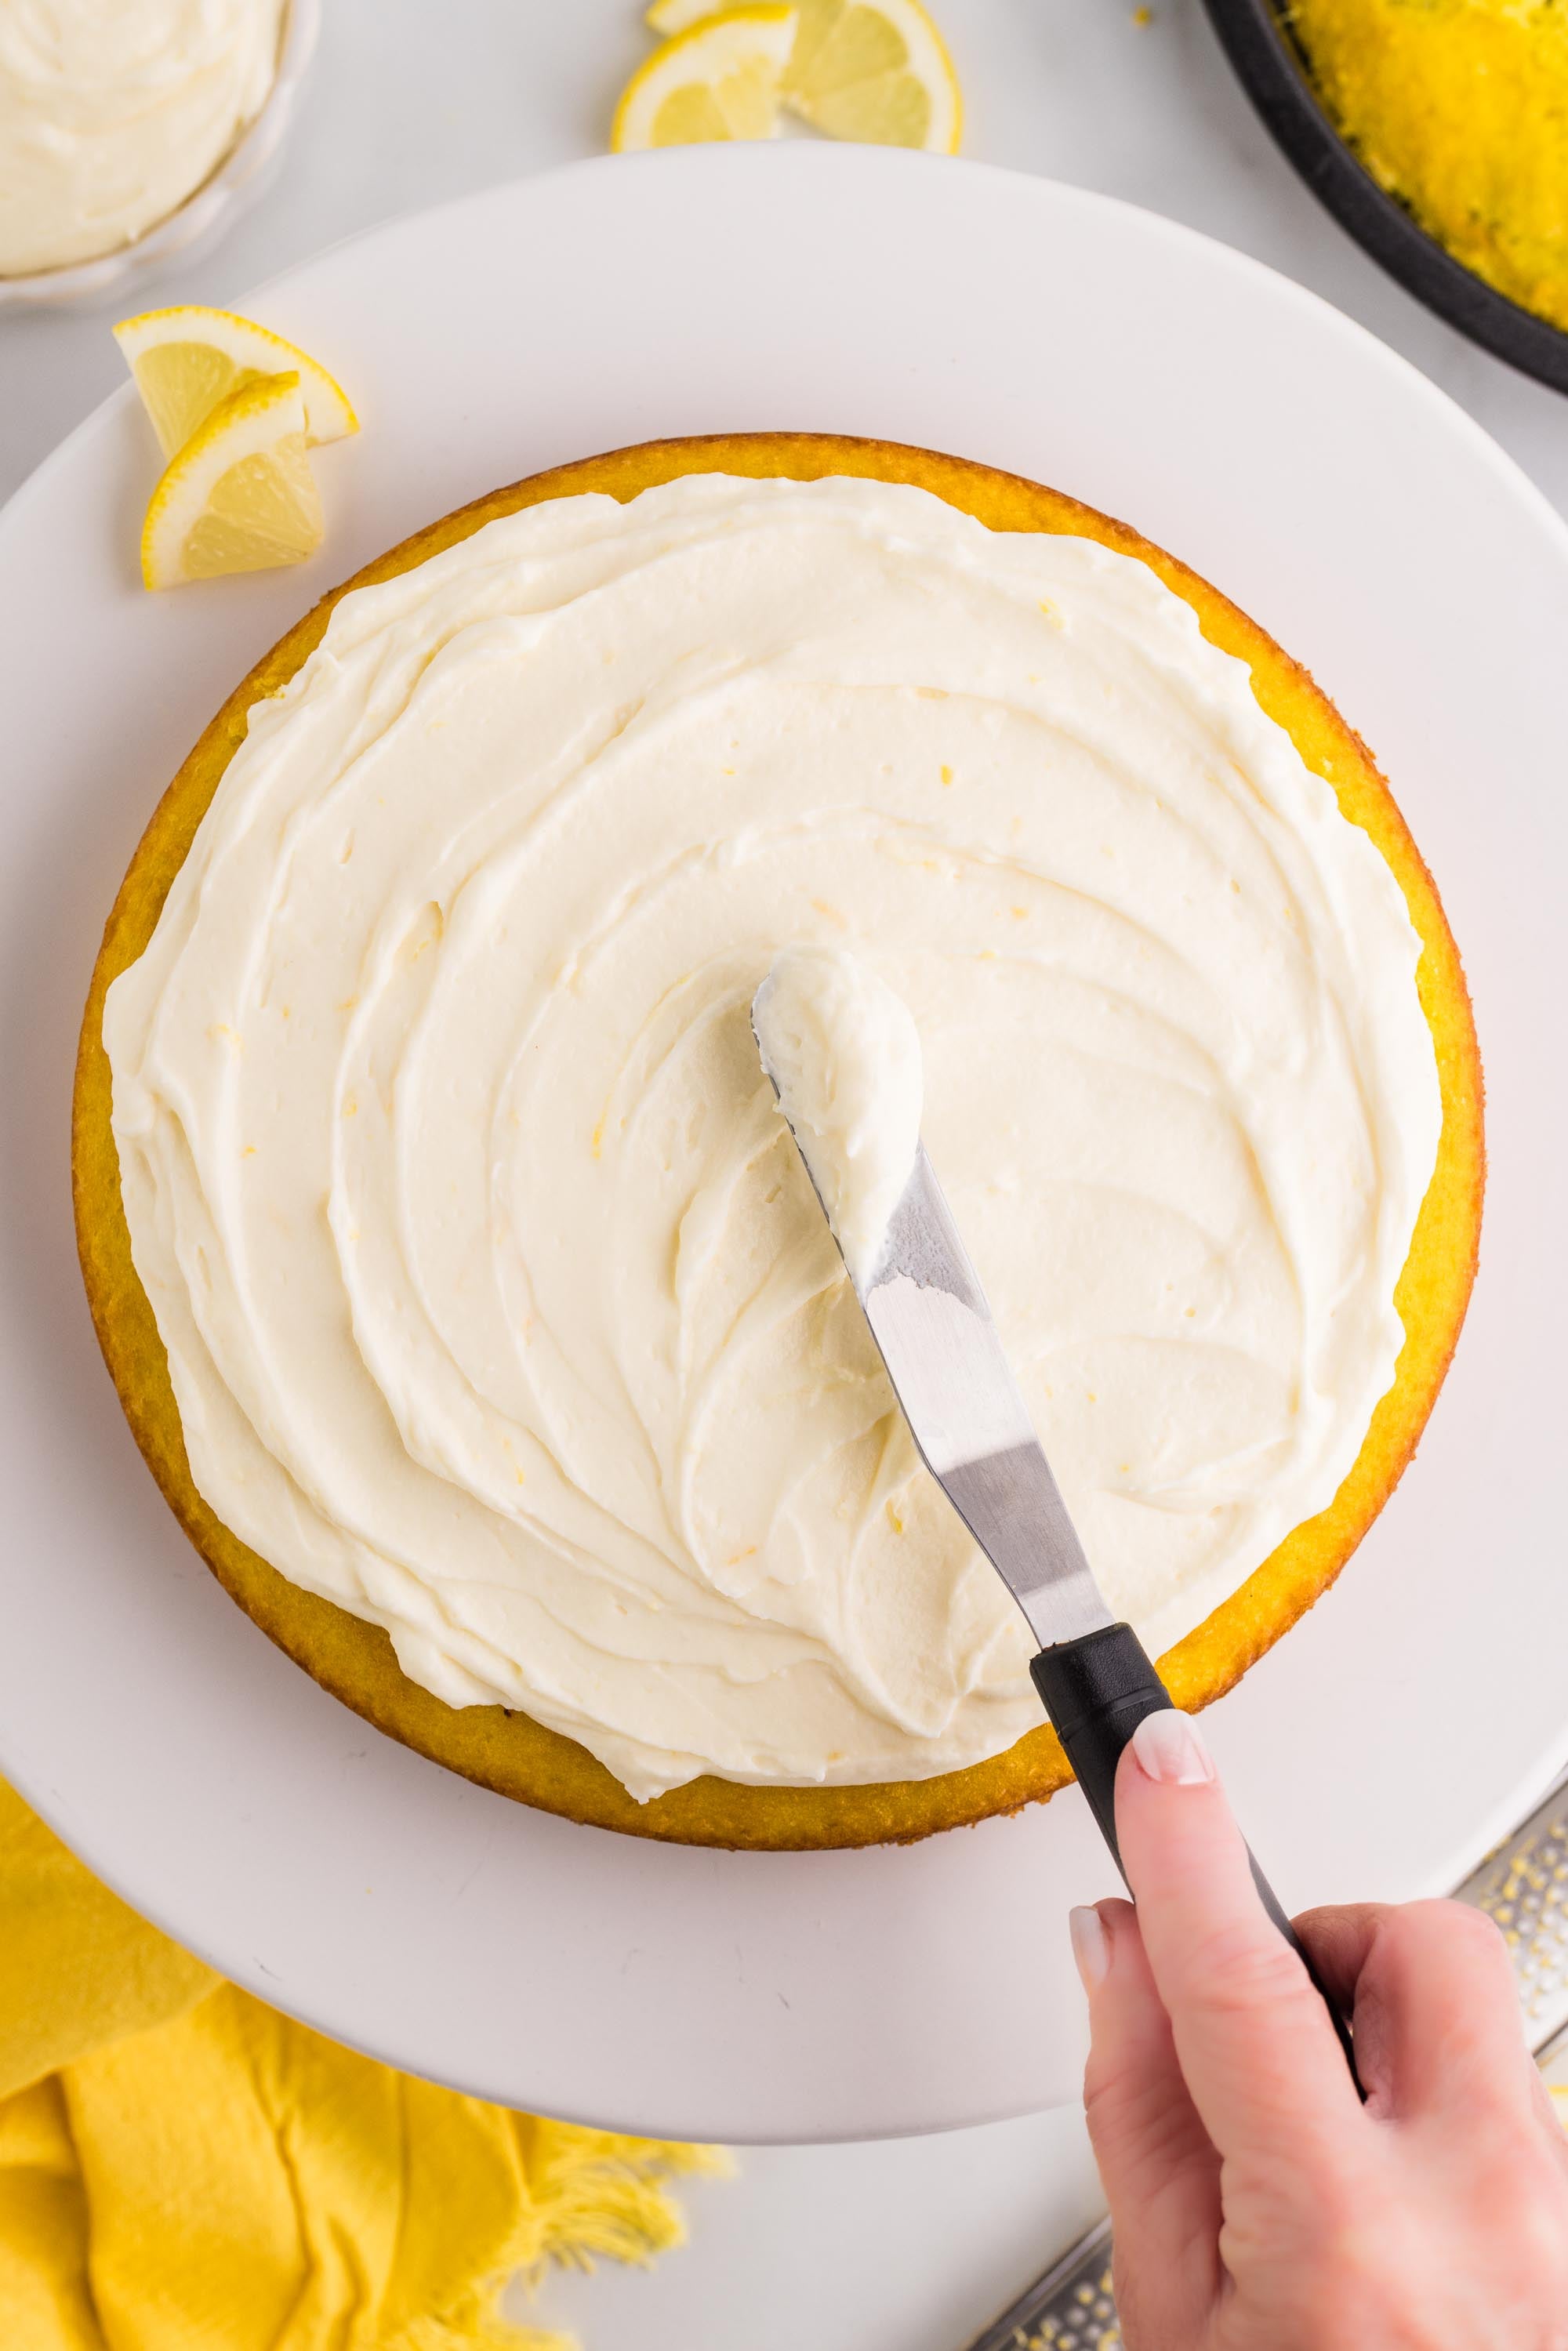
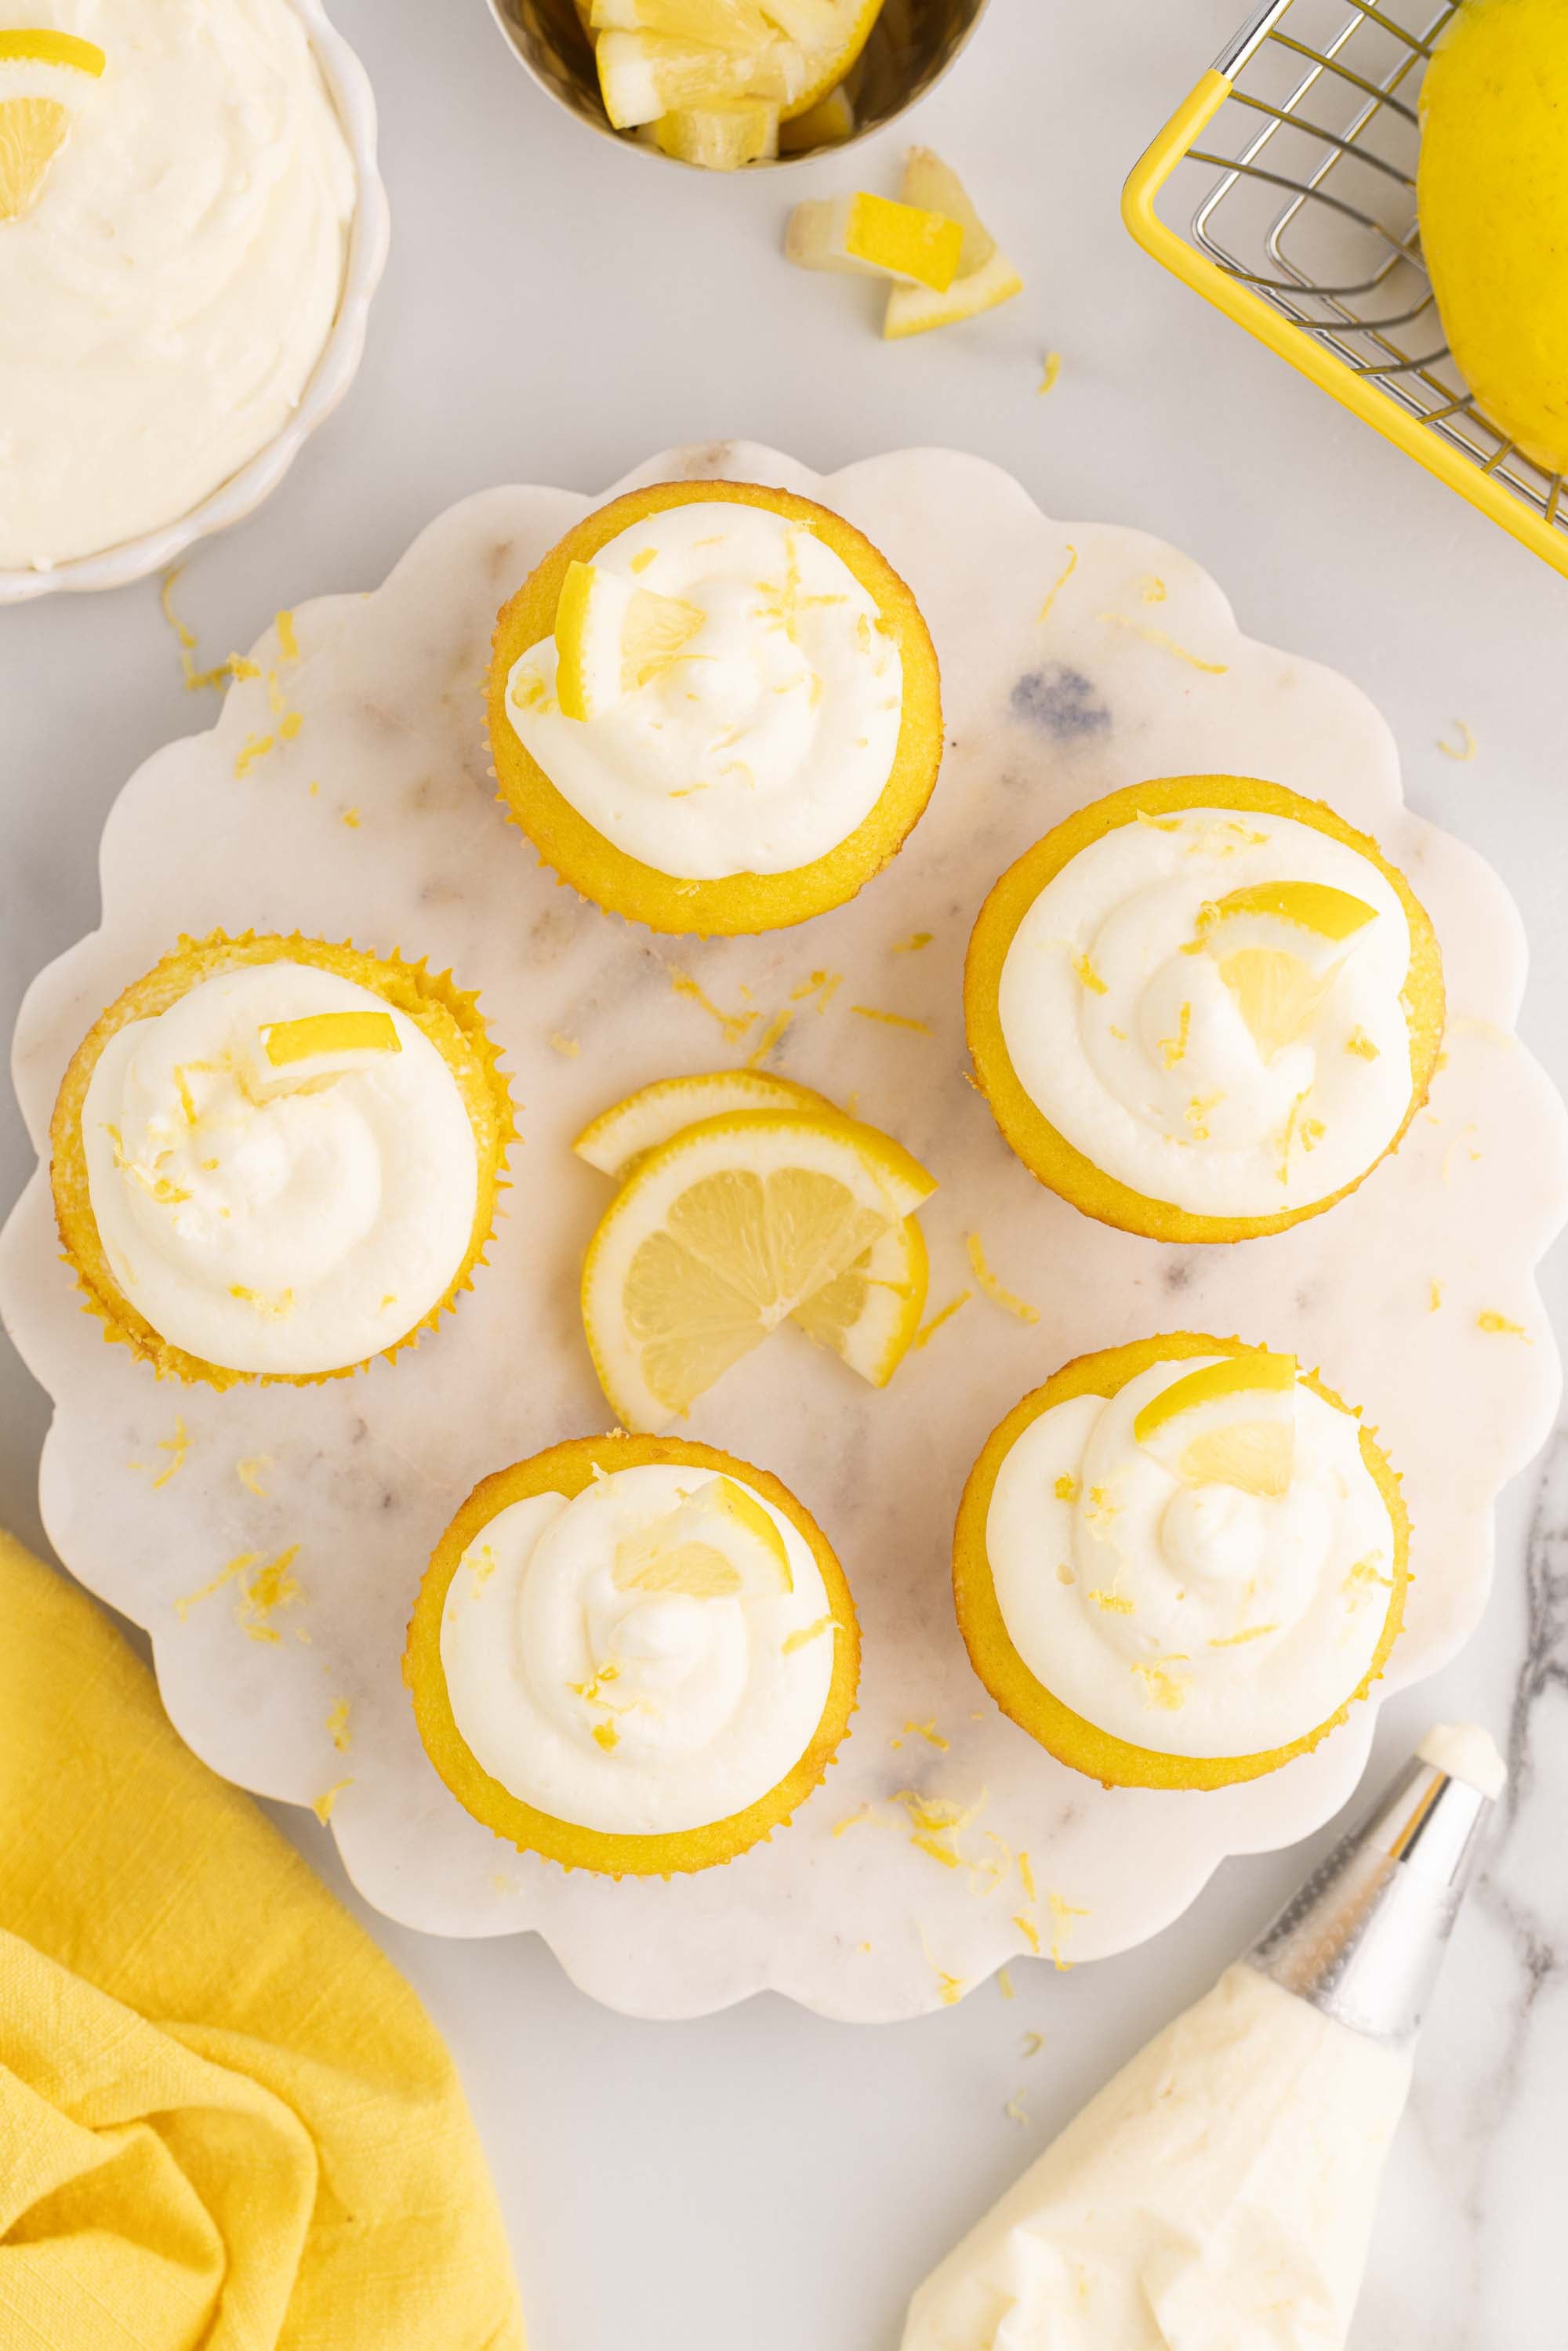
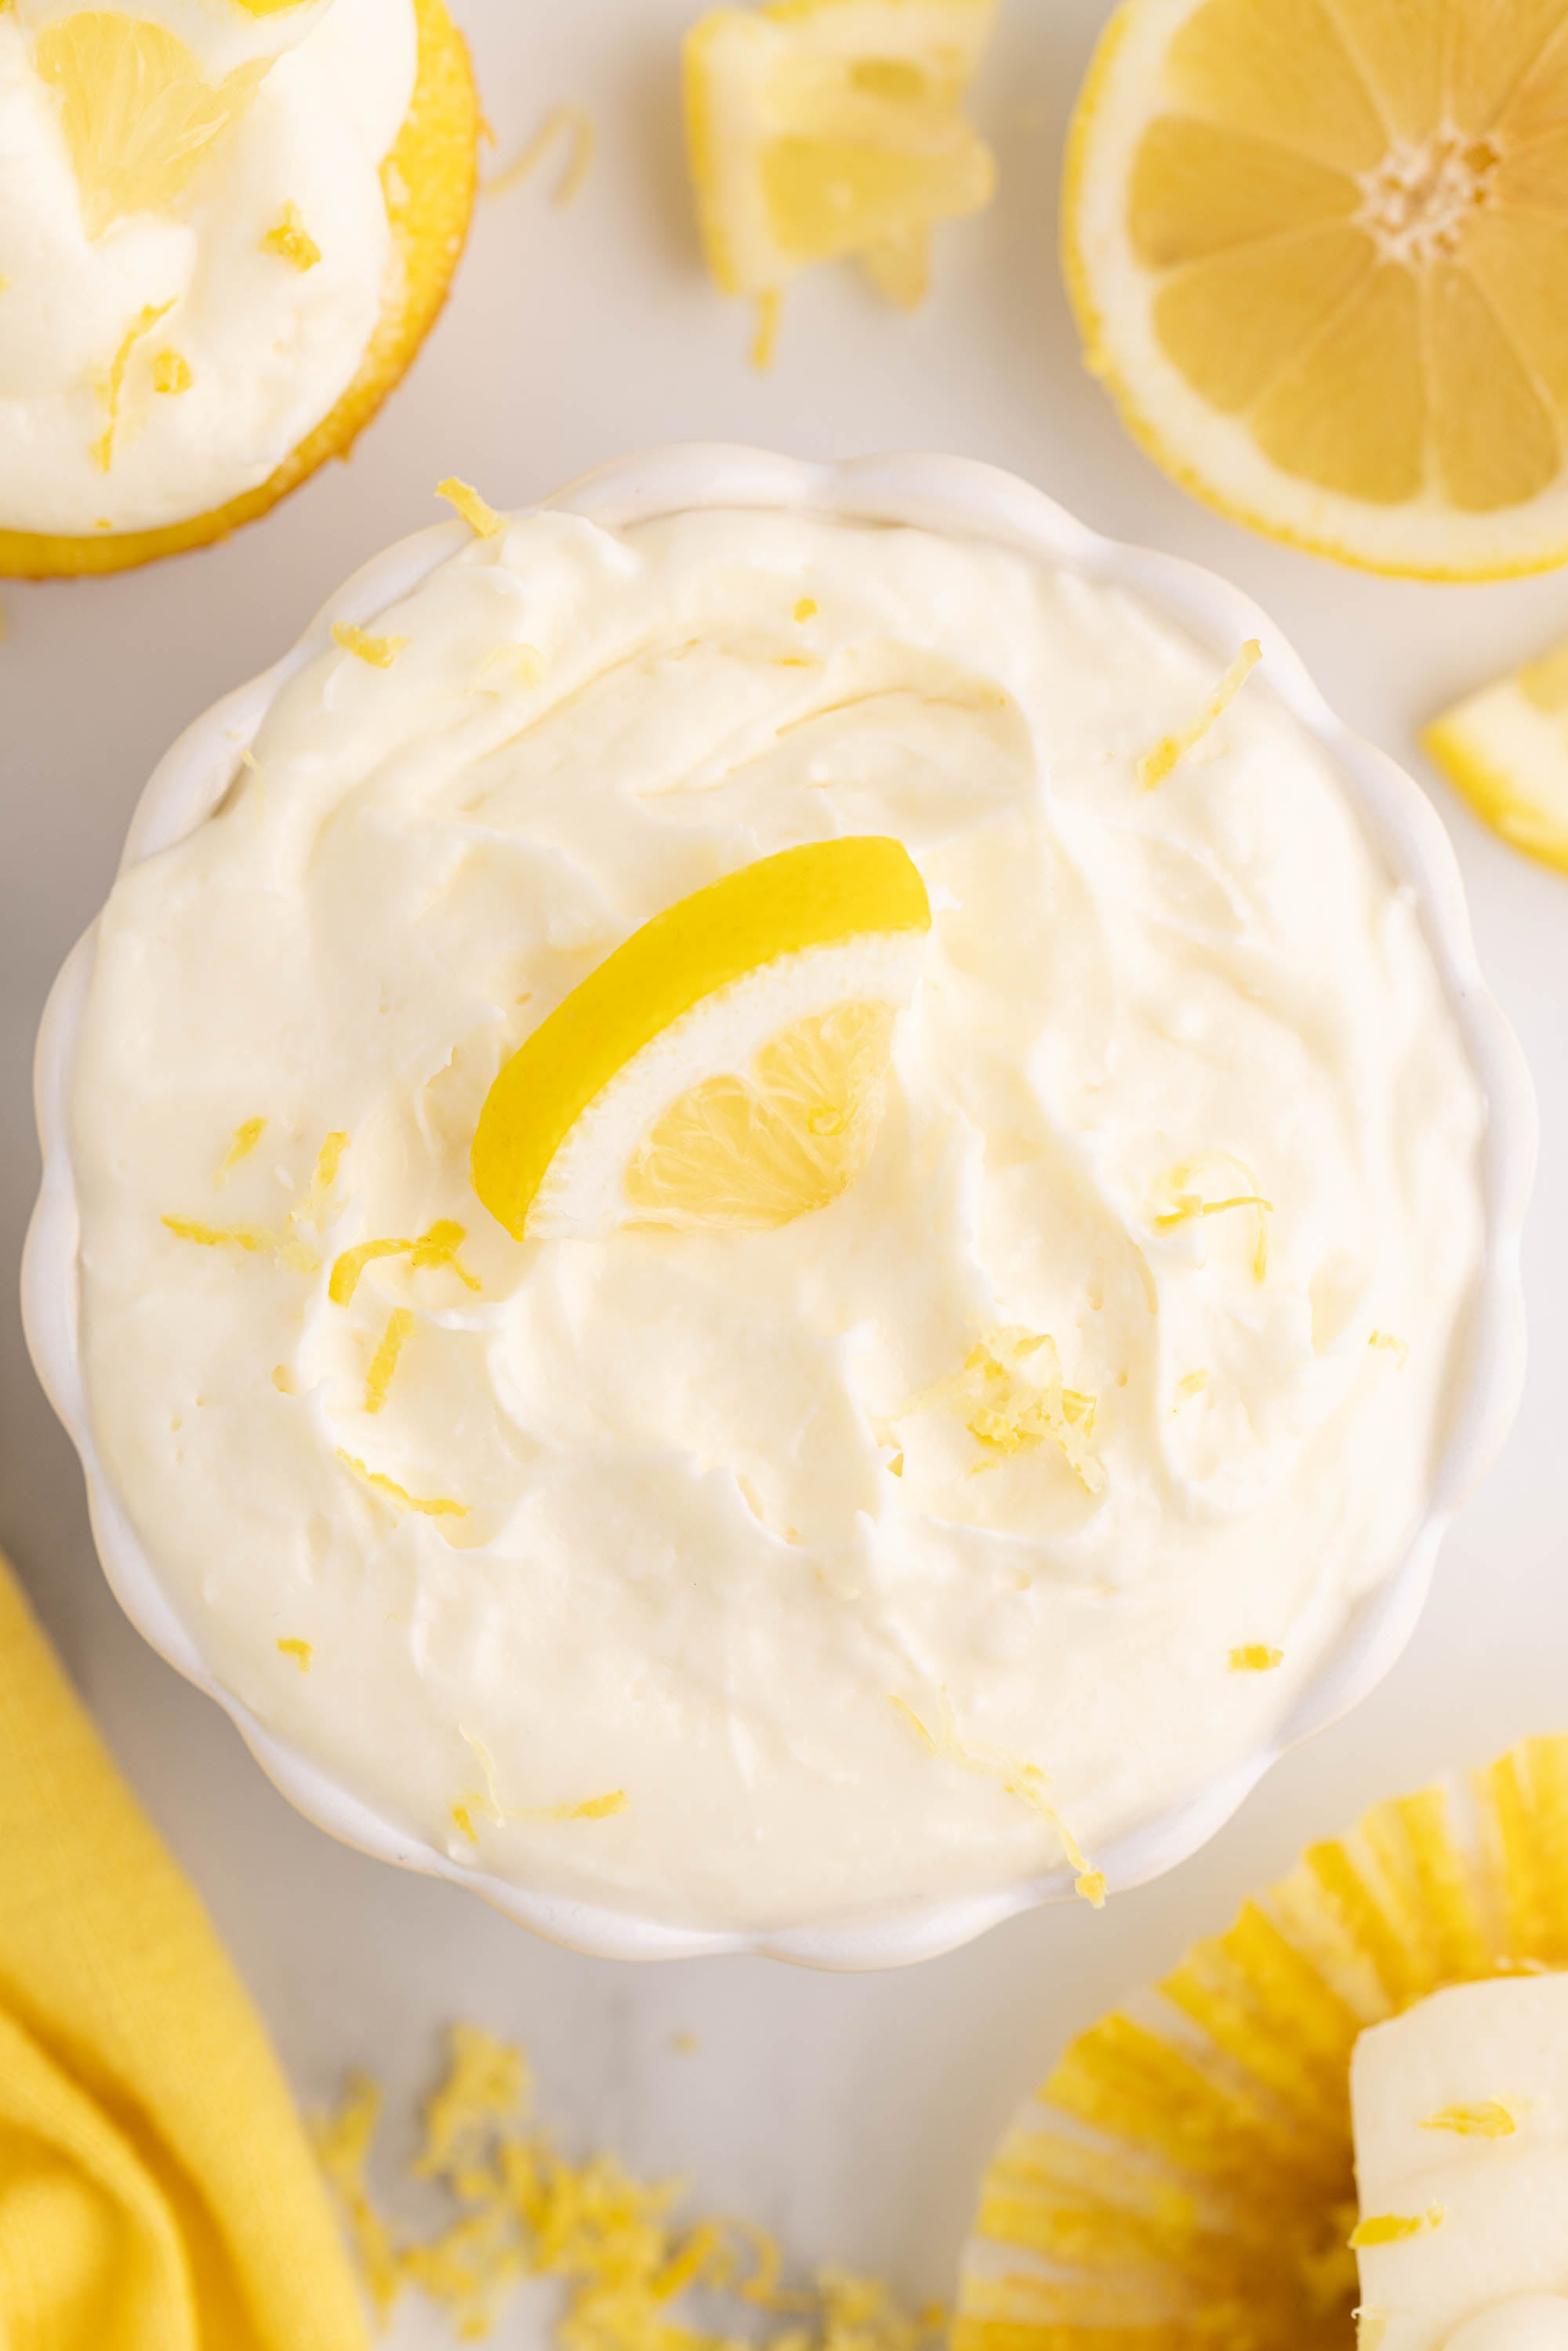
Refrigerate the filling for at least 30 minutes for the best spreadable consistency. Then spread it between cake layers, swirl it over the top of a cake, or scoop it into a piping bag for cupcakes.
Ways to Use Lemon Cheesecake Filling
- Layer cakes: spread it between the layers or over the top of a gluten-free lemon or vanilla cake. It's amazing with my gluten free lemon drizzle cake.
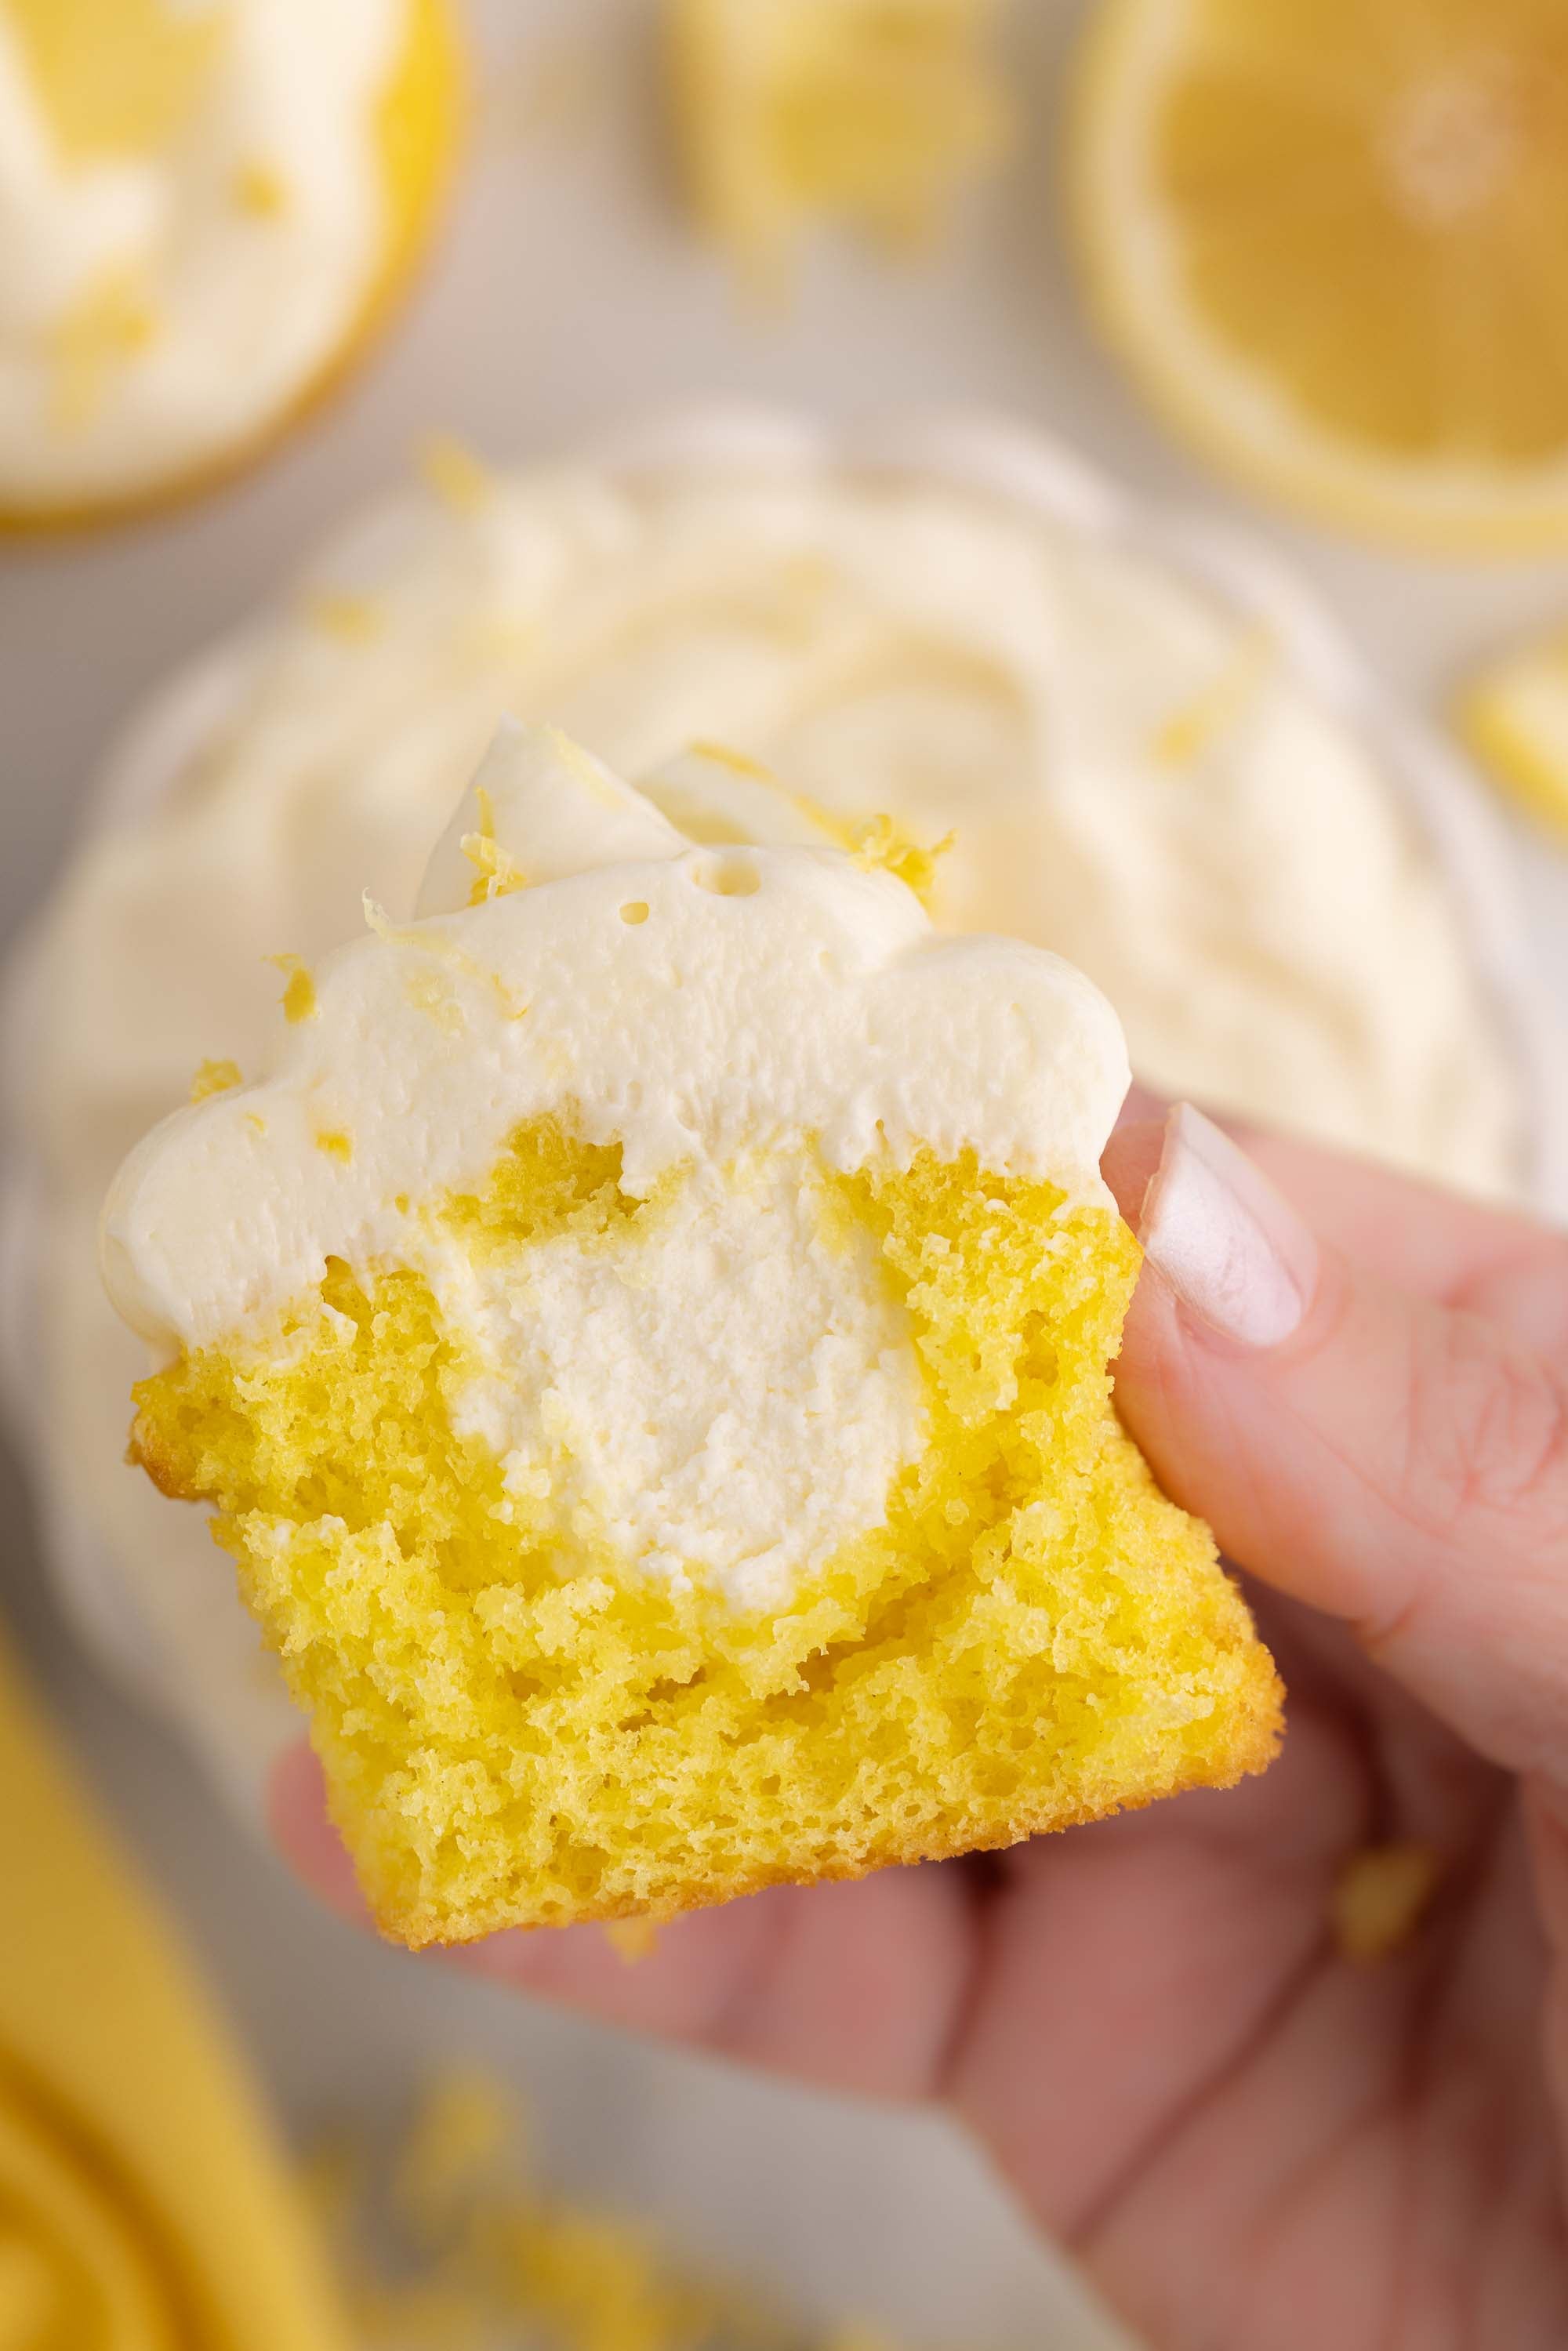
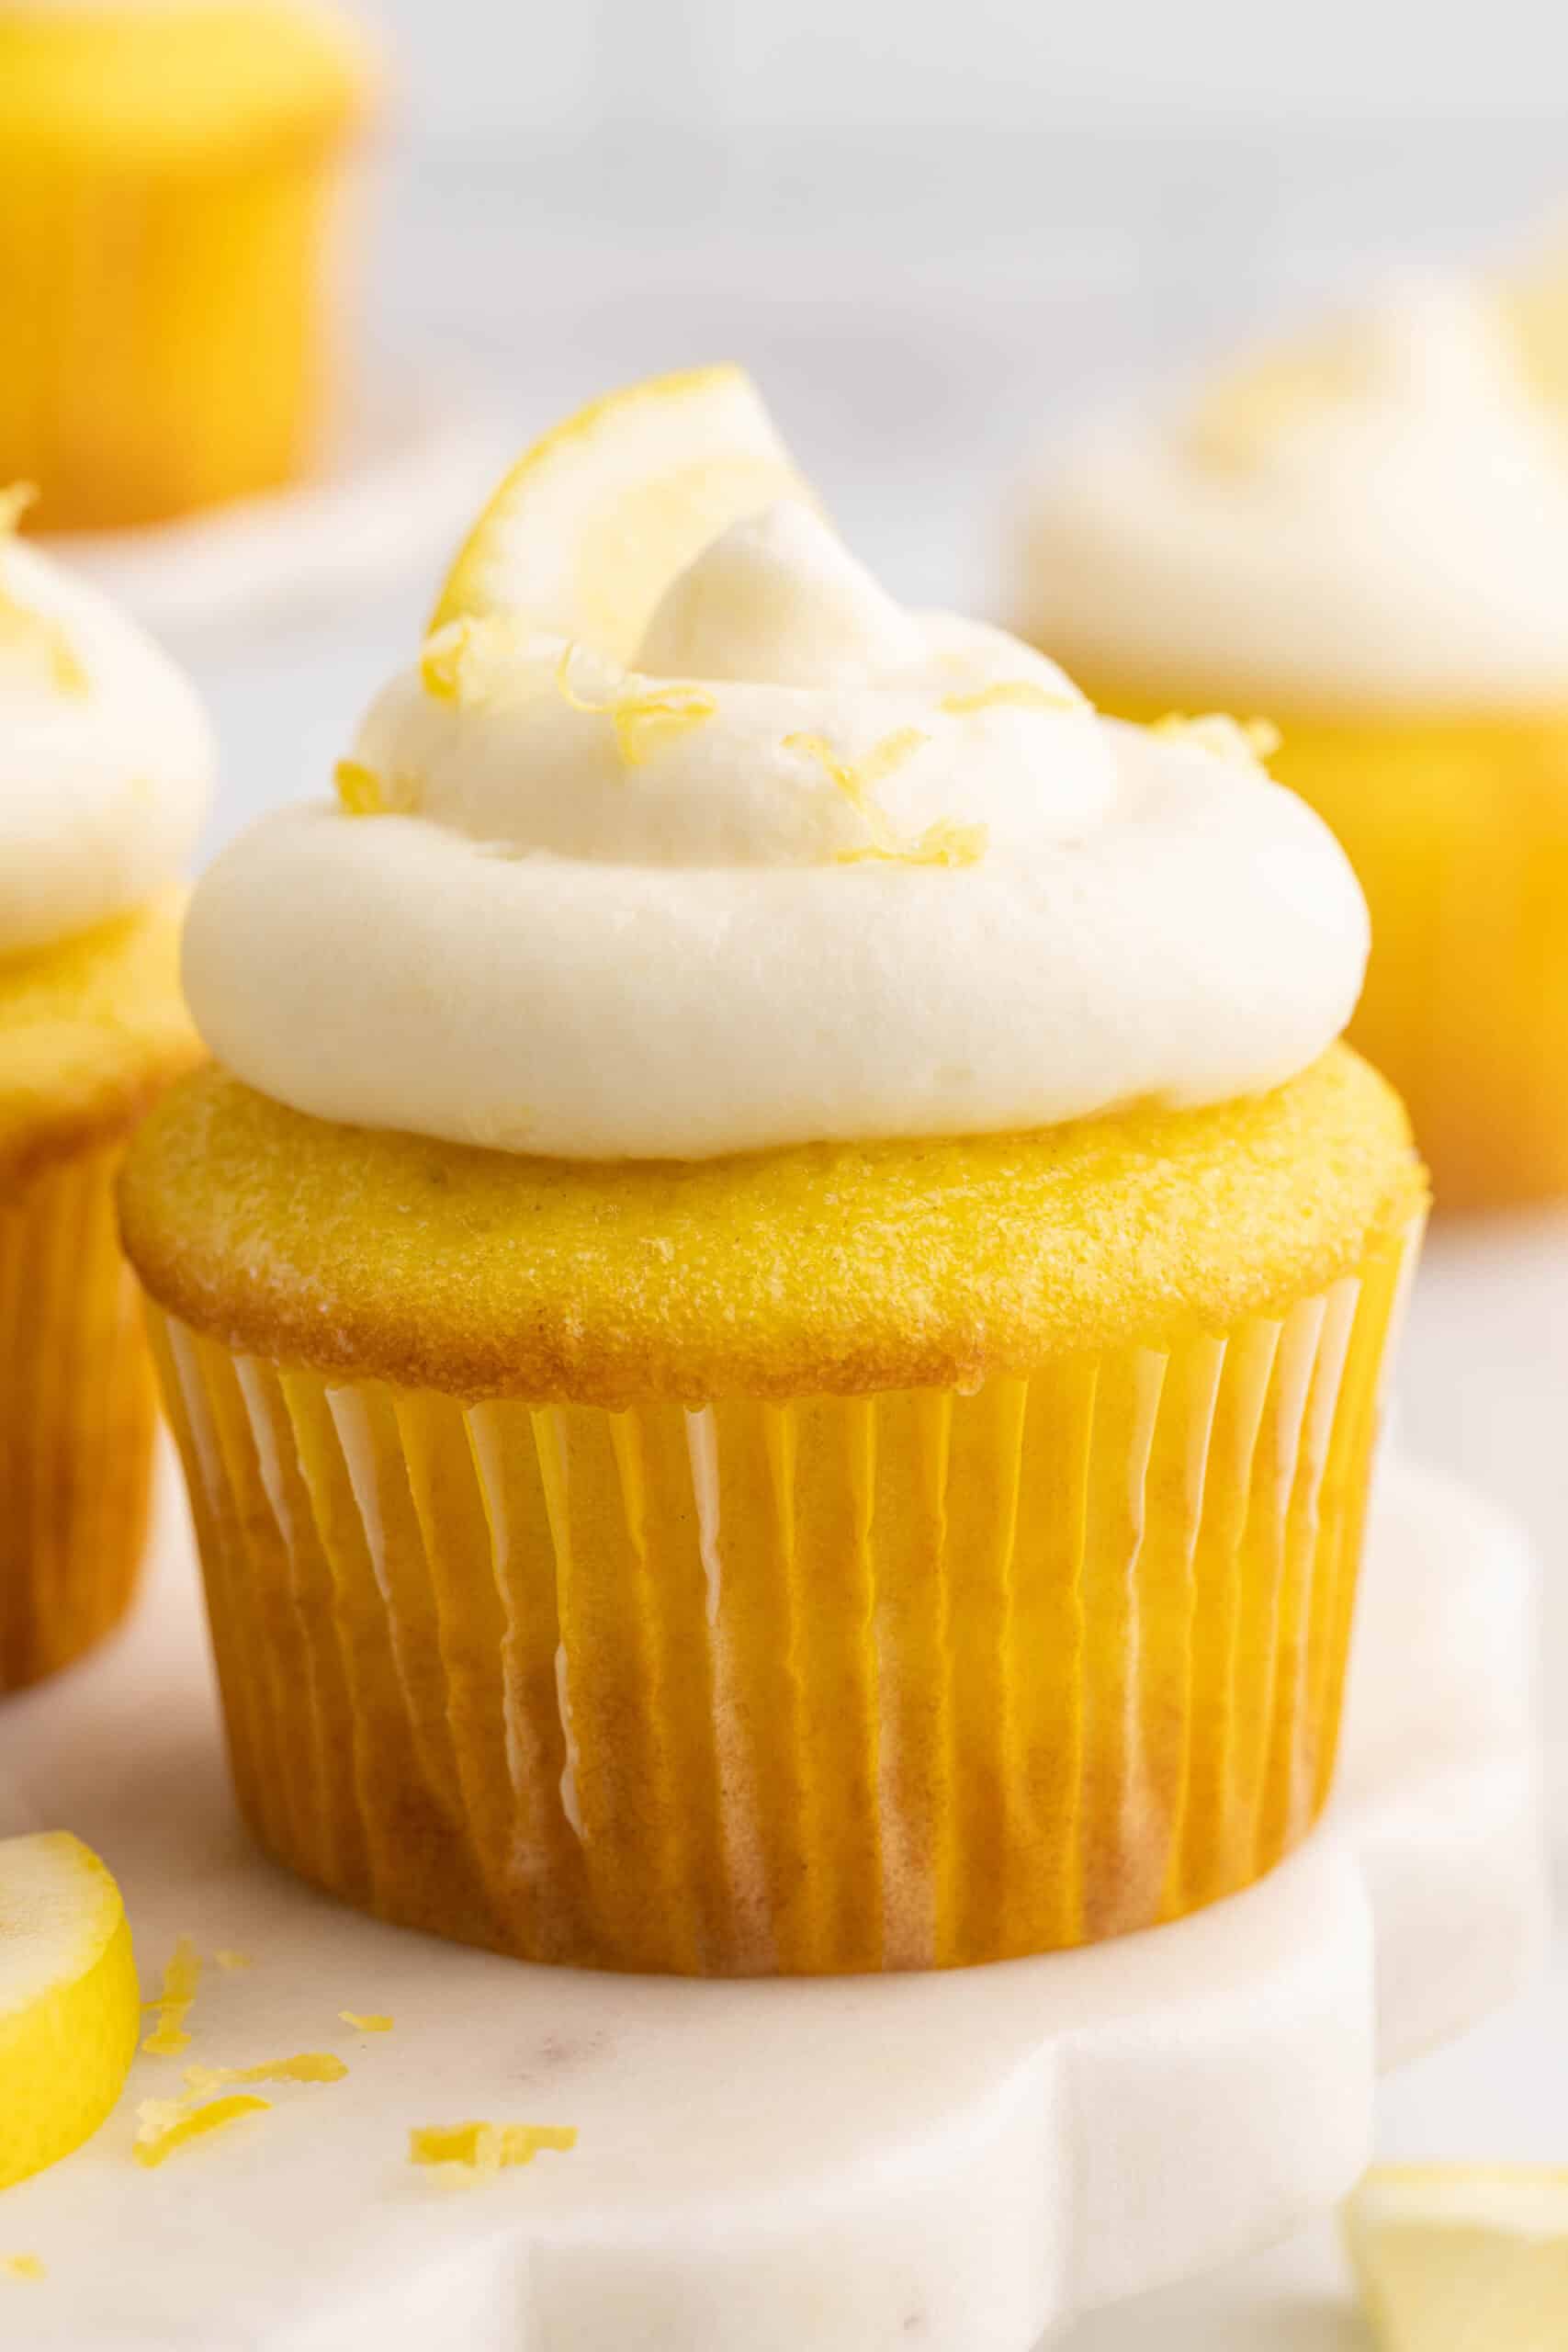
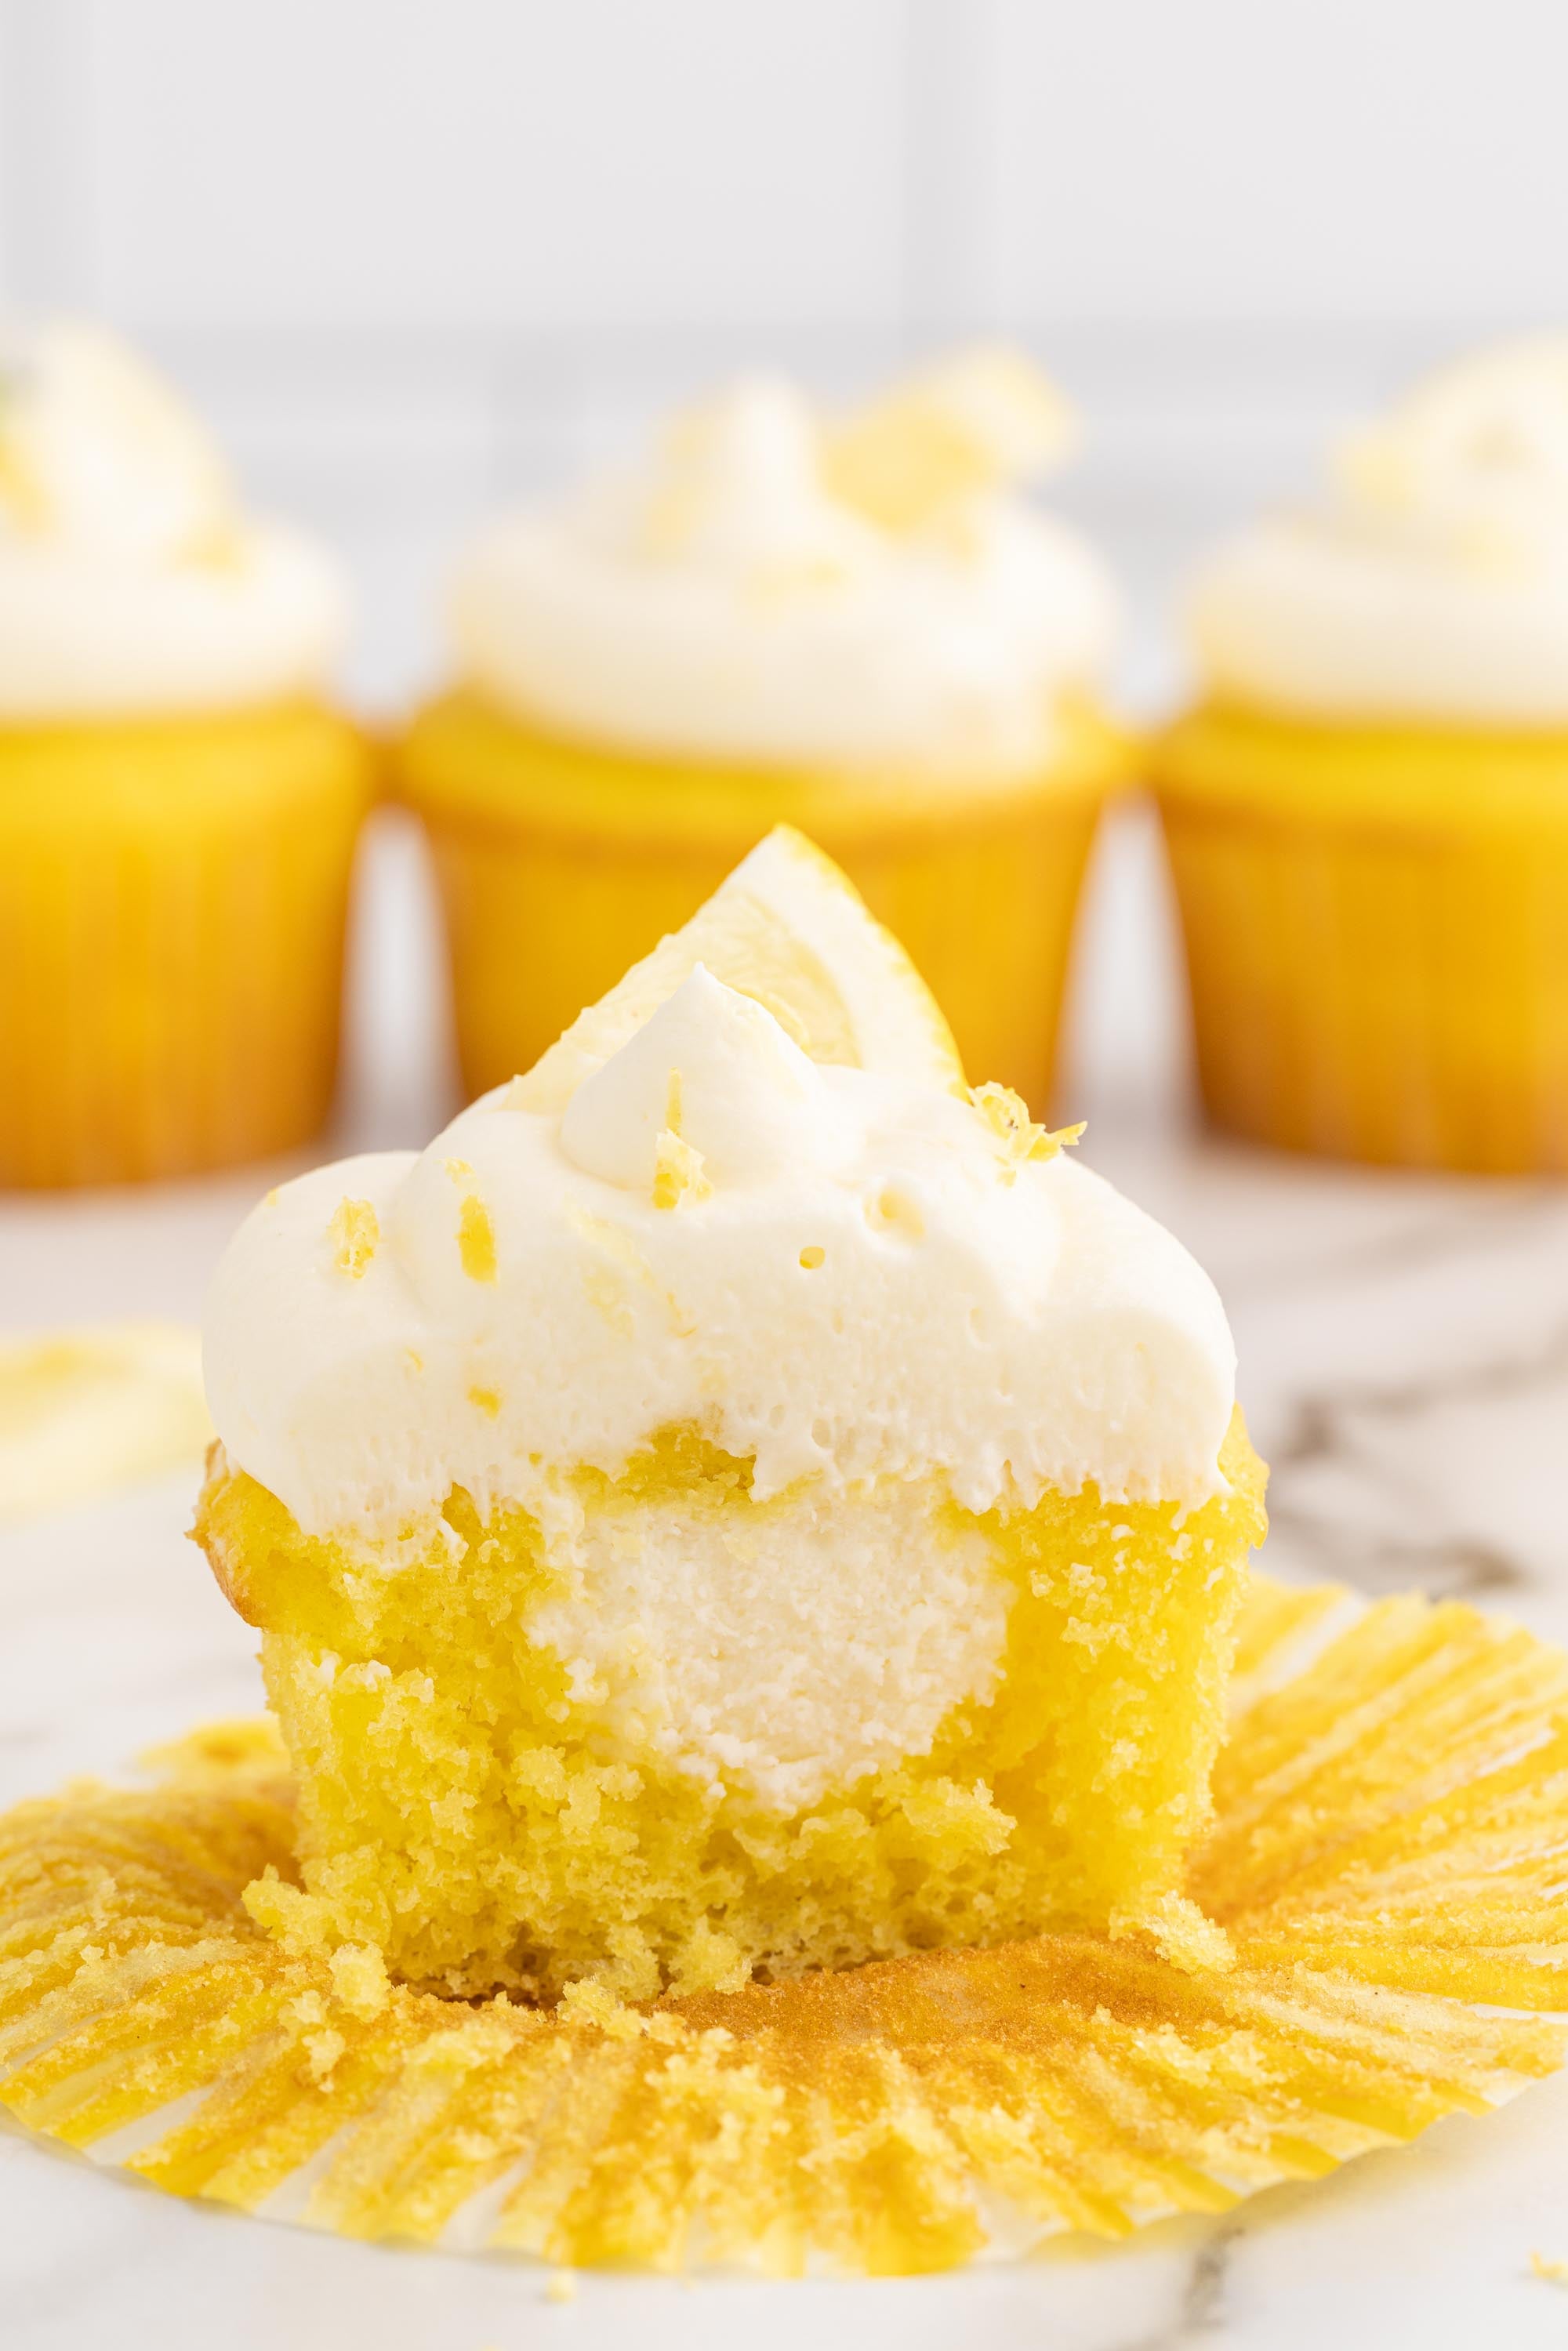
- Filled cupcakes: core your cupcakes, pipe the filling into the center, then pipe more on top for a cheesecake surprise inside.
- No bake lemon cheesecake pie: spoon it into a gluten-free graham cracker crust or mini tart shells and chill.
- Trifles and parfaits: layer it with cubes of lemon cake and fresh berries.
- Try more flavors: love this one? Try my raspberry cheesecake filling or strawberry cheesecake filling next!
How Long Does Lemon Cheesecake Filling Last?
Storage: Store the filling in an airtight container in the refrigerator for up to 4 to 5 days. It actually firms up as it chills, so it's great to make a day ahead! A cake or cupcakes filled with it should stay in the fridge too, and taste best within 2 days.
Freezing: To freeze, keep it in an airtight container for up to 2 months, then thaw overnight in the fridge and give it a gentle stir before using. It won't be quite as airy after freezing.
my tips
Tips & Variation
- Use cold cream and soft cream cheese. Cold cream whips up stiff, and softened cream cheese beats up smooth with no lumps.
- Zest before you juice. It's so much easier to zest a whole lemon than a squeezed one!
- Sift the sugar and cornstarch. This keeps any little lumps out of your silky filling.
- Too soft? Chill it for another 30 to 60 minutes before using. It firms up a lot in the fridge.
- Make it lemon-berry. Gently fold in fresh blueberries or raspberries right before using.
- Swirl in lemon curd for an extra tangy, extra lemony filling.
Frequently Asked Questions
You can in a pinch, but fresh lemon juice gives a much brighter, cleaner flavor. You also need fresh lemons for the zest, which is where a lot of the lemon flavor comes from, so I recommend fresh!
Make sure your heavy cream is cold and whipped to medium-stiff peaks, and don't skip the cornstarch. Then refrigerate the filling for at least 30 minutes. If it's still soft, give it more time in the fridge.
Yes! None of the ingredients contain gluten. Just double check that your cornstarch and vanilla are labeled gluten-free if you're baking for someone with a gluten allergy, and pair it with a gluten-free cake or crust.
Absolutely! Make it up to 2 days ahead and store it covered in the fridge. Give it a gentle stir before using.
Yes! The cornstarch helps it hold its shape, so it pipes beautifully onto cupcakes. Chill it for at least 30 minutes first, then scoop it into a piping bag with your favorite tip.
You can freeze it in an airtight container for up to 2 months. Thaw it overnight in the fridge and stir before using. It won't be as light and airy, but you can fold in a little fresh whipped cream to revive it.
More cheesecake fillings you'll love


Have you tried this recipe? Consider leaving a ⭐️⭐️⭐️⭐️⭐️ rating in the recipe card right below and/or a review in the comment section further down the page. Or, consider following me on Facebook or Instagram! Thanks for visiting.
Lemon Cheesecake Filling for Cake (No Bake)
Ingredients
⭐️ Before you begin! If you make this, will you do me a huge favor afterwards and leave a review and rating letting me know how you liked this recipe? This helps my small business thrive so I can continue providing free recipes and high-quality content for you.
Instructions
- Beat the heavy cream with a whisk attachment 4–8 minutes until medium-stiff peaks form (don't overbeat). Transfer to another bowl.
- In the empty mixer bowl, add the cream cheese and sift the cornstarch and confectioners sugar on top. Beat with the paddle 3–5 minutes until thick and smooth.
- Fold in the whipped cream ¼ cup at a time on low speed, just until combined.
- Mix in the vanilla, lemon zest, and lemon juice for 10–20 seconds.
- Refrigerate at least 30 minutes for the best spreadable consistency.
Test Kitchen Notes
Did you make this?
I'd love to hear your thoughts! Leave a review of your creation below!Team contributions
📸 Photography by Jane Campbell for It's Raining Flour
Comments
No Comments