
How to Decorate Ice Cream Cones

This post may contain affiliate links.
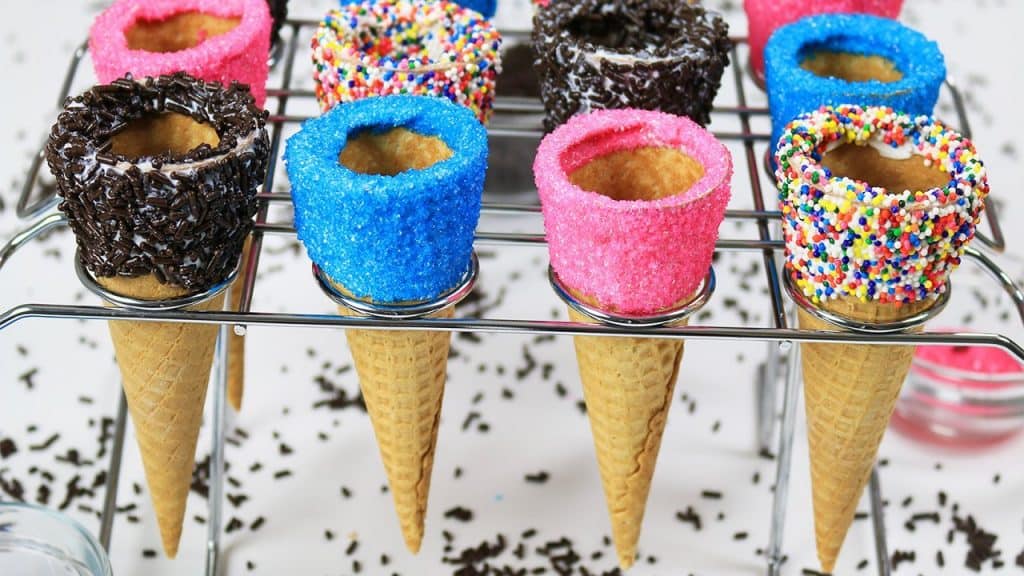
How to Decorate Ice Cream Cones
Ingredients
⭐️ Before you begin! If you make this, will you do me a huge favor afterwards and leave a review and rating letting me know how you liked this recipe? This helps my small business thrive so I can continue providing free recipes and high-quality content for you.
Instructions
- Melt 1 8 oz bag White Candy Melts in a microwave safe bowl for 15-second intervals, stirring in between until the candies are fully melted. Stir in a few teaspoons of Non-Hydrogenated Vegetable Shortening to loosen the candy melts.
- Dunk the top of an ice cream cone into the candy melts, and then use an offset spatula or knife to smooth the melted candy onto the sides of the cones (around 1 inch).
- Roll the coated cone in sprinkles of choice. Place the cone upside down onto parchment paper to dry.
- Repeat this step with each cone.
- Once the cones are all dried, fill with your favorite ice cream!
Comments
No Comments