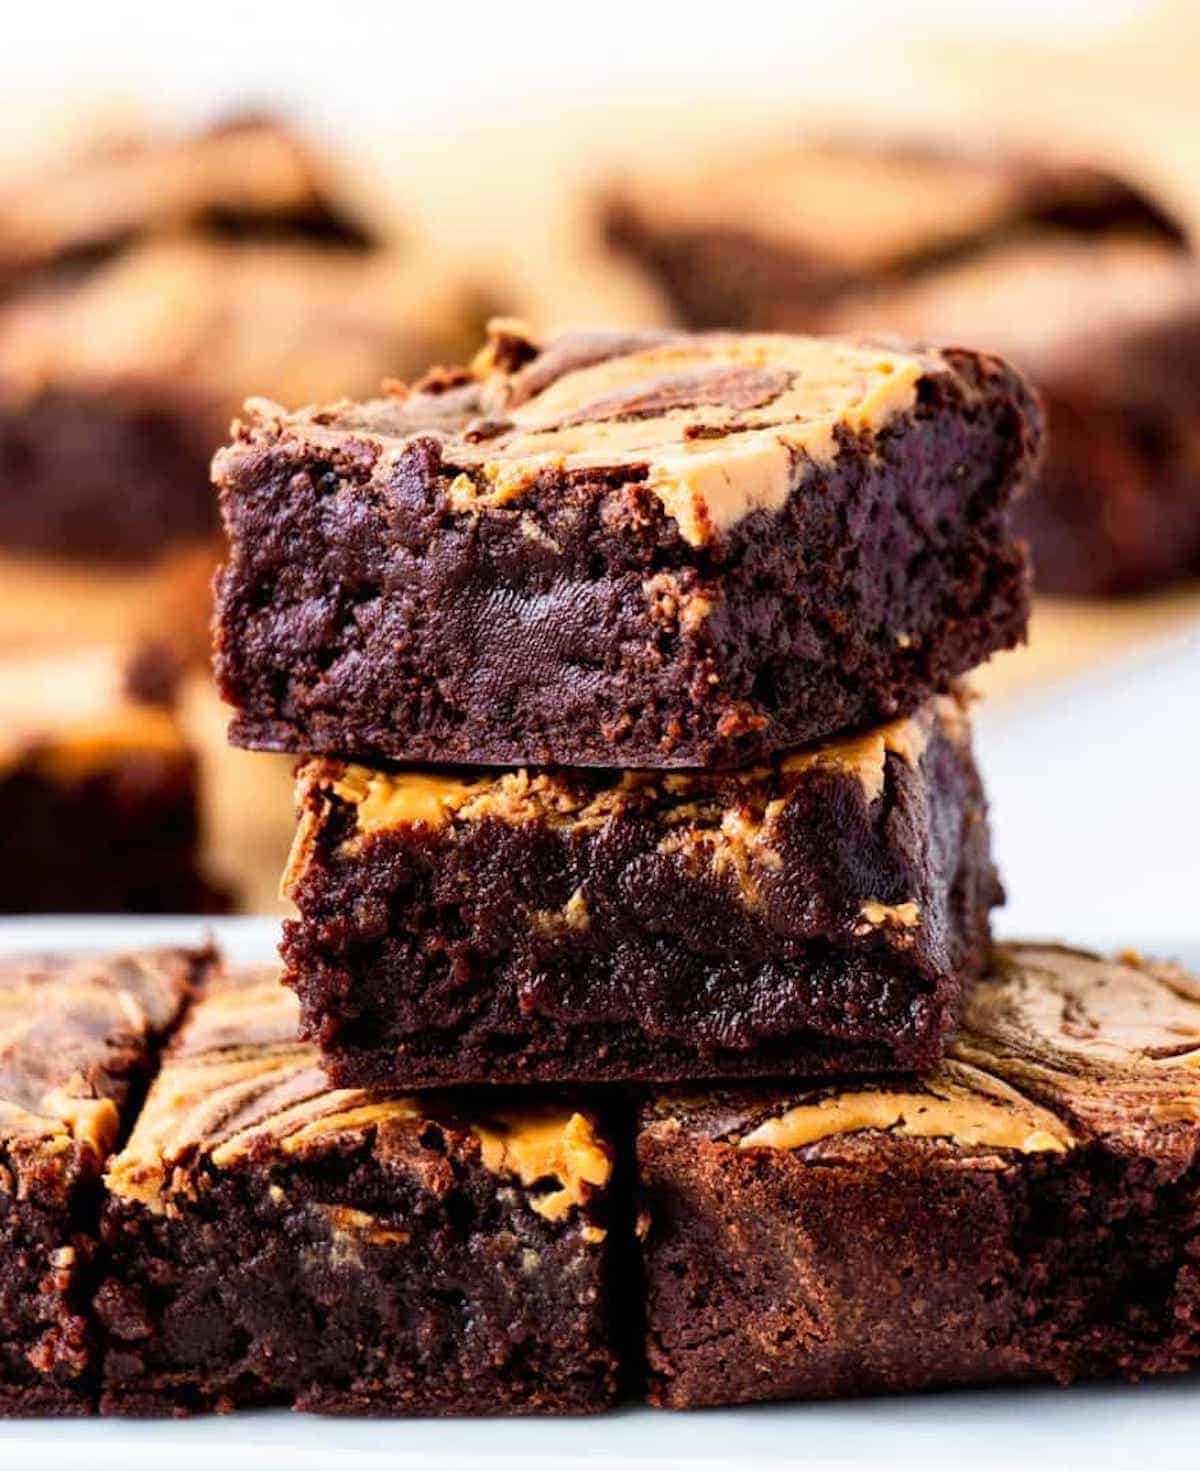
These are the best Gluten Free Peanut Butter Swirl Brownies, filled with good quality chocolate, creamy peanut butter and prepared into only 15 minutes! These 12 ingredient brownies are the dessert to serve to guest or make for the entire family.
I grew up feeling very inspired by Sally's Baking Addiction, trusting all of her dessert recipes, including brownies. Once I transitioned to being a trained chef, I worked on concocting and perfecting my own versions of these beloved dessert recipes, including perfect gluten free brownies.
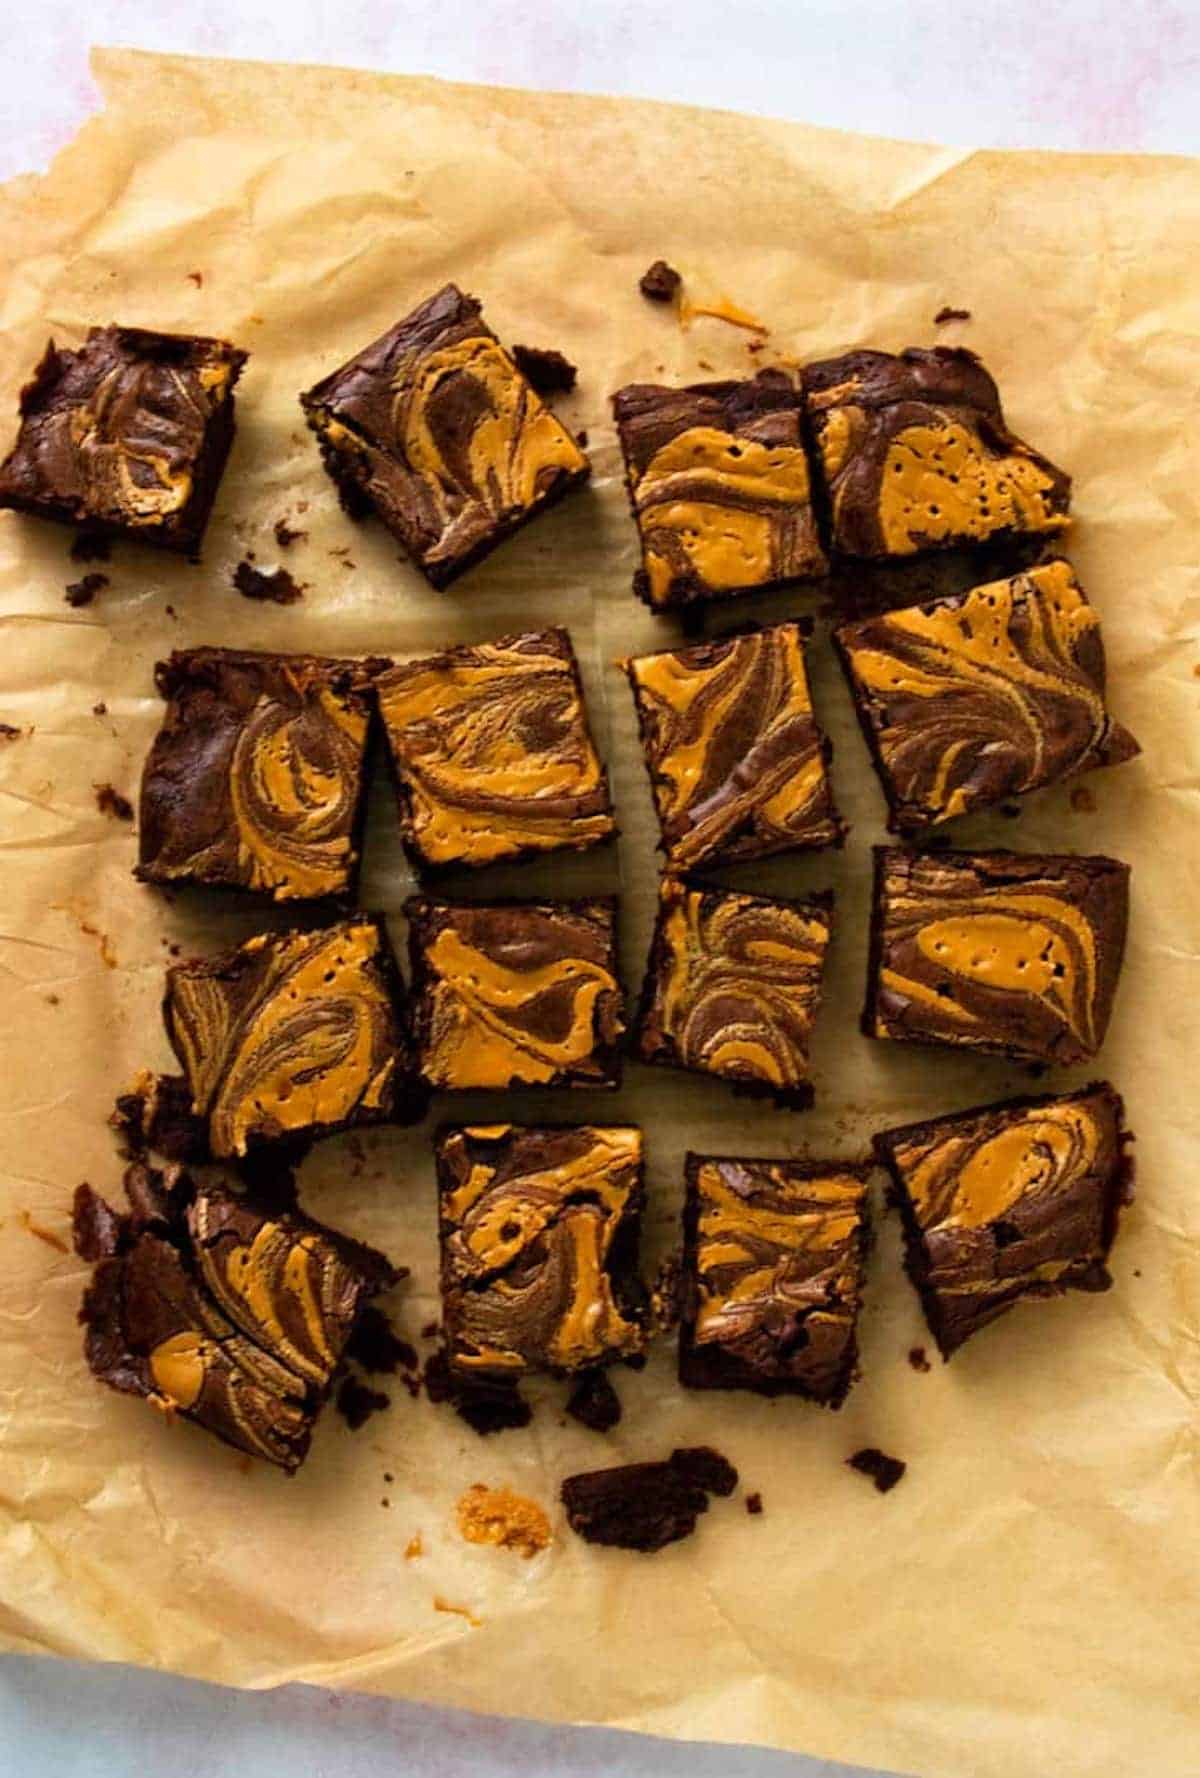
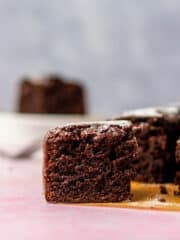
I love that these chocolate brownies with peanut butter swirls hold their form while being super chewy and rich, not too cakey and they have the perfect amount of peanut butter. After baking, close your eyes, take a bite and imagine you're eating a homemade gluten free chocolate peanut butter cup!
Find some of my other favorite chocolate dessert recipes: Sesame Chocolate Chip Cookies, Gluten-Free Molten Chocolate Lava Cake, and Creamy Oat Milk Hot Chocolate!
Why you'll love this recipe
- Fudgy and chewy- The brown sugar, egg yolks and oil give this brownie the perfect texture.
- Perfect amount of peanut butter to chocolate ratio
- Great for the holidays - these brownies make an amazing quick dessert you can make and bring to any holiday party that everyone will love.
- Uses cocoa powder and chopped chocolate -A chocolate lover's dream!
- Gluten free - Using gluten free flour, almond flour and tapioca flour gives these brownies the perfect texture; you'll never know they're gluten free.
- Better than box mix brownies - I promise these definitely are better than box mix gluten free brownies.
Jump to:
Ingredients
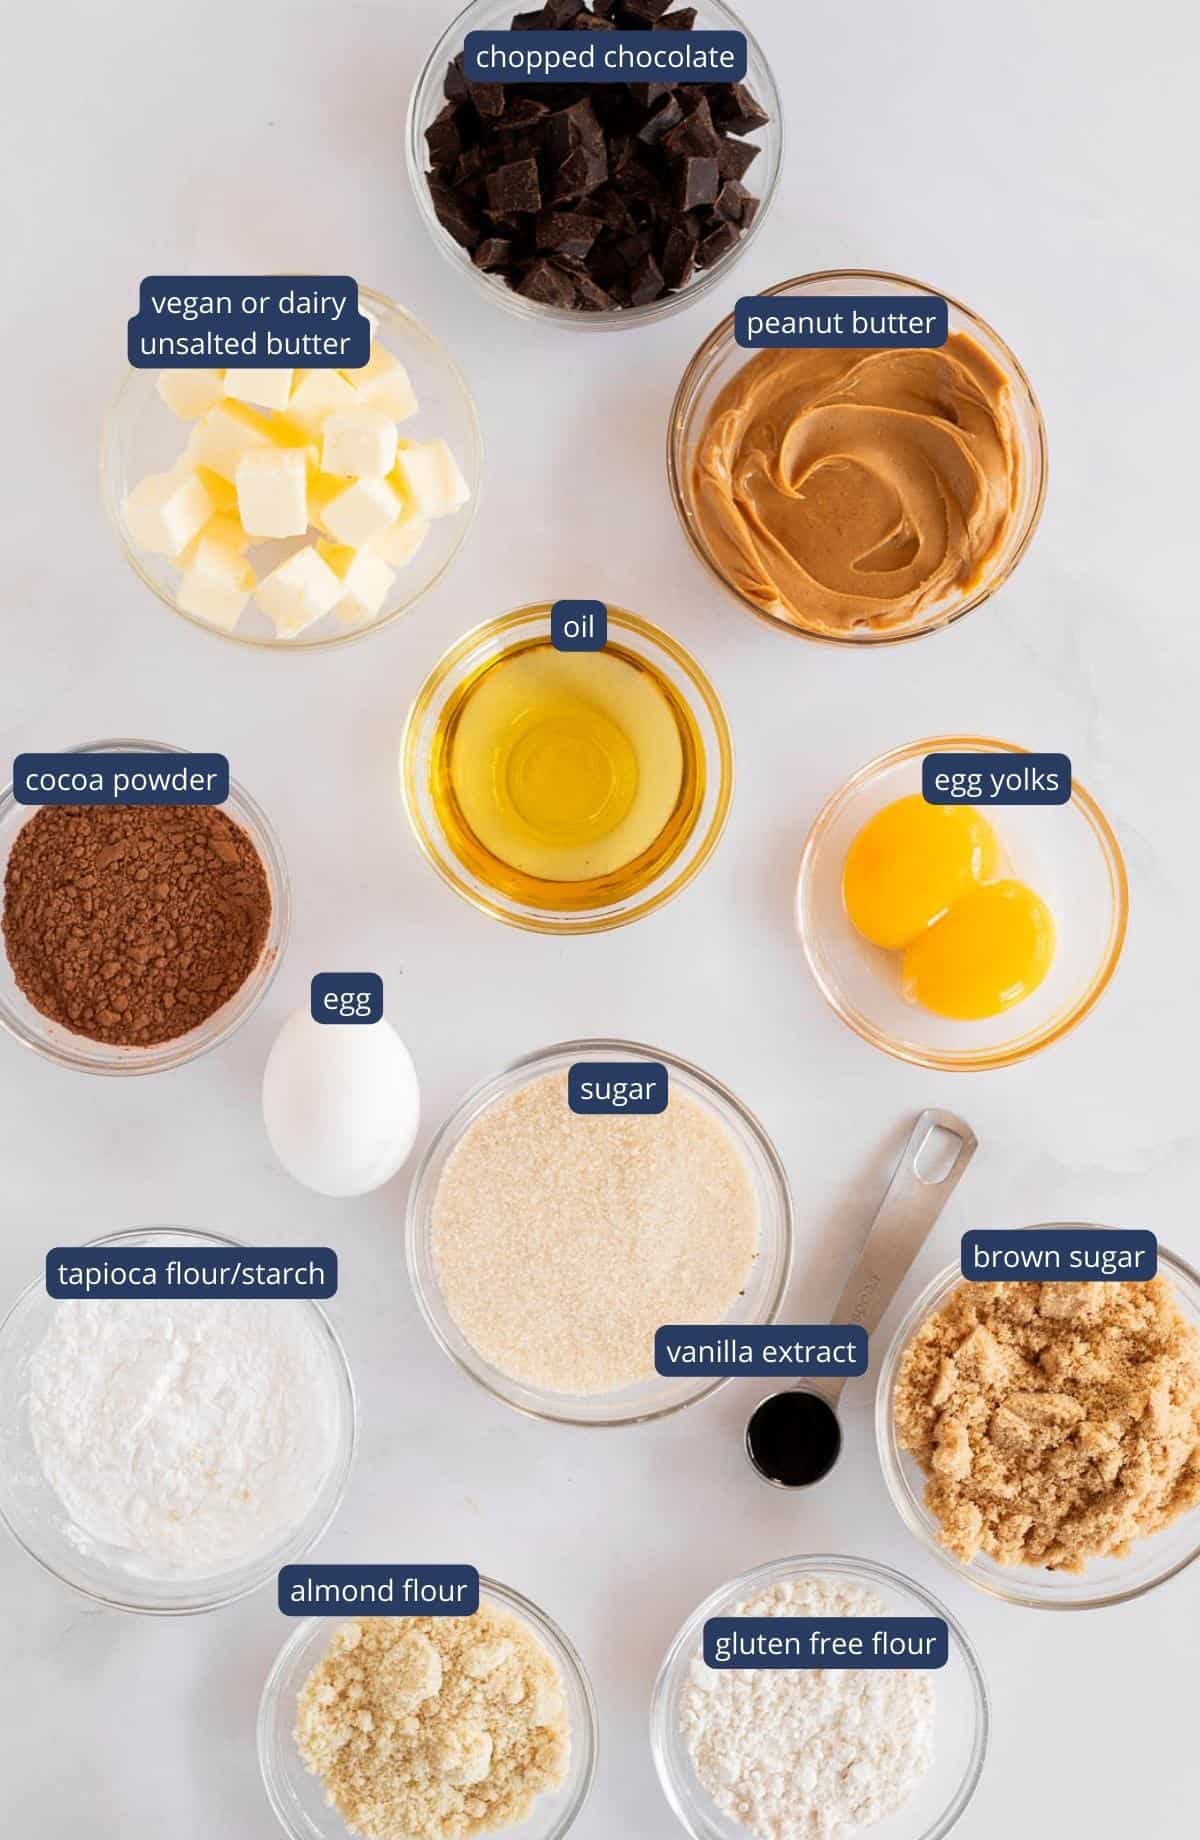
- Cocoa Powder - I love Hershey's Dutch Process Cocoa Powder.
- Semi Sweet or Bittersweet Chocolate bar - I truly love to use a bar of chocolate in brownies over chocolate chips since they tend to have less stabilizers and melt more smoothly.
- Vegan unsalted Butter or dairy butter- I like to use Earth Balance vegan buttery sticks.
- Neutral Oil - Canola, vegetable or avocado oil work well.
- Granulated Sugar and Brown Sugar - Provides sweetness and a chewy texture.
- Eggs - This recipe uses a combination of a whole egg and egg yolks to make these brownies fudgy.
- Vanilla Extract - Always try your best to use pure vanilla extract.
- Bob’s Red Mill Gluten Free 1-to-1 Baking Flour - This is my trusted gluten free flour blend of choice!
- Almond flour - Adds chewiness to the brownies.
- Tapioca flour/starch - This is a go-to ingredient in my gluten free baking pantry!
- Peanut Butter - I prefer the Skippy brand.
Find the full list of recipe ingredients and instructions in the recipe card found at the bottom of this post.
How to make gluten free peanut butter brownies
Here is a quick and easy step by step guide how to make the best fudge gluten free brownies with a peanut butter swirl.
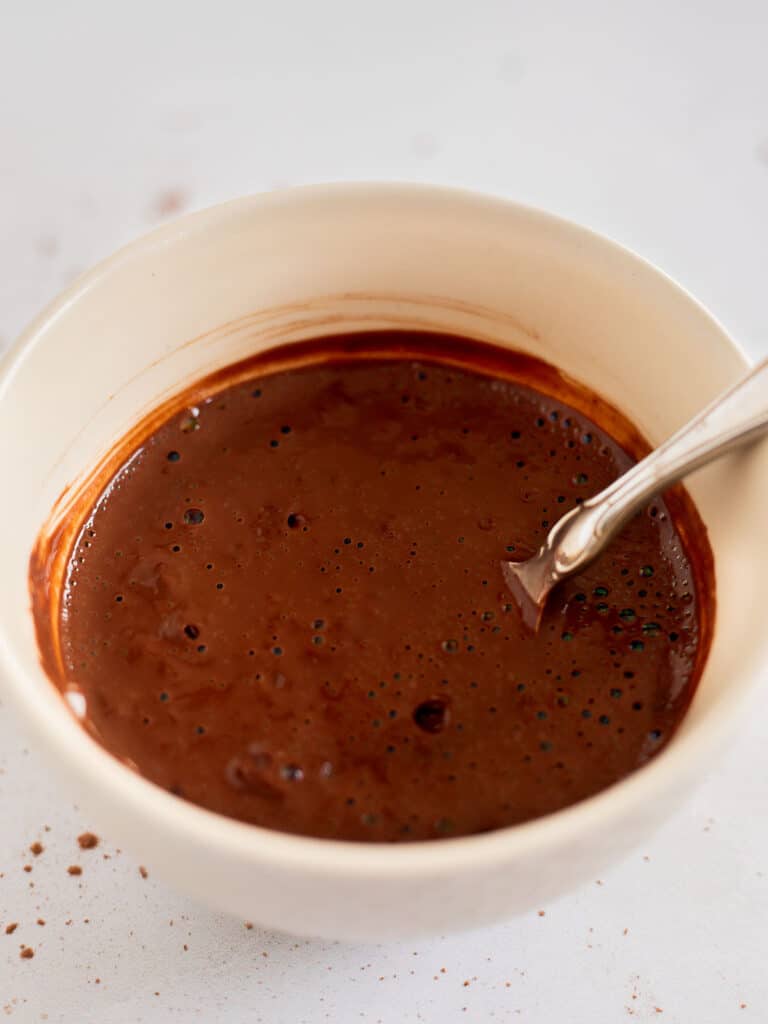
Step one: Whisk together ¼ cup boiling water with the cocoa powder in a small bowl. Then, set aside for later.
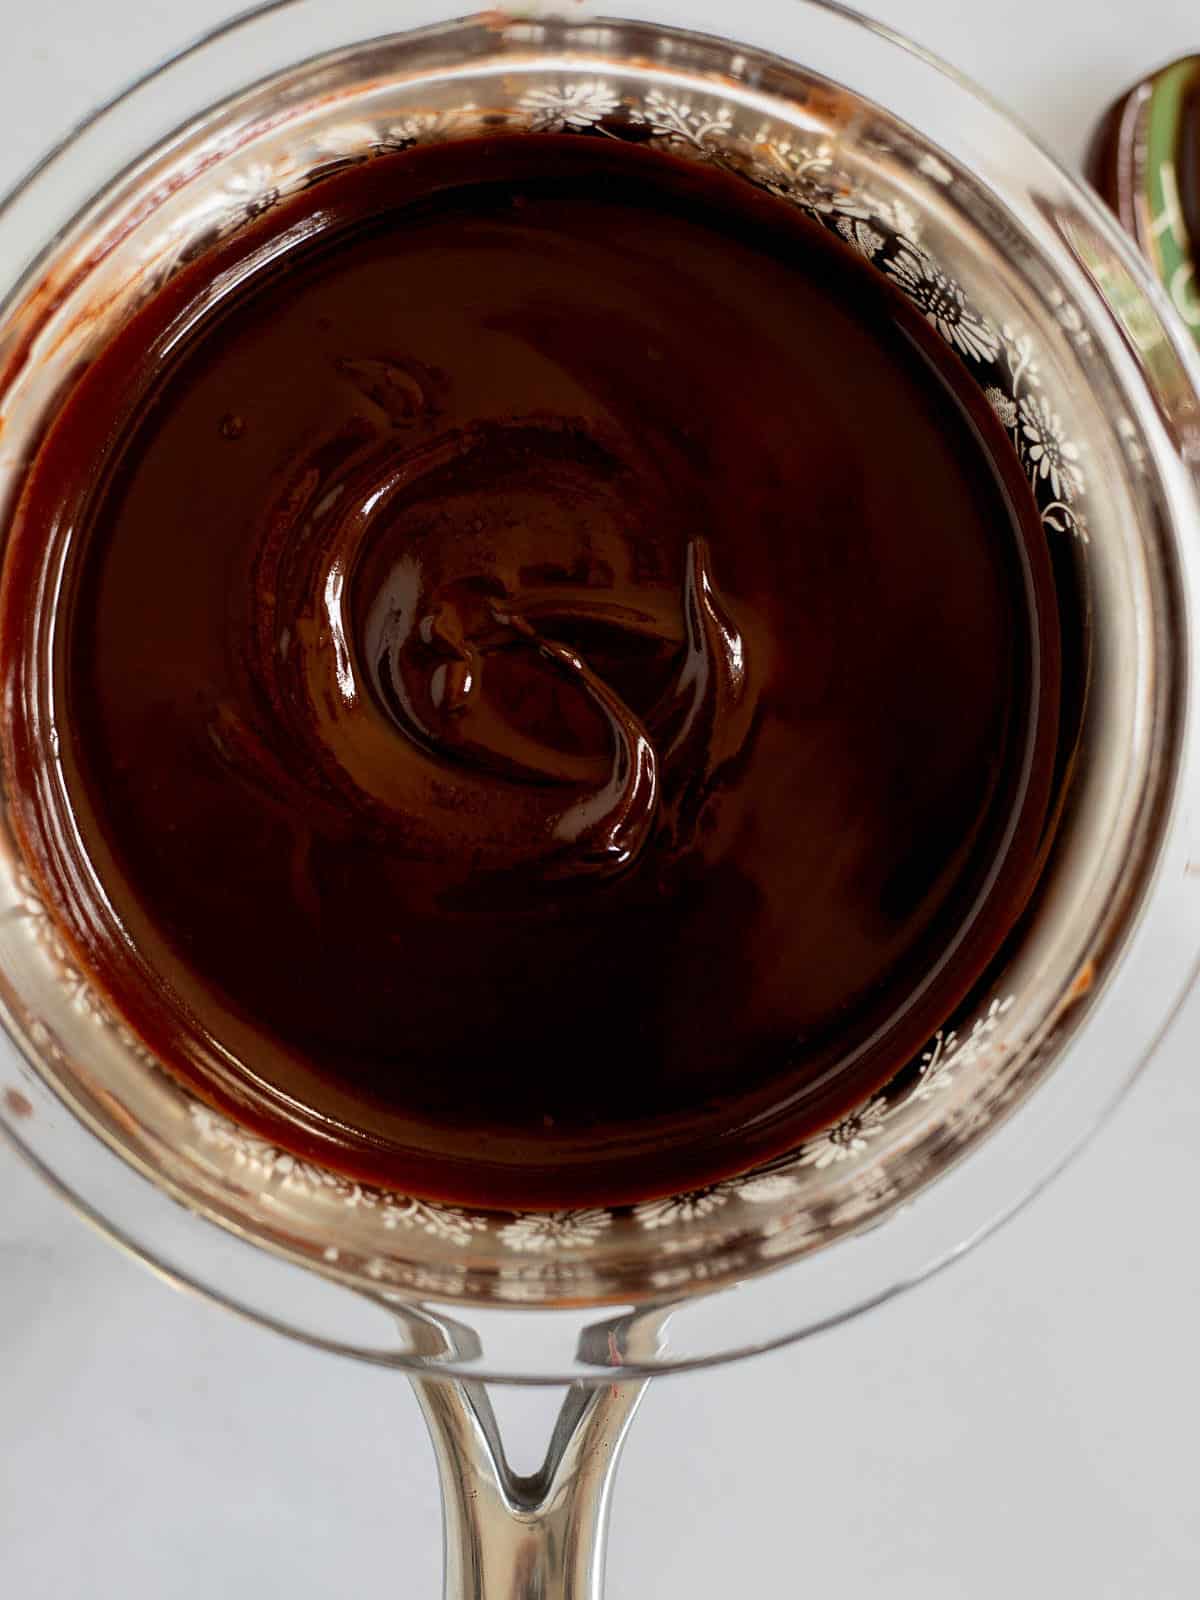
Step two: Add 1-2 inches water to a medium pot and bring to a simmer. Then, place a heatproof bowl on top. Add the chopped chocolate, water-cocoa mixture, plant-based butter & oil. Mix until fully melted. Then, turn off the heat and remove the bowl of melted ingredients.
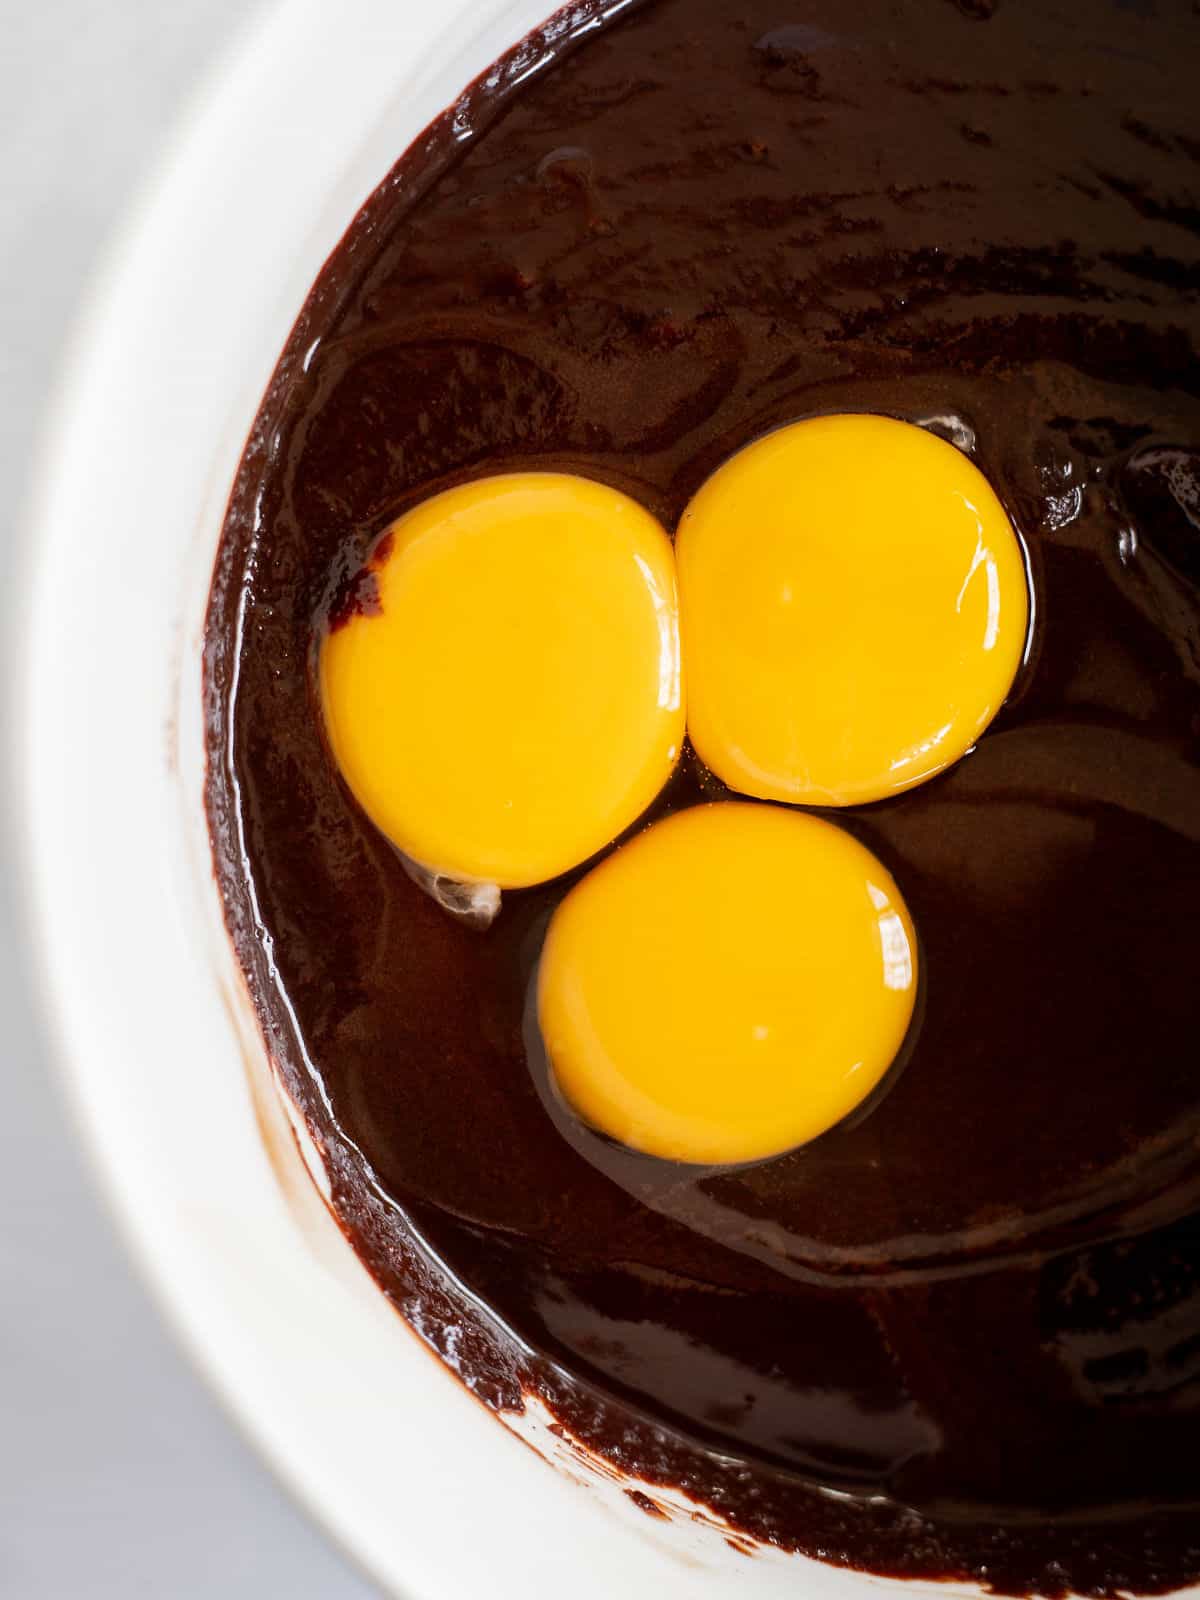
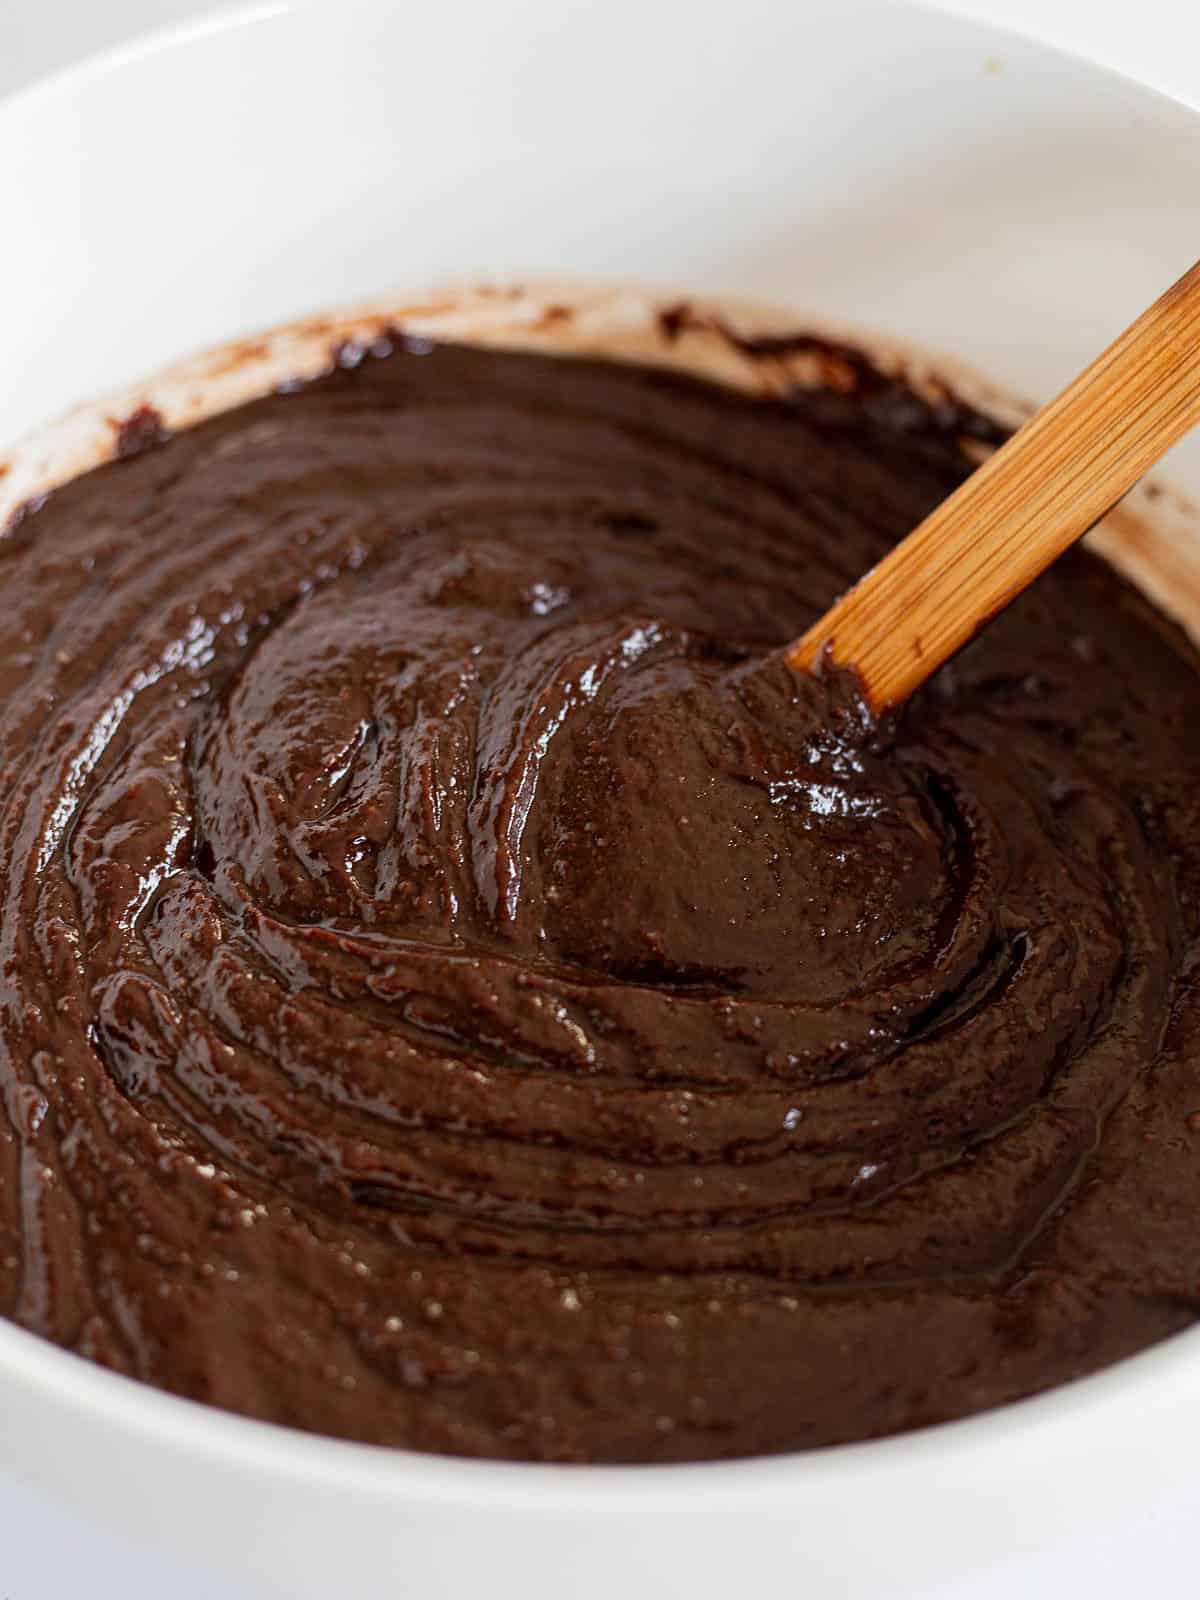
Step three: Mix in the granulated sugar & brown sugar. Then, add the egg, egg yolks and vanilla extract.
Step four: Finally add the gluten free baking flour, tapioca starch/flour, and almond flour. Whisk until a thick batter forms.
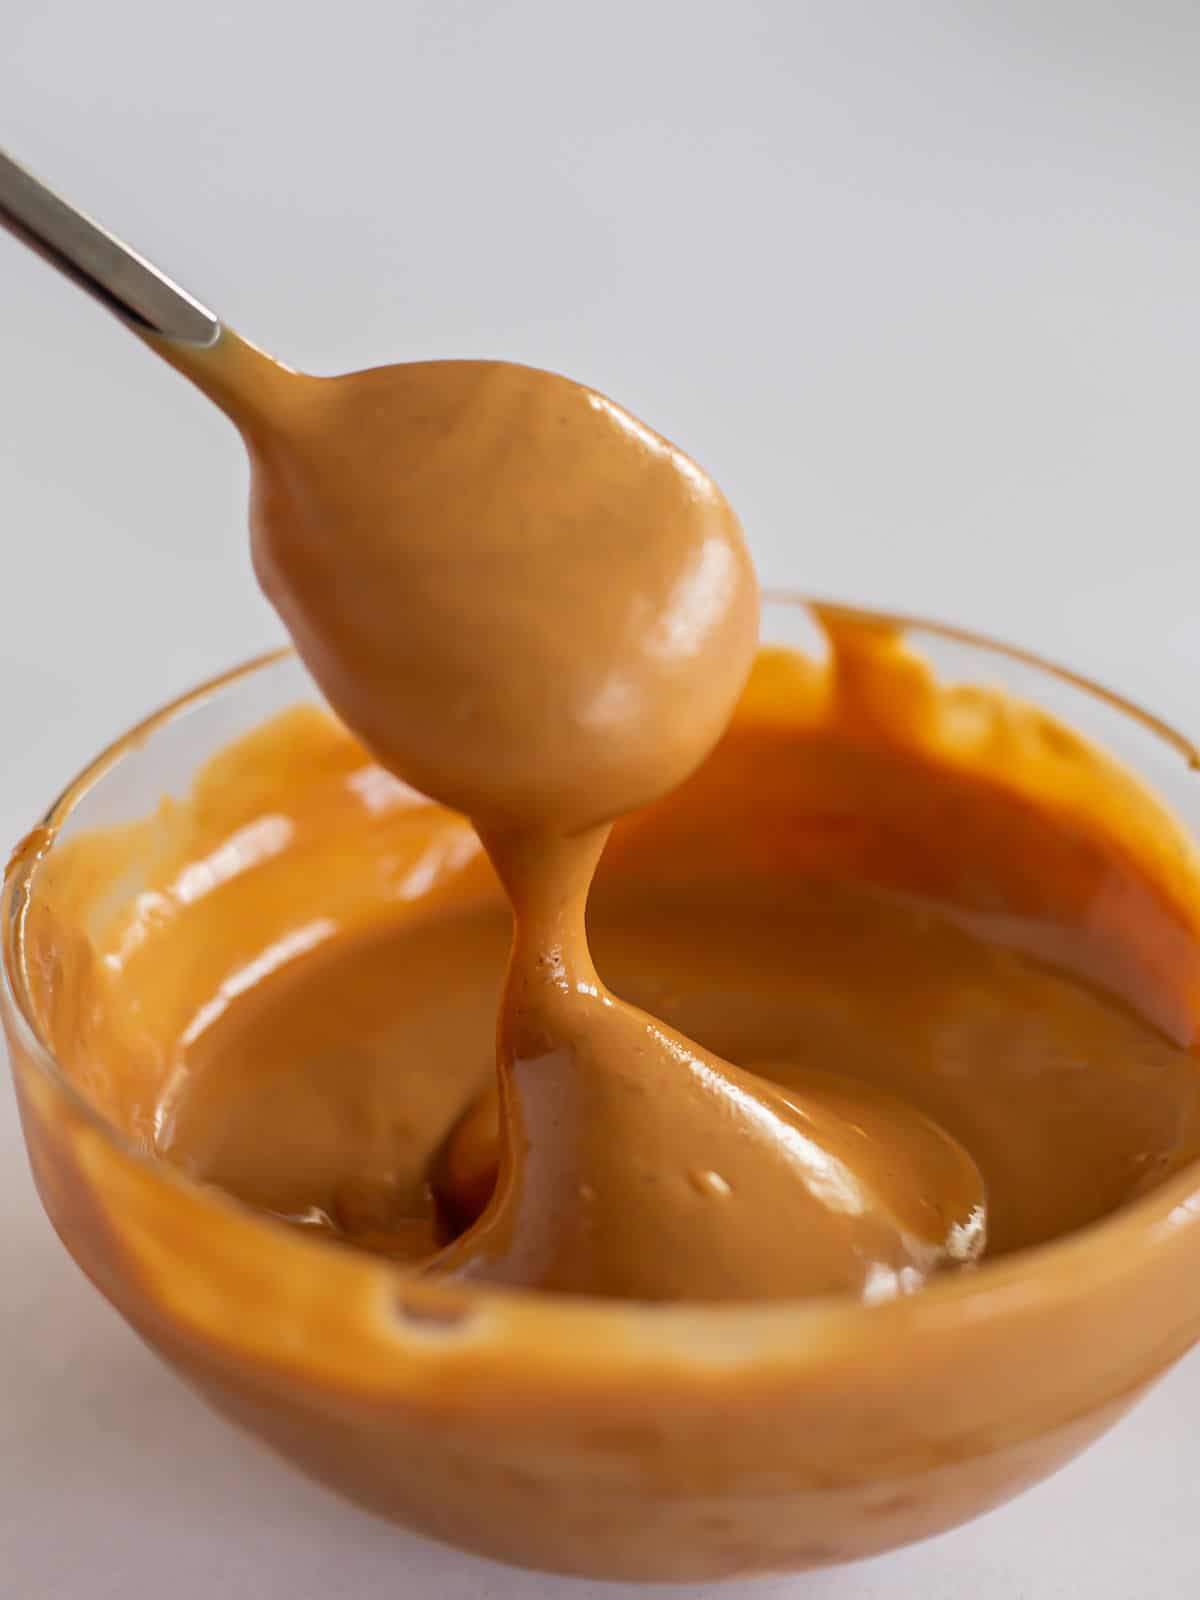
Step five: Melt the peanut butter in the microwave for about 20 seconds until it is thin and soupy. Mix half of the peanut butter into the brownie batter.
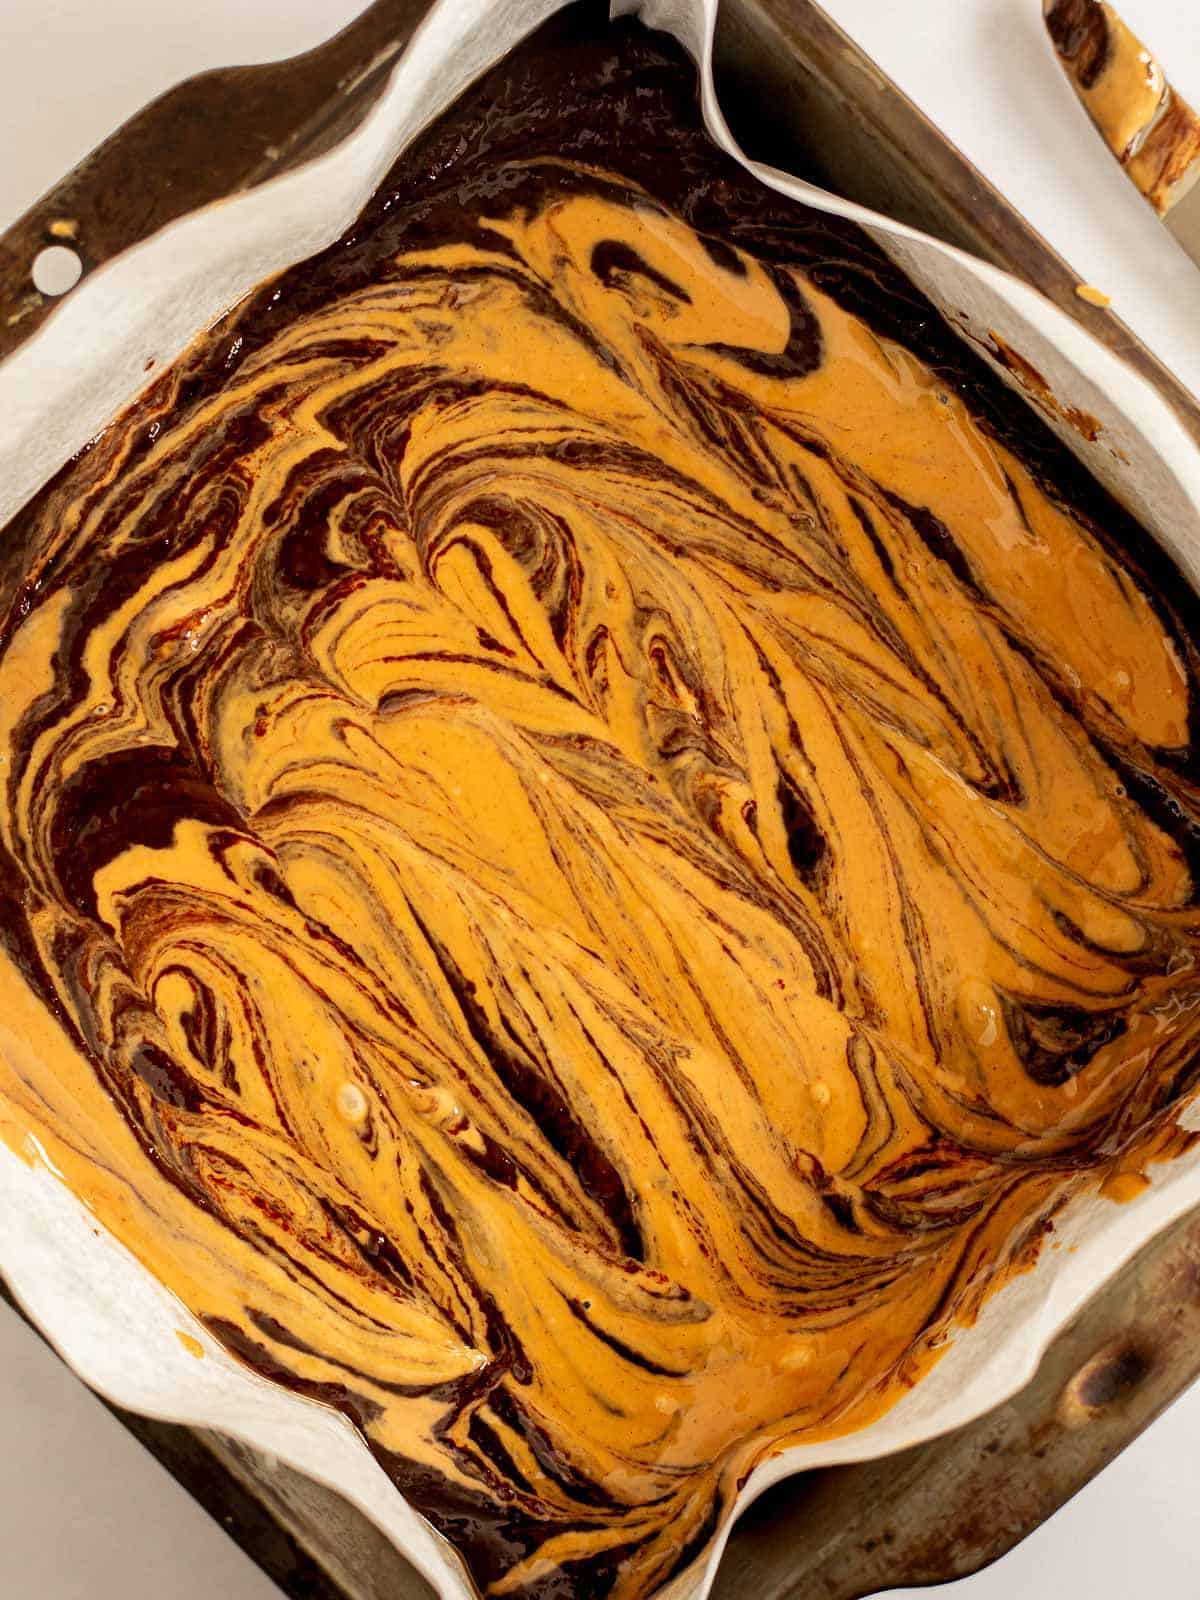
Step six: Transfer the brownie batter to a 8"x8" parchment lined pan and spread into an even layer. Then, swirl the melted peanut butter on top.
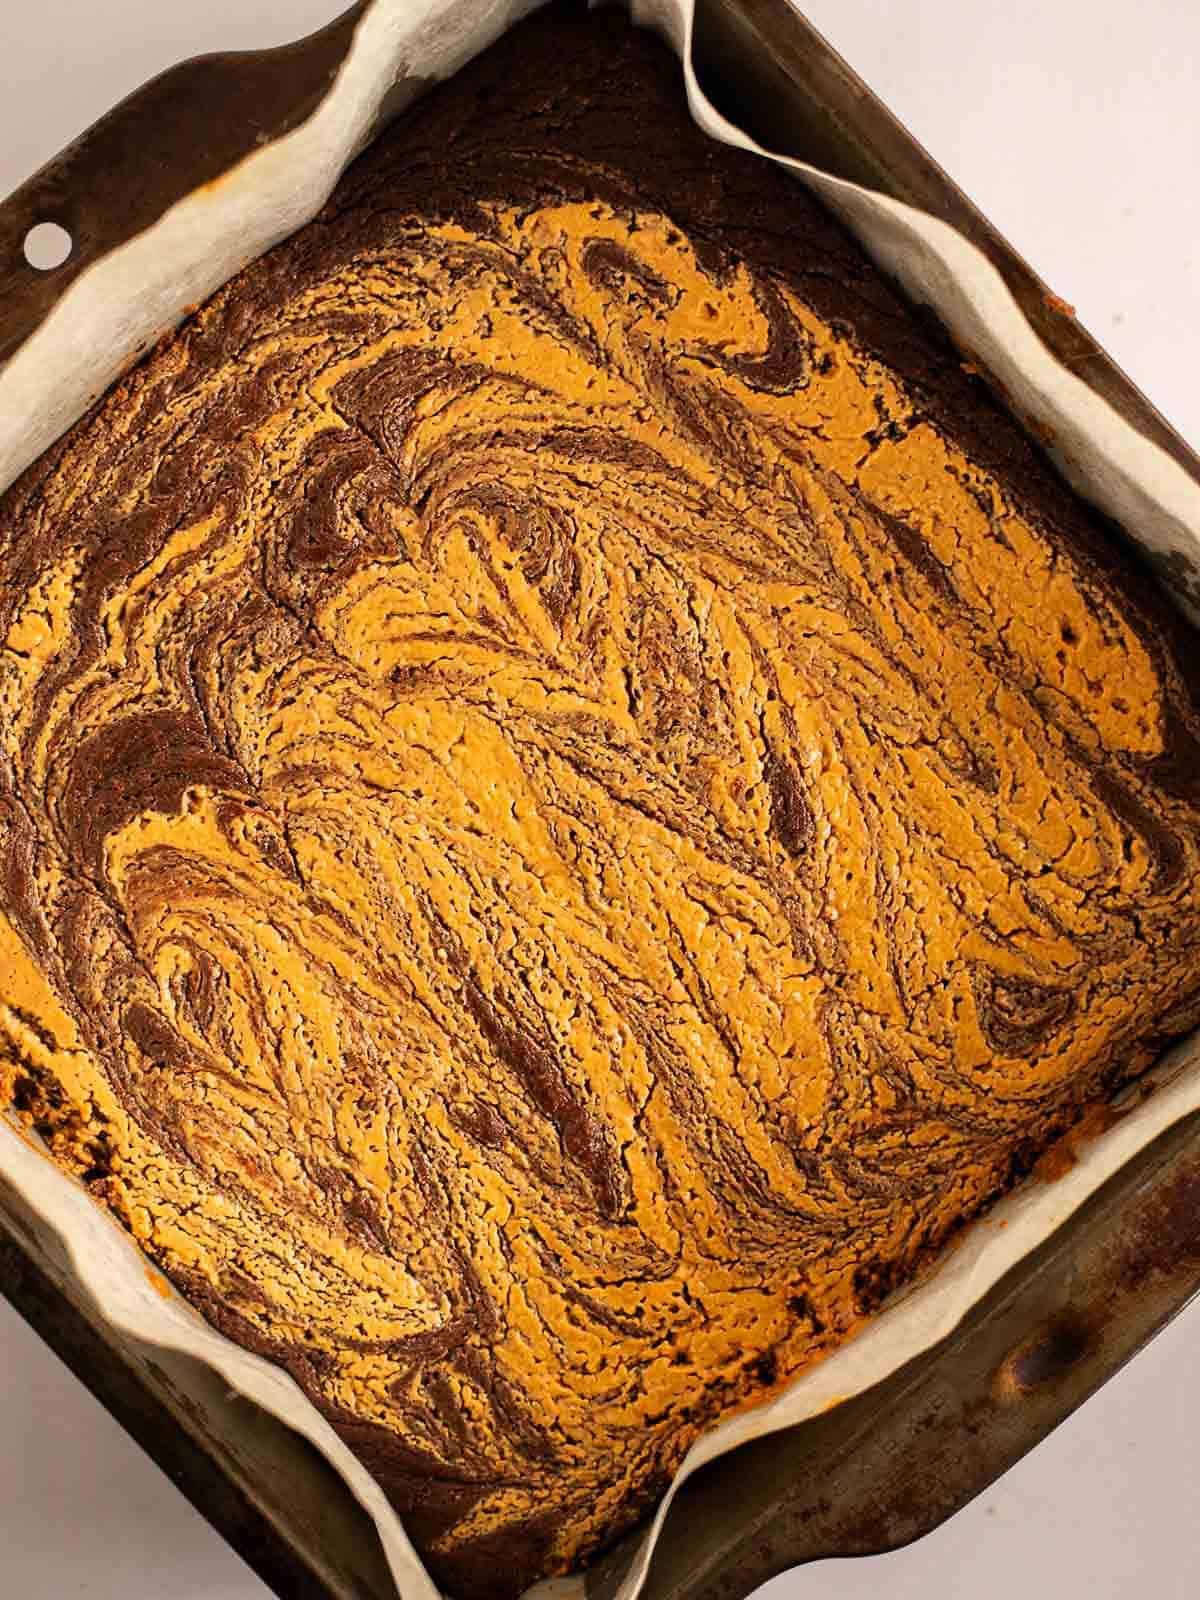
Step seven: Bake the brownie for 30-35 minutes for a super fudgy brownie or up to 45 minutes for a less fudgy brownie.
Expert tips
- Use parchment paper - Using parchment paper will help you easily lift the brownie from the pan
- Warm the peanut butter slightly in the microwave before using - this will help make the peanut butter easier to swirl.
- Don't overtake the brownie - Set a timer on your phone or microwave so you know to check on the brownies at the 30 minute mark. Then, keep an eye every 3-5 minutes after, to make sure it's not overtaking!
- Chill the cooled brownies - Chill for at least 2 hour for easy slicing.
- Use good quality chocolate bar - The better quality the chocolate, the better the brownie will taste.
Best tin for making brownies
What is the best tin for baking chocolate brownies? For this recipe using a 8" x 8" square baking pan is ideal! I like to use a light colored pan, since sometimes the dark colored non-stick pans can cause the brownies to overcook. USA Pan has the perfect non-stick baking pan option that I always use!
Recipe variations & add-ins
- Walnut Peanut Butter Brownies - Add ½ cup chopped walnuts into the brownie batter before putting it in the pan.
- Peanut-free brownies with Sunflower Butter - Make these brownies more allergen friendly by substitution the peanut butter with sunflower butter.
- Swap the peanut butter for a jam or berry preserves! Using a combination of raspberry preserves with chopped fresh raspberries can be wonderful.
- Double chocolate brownies - Add ½ cup chocolate chips into the brownie batter before pouring it into the pan.
- Use a different pan - Bake these brownies into mini muffin tins. Just be sure to cut the bake time down and check on them at the 15-18 minute mark!
- Cookie dough brownies - Mix raw cookie dough clumps through the brownie mixture and bake!
If you love peanut butter dessert recipes, try my Giant Reese's Peanut Butter Cup recipe and Gluten Free Peanut Butter Chocolate Chip Cookies!
Make peanut butter brownies dairy free
You can make these flourless peanut butter brownies dairy free by simply using a vegan butter substitute instead of dairy butter. Also be sure to use a dairy-free semi-sweet chocolate bar.
FAQ's
Skippy Naturals peanut butter is the most consistent peanut butter for this recipe. I like to choose a conventional brand for baked goods like this, so that the results will always be consistent and reliable.
Absolutely! These brownies would be wonderful with almond butter, sunflower butter or any other nut butter. Nut butter brownies for the win! I love trying new variations of recipes and encourage you to do the same.
I have not personally tested this recipe being made vegan, but you can try swapping the egg for the Just Egg product or using a flax egg. Worse comes to worse, your brownie isn't super stable and is simply extra gooey.
The choice between smooth or crunchy peanut butter is a tough one because they're both so good! It's truly up to what your personal preference is. I tend to bake with smooth peanut butter since that's what I typically have on hand, but you can totally use crunchy peanut butter as well.
Storage
You can keep the brownies in a container on the counter for 2-3 days, but if you prefer a cold brownie keep them in the fridge for 4-5 days. These brownies also freeze perfectly for 2-3 months.
More delicious chocolate recipes
Have you tried this recipe? Consider leaving a ⭐️⭐️⭐️⭐️⭐️ rating in the recipe card right below and/or a review in the comment section further down the page? Or, consider following me on Facebook or Instagram! Thanks for visiting.
Gluten Free Peanut Butter Swirl Brownies
Ingredients
- ¼ cup cocoa powder I recommend Hershey's brand
- 5 ounces semisweet or bittersweet chocolate roughly chopped
- 6 tablespoons plant based unsalted butter (or dairy butter) cut into small cubes
- ¼ cup neutral oil such as vegetable, grapeseed, canola oil or avocado oil
- ½ cup granulated sugar
- ½ cup packed brown sugar light or dark
- 1 large egg at room temperature
- 2 large egg yolks at room temperature
- 2 teaspoons pure vanilla extract
- ¼ cup gluten free flour blend I prefer Bob’s Red Mill 1 to 1 Gluten Free Baking Flour
- ¼ cup finely ground blanched almond flour
- ¼ cup tapioca flour/starch
- ½ cup creamy peanut butter divided
Instructions
- Preheat the oven to 350°F and line an 8” x 8” square baking pan with parchment paper. Set aside.
- In a small bowl whisk together ¼ cup boiling water with the cocoa powder. Set aside.
- Fill a medium pot with 1-inch of water and set a heatproof bowl on top (the water should not be able to touch the bowl). Bring the water to a simmer, then turn to low heat.
- To the heatproof bowl add the chopped chocolate, water-cocoa mixture, plant-based butter & oil. Mix until completely melted.
- Once chocolate is melted, turn the stovetop off. Carefully remove the heatproof bowl from the pot and set onto a towel on the counter. Allow to cool slightly, about 3-5 minutes.
- Next, mix both sugars into the chocolate mixture. Then, beat in the egg & egg yolks, along with vanilla extract.
- Stir in the gluten free flour, almond flour & tapioca. Mix until flour is no longer visible, about 1 minute.
- In a microwave safe bowl, melt the peanut butter for about 20 seconds until thin and soupy.
- Mix half of the melted peanut butter into the chocolate mixture, until no longer visible. Save the remaining peanut butter for later.
- Pour the brownie batter into the prepared pan and spread into an even layer.
- Drizzle the remaining melted peanut butter over the brownie batter. Use a knife to swirl the peanut butter through the batter, creating a marbled texture.
- Bake the brownie for 30-35 minutes for a super fudgy brownie or up to 45 minutes for a less fudgy brownie.
- After baking, allow to cool completely and place in the fridge for up to 1 hour before slicing and serving. Enjoy!
Notes
- Both semisweet or bittersweet chocolate work perfectly. You can choose whichever you like best!
- I prefer to use a chocolate bar rather than chocolate chips. Chocolate bars have less stabilizers and tend to be a bit higher quality.
- You can use dairy butter if you like instead of the vegan option.
- Be careful not to over mix the batter otherwise it can become tough from mixing the eggs too much.
- Feel free to use smooth or chunky peanut butter. I used smooth peanut butter here but either option will work!


Lori Green says
What's your opinion on using a different gluten free flour blend?
Dalya Rubin says
Hi Lori,
I think you can swap a different 1 to 1 gluten-free flour for this recipe, such as King Arthurs or another brand. As long as the flour is known as a "1 to 1 cup" substitute, it should work similarly.
Best of luck!
- Dalya